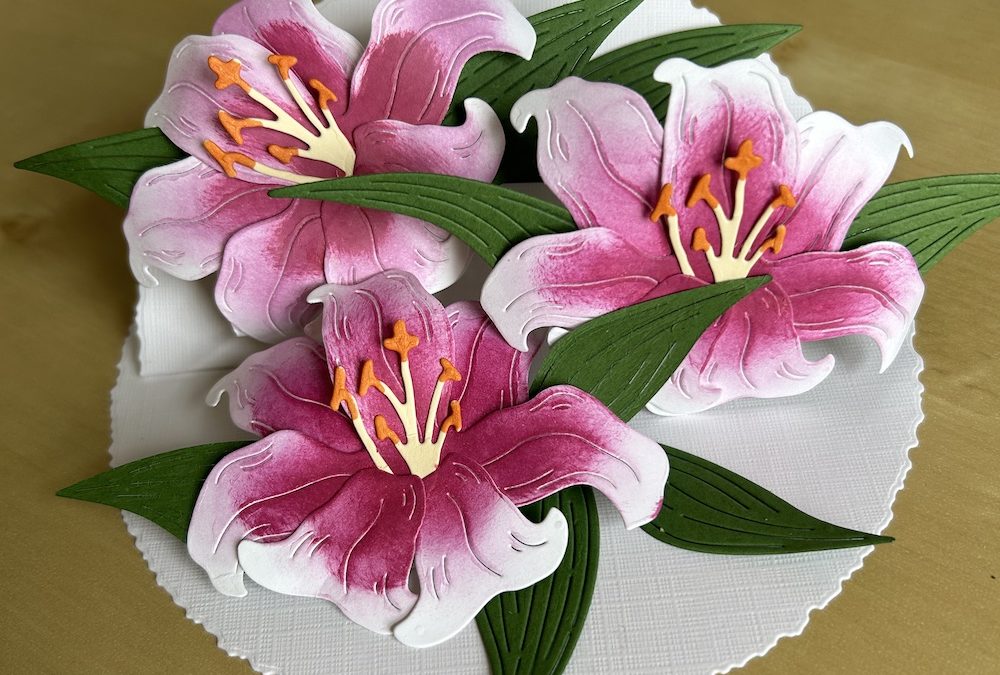
I want to make a table decoration for Easter to go alongside the card I made last week. The gorgeous Easter Lilies bundle has some beautiful petal and leaf dies which I used to make this Easter table decoration.
The first one I made is in the picture above. I also made a second one as shown in the video using a different colour scheme. My daughter sent me some beautiful flowers for Mother’s day and they are still going strong. The bunch included some beautiful lilies with a pale yellow tinge to the petals and a red splotchy colour on top, so that is what I used as the inspiration for the lilies I made in the video.
I apologise in advance as I was clearly having a word problem day and I kept referring to the petals as leaves in the video – sorry! I hope it doesn’t annoy you too much….
You can find the video below, which shows you how to create the decoration. I used a dauber to add colour to the petals and I also show you how to use a marker or blend to add splatters of a contrasting colour. Though be warned – it’s a messy technique! I’ve also added brief instructions underneath the video.
You will need:
- One sheet of thick white cardstock
- One half sheet of Basic White cardstock
- Approximately one quarter of a sheet of Garden Green
- Ink pad, dauber and Stampin Write markers or blends in your chosen colours
Use the two largest Deckled Circle dies to cut out two circles from the thick cardstock. If you don’t have the dies, use a plate or saucer, draw around them and cut out manually.
Measure the diameter of the smaller circle and use your trimmer as shown in the video to score down the centre. Fold in half and burnish. Stick this to the larger circle to form your base.
Cut out three sets of Easter Lilies flowers from Basic White using the three sizes of petal dies and the stamen die for each. Die cut eight leaves, four of each type, from Garden Green.
Use your dauber and chosen colour to add some colour to each petal, taking it part way up each petal. Colour the stamens using the Bronze blend. I used Lemon Lolly in the video. For the original decoration I used Fresh Freesia and Berry Burst to colour the petals, but you can choose the colours you want. Lilies come in any colour.
Shape each petal using your bone folder then stick each flower together with the double petal at the bottom, then the three-petal part on top. Add the stamen, then the final small petal. On my original decoration, I used two small petals – your choice!
Glue two leaves on the reverse of each flower so they show on each side.
Use 1.5cm-2cm x approx 10cm strips of the thick cardstock to form supports as shown in the video. Stick the completed flowers to the supports and onto the base to make a pretty arrangement. Add the two additional leaves to fill in any gaps.
You could gift this Easter Lilies decoration with the card I made last week as an Easter gift to a friend or family member. My mum is having one set, but she can’t decide which set she prefers.
Which colour scheme do you like best?
I hope you like this card and will have a go at making one – please show me what you come up with.
Thank you for taking the time to read my post.

Don’t forget – you get a FREE pdf when you place any order with me as your demonstrator. And, if your order is over £40, you will also get to choose stuff from my online shop to the value of your order!
Product List ") |  |  |  | |
 |


