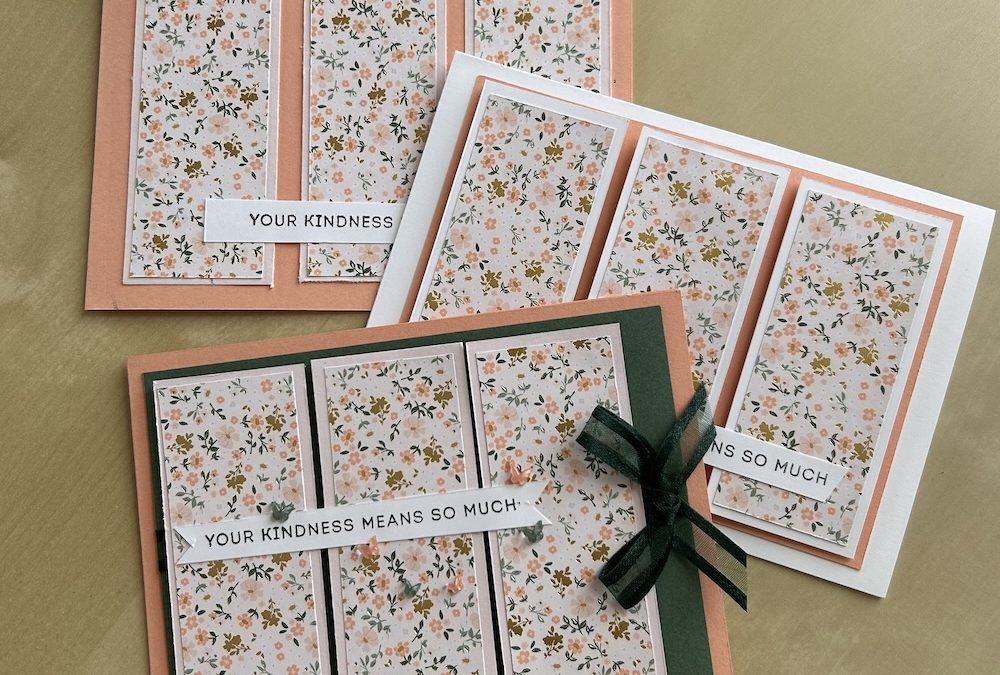
This simple panel card can be adapted for just about any DSP and stamp set you may have, and the design is suitable for any occasion you want to celebrate.
I used the Boutique Blooms suite of products, which I’ll be using throughout this month. These cards use In Color cardstock and the beautiful Bloom Boutique DSP to create the panels. This type of card is a useful layout to remember and use with whatever you have in your stash.
I’ve also given you ideas for stepping this design up to suit the more avid crafters among you. It’s your choice whether to keep it simple or add more.
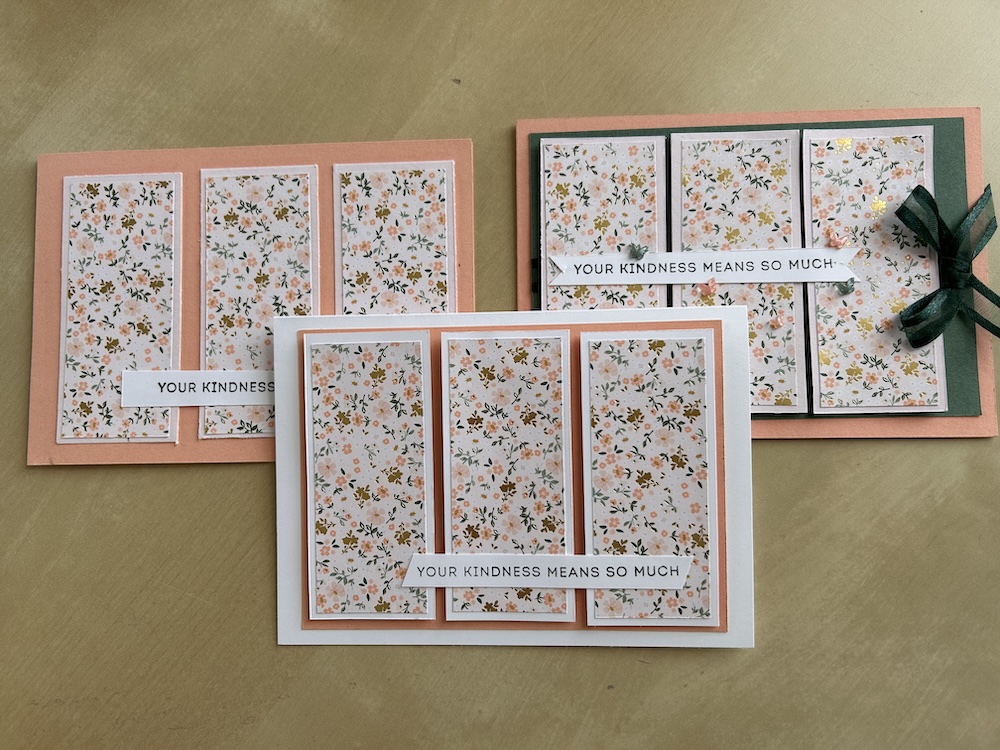
This is the first card, a basic panel card.
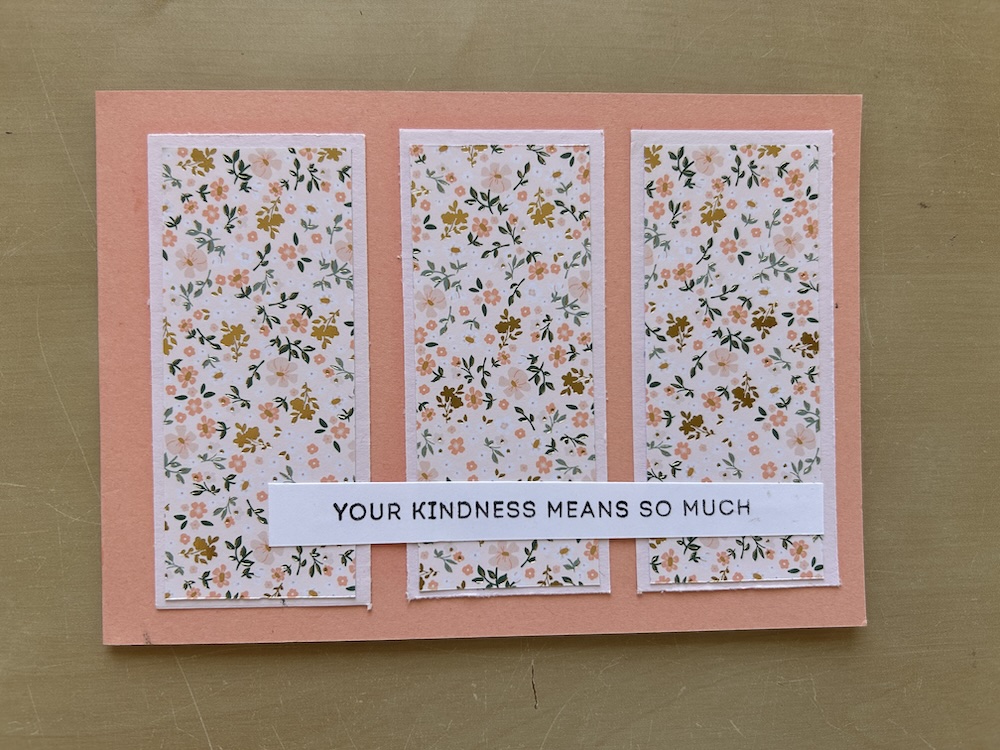
To make this basic simple stamping panel card you need:
- Colour card base 10.5cm x 29.6cm scored at 14.8cm (11” x 4¼” scored at 5½”)
- Basic White or colour panels (x3): 4cm x 9cm (1½” x 3½”)
- DSP panels (x3): 3.5cm x 8.5cm (1¼” x 3¼”)
- Scrap of Basic White for sentiment
Instructions
Fold and burnish the card base.
Adhere the DSP to the three Basic White/colour panels.
Lay the completed panels on your cardstock so that they lie equidistant from each other and from the card base edges.
Make a small pencil mark at the top in the centre of your card base (at 7.4cm or 2 1/8″).
Adhere the centre panel below this mark, equidistant from the top and bottom of your card front. Erase the pencil mark.
Carefully adhere the other two panels in place, to each side, leaving the same gap between them and your centre panel.
Stamp your chosen sentiment on the Basic White scrap.
Add to your card front using glue.
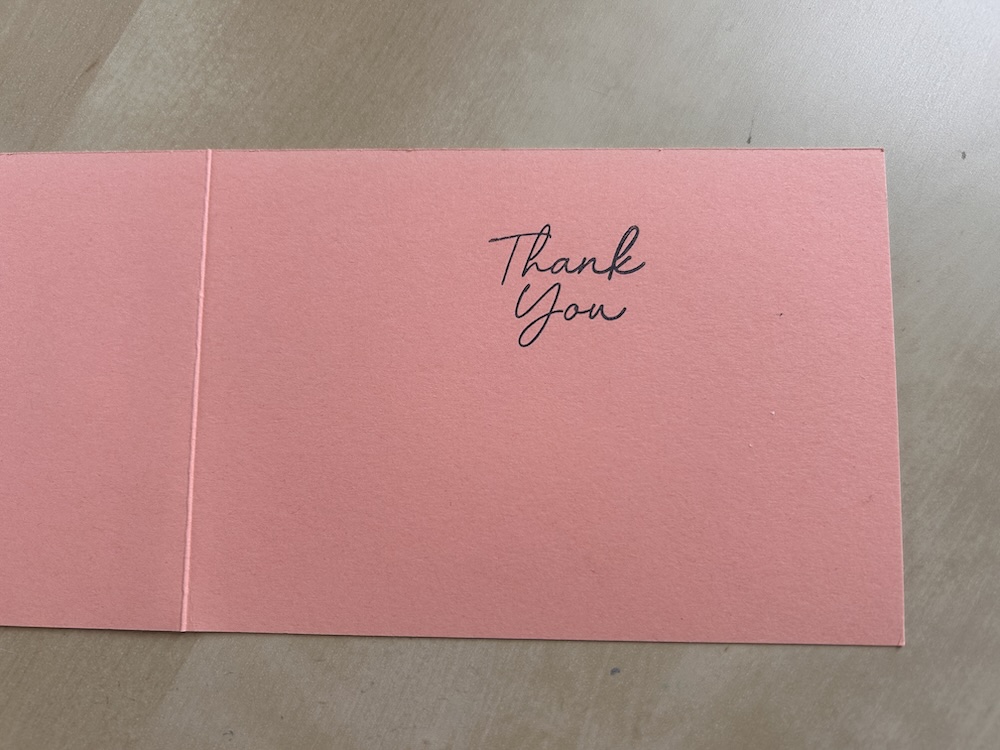
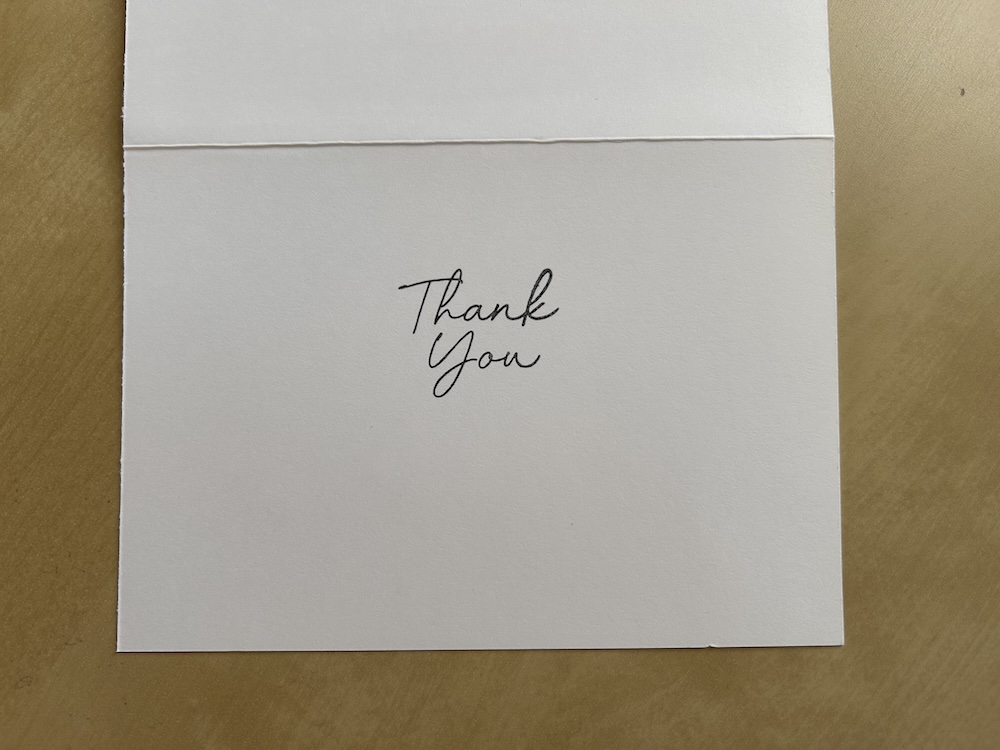
Stamp a greeting inside your card and voila, your card is complete.
My second card steps it up a little.

To make this version, you will need:
- Basic White card base 21cm x 14.8cm scored at 10.5cm (8½” x 5½” scored at 4¼”)
- Colour cardstock layer: 13.8cm x 9.5cm (5″ x 3¾”)
- Basic White panels (x3): 4cm x 9cm (1½” x 3½”)
- DSP panels (x3): 3.5cm x 8.5cm (1¼” x 3¼”)
- Scrap of Basic White for sentiment
Instructions
Fold and burnish the card base.
Adhere the colour cardstock layer to the card front
Adhere the DSP to the three Basic White panels.
Mark the centre of the colour cardstock layer with a tiny pencil mark.
Adhere the centre panel centrally using the mark as a guide. Erase the pencil mark.
Then adhere the other two panels each side so they lie equidistant from the centre panel.
Stamp your chosen sentiment on the Basic White scrap. Angle each end on a slant.
Add to your card front using glue.
Stamp a greeting inside your card and voila, your card is complete.
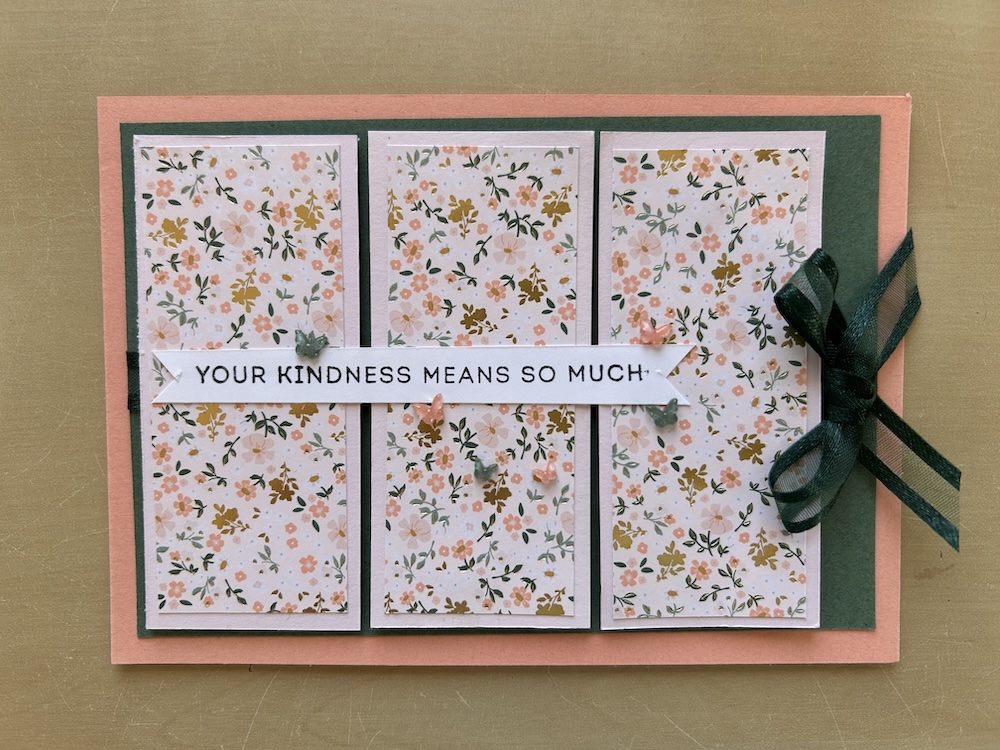
My final card is for avid crafters. It adds ribbon and other embellishments. I used the same size panels as above for the card in this picture, but I have subsequently revised the sizes to allow for a larger border around each panel and for more of the ribbon to show, as shown in the video.
To make this card you need:
- Colour card base 10.5cm x 29.6cm scored at 14.8cm (11” x 4¼” scored at 5½”)
- Contrasting colour cardstock panel: 13.8cm x 9.5cm (5″ x 3¾”)
- Colour cardstock panels (x3): 3.5cm x 9cm (1¼” x 3½”)
- DSP panels (x3): 3cm x 8.5cm (1″ x 3¼”)
- Basic White panel for the inside: 13.8cm x 9.5cm (5″ x 3¾”)
- Scrap of Basic White for sentiment
- Colour ribbon (approx 18cm (7″) plus enough for a bow)
Instructions
Fold and burnish the card base.
Wrap the 18cm (7″) length of ribbon around the contrast colour card and adhere the edges at the back. Tie another length of ribbon into a neat bow. Add this to the right-hand side of the contrast piece and adhere using glue dots. Trim the ends neatly.
Attach the contrast card piece to the front of your card.
Adhere the DSP to the three coloured panels.
Lay the completed panels on your contrast cardstock piece, so that they lie equidistant from each other and from the bow.
Make a tiny pencil mark above the centre panel.
Add several dimensionals to each panel. Stick them in place starting with the centre one using the pencil mark to guide you.
Stamp your chosen sentiment on the Basic White scrap. Flag each end.
Add to your card using glue.
Finish the card by adding some of the lovely In Color butterfly embellishments.
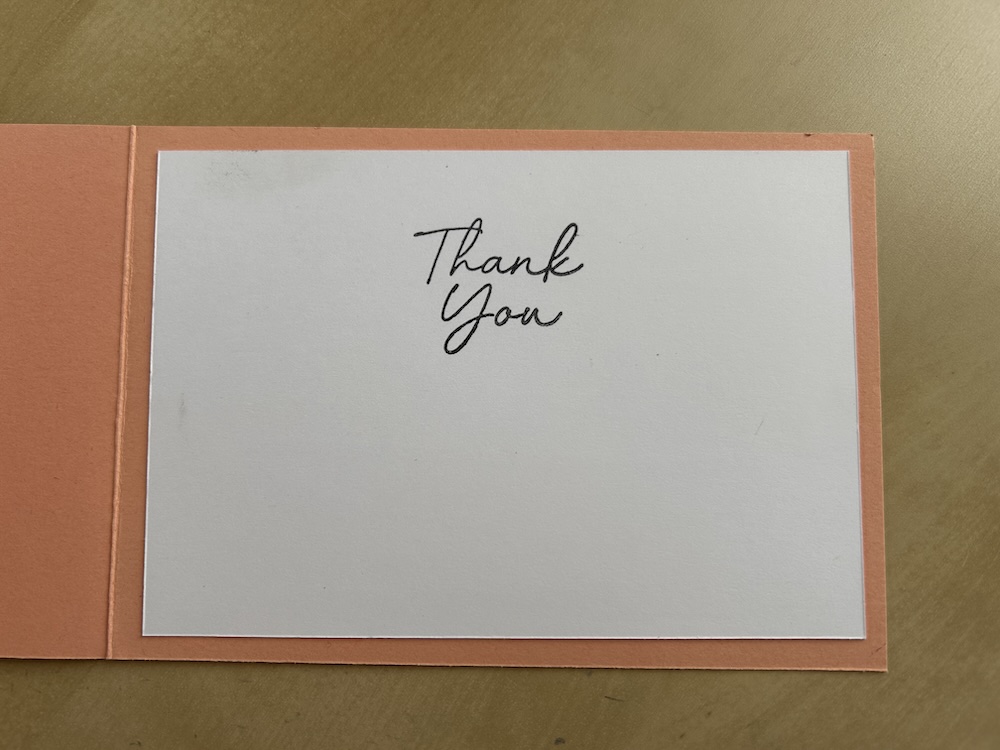
Stamp a greeting and any decoration you want on the Basic White panel and adhere inside your card.
Don’t forget to decorate your envelopes!
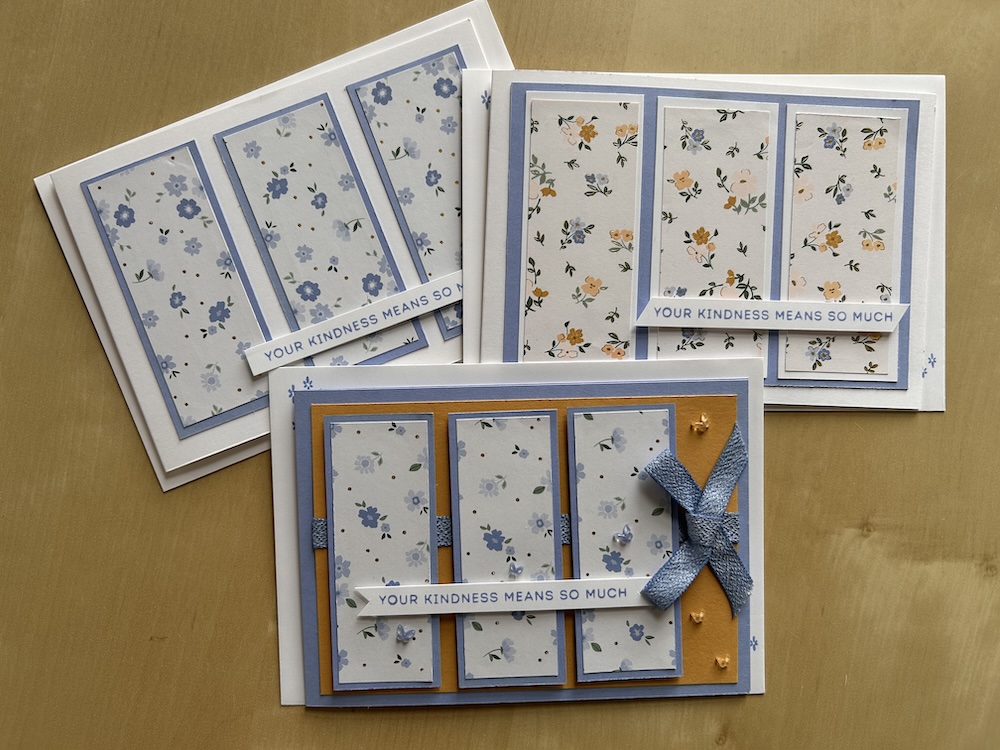
Here are the cards I made in the Craftalong:
Here is the video of me making these panel cards:
I hope you like this card and will have a go at making one – please show me what you come up with.
Thank you for taking the time to read my post.

Don’t forget – you get a FREE pdf when you place any order with me as your demonstrator. And, if your order is over £40, you will also get to choose stuff from my online shop to the value of your order!
Product List ![2026–2028 In Color™ A4 Cardstock [ 167684 ]](https://assets1.tamsnetwork.com/images/EC042017NF/167684s.jpg "2026–2028 In Color™ A4 Cardstock [ 167684 ]") | ![Basic White A4 Cardstock [ 166781 ]](https://assets1.tamsnetwork.com/images/EC042017NF/166781s.jpg "Basic White A4 Cardstock [ 166781 ]") | |||
![Paper Trimmer [ 152392 ]](https://assets1.tamsnetwork.com/images/EC042017NF/152392s.jpg "Paper Trimmer [ 152392 ]") |
![Scalloped Blooms Photopolymer Stamp Set (English) [ 167639 ]](https://assets1.tamsnetwork.com/images/EC042017NF/167639s.jpg "Scalloped Blooms Photopolymer Stamp Set (English) [ 167639 ]")
![Bloom Boutique 12" X 12" (30.5 X 30.5 Cm) Specialty Designer Series Paper [ 167637 ]](https://assets1.tamsnetwork.com/images/EC042017NF/167637s.jpg "Bloom Boutique 12\" X 12\" (30.5 X 30.5 Cm) Specialty Designer Series Paper [ 167637 ]")
![2026–2028 In Color™ Butterflies [ 167656 ]](https://assets1.tamsnetwork.com/images/EC042017NF/167656s.jpg "2026–2028 In Color™ Butterflies [ 167656 ]")
![Peaceful Pine 3/8" (1 Cm) Bordered Ribbon [ 167551 ]](https://assets1.tamsnetwork.com/images/EC042017NF/167551s.jpg "Peaceful Pine 3/8\" (1 Cm) Bordered Ribbon [ 167551 ]")
