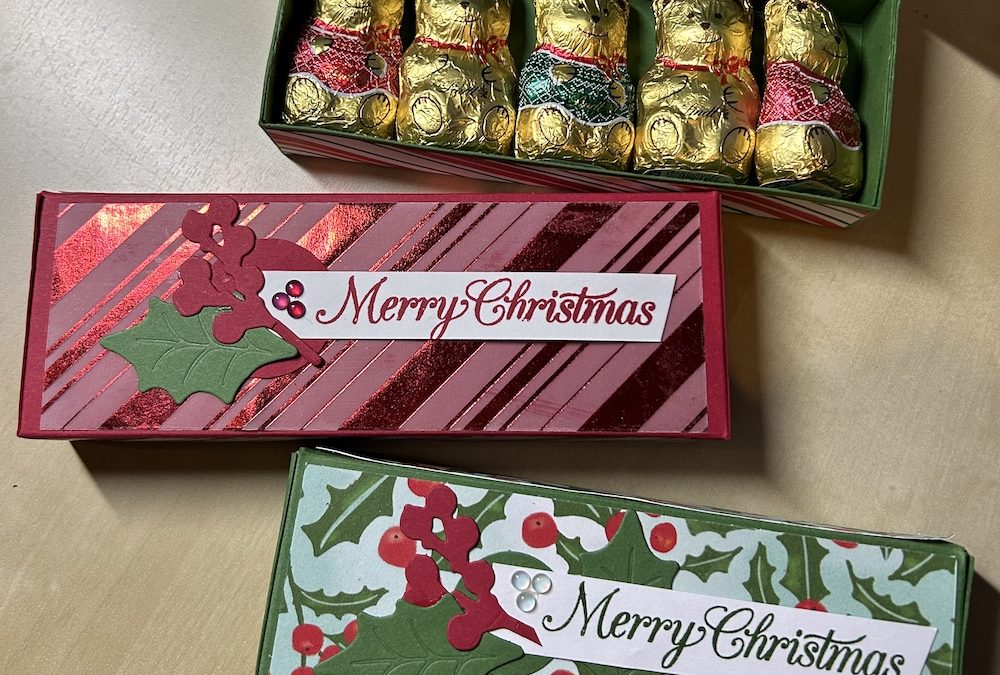
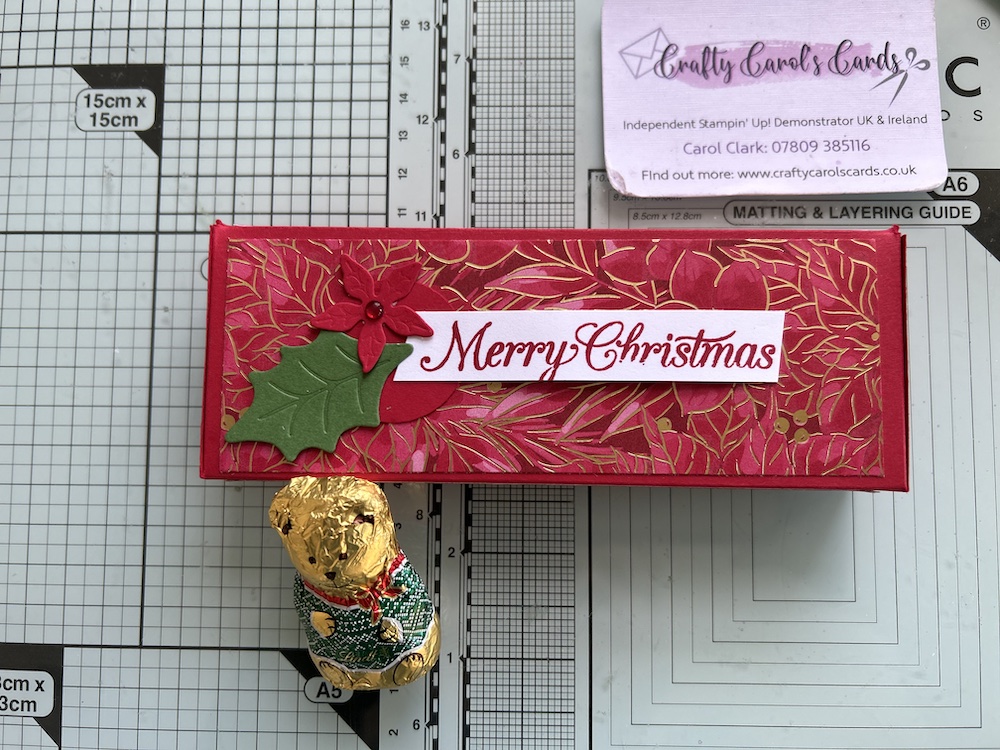
Here is the second project I made for my Lindt chocolate teddies. I have repurposed my Ho Ho Ho box from last year to fit five Lindt teddies. I had to try a couple of times to get the measurements right, but I’m now happy with this Lindt teddy box. I must be – I’ve made eleven of them!
Instructions are given below. You can use any colour cardstock and any coordinating DSP you want.
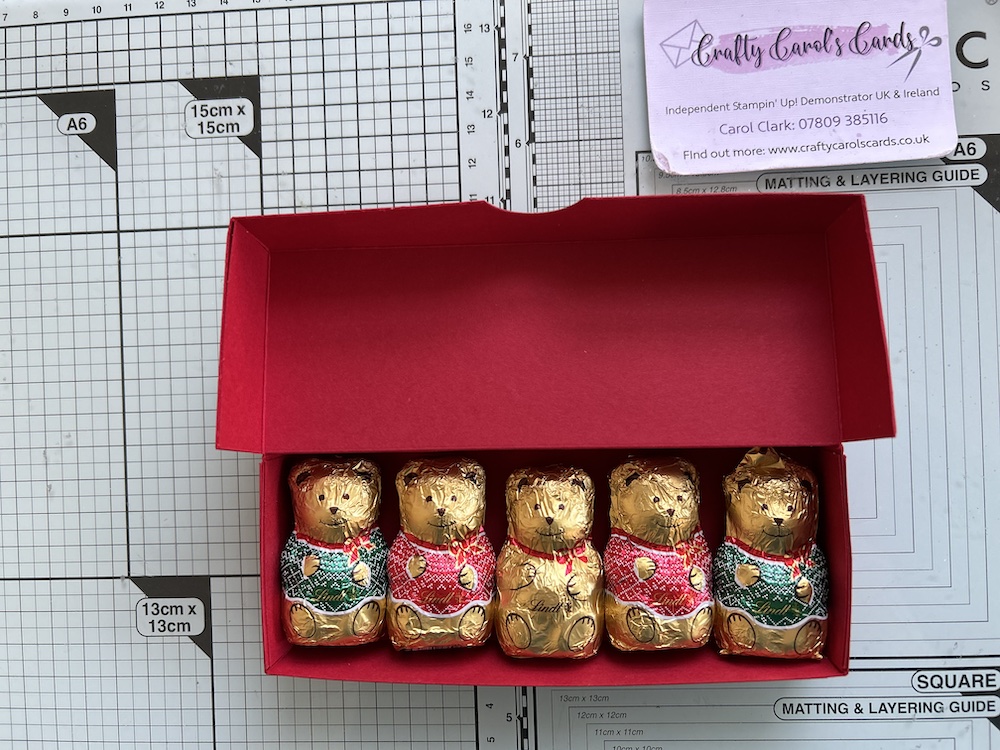
The Lindt teddy box fits five Lindt teddies or any other smallish gift. The finished Lindt teddy box measures 14cm x 5cm x 2.5cm (5 1/2″ x 2″ x 1″).
To make this Lindt teddy box you will need:
- Cardstock 25.5cm x 18.5cm (10″ x 7″)
- Coordinating piece of DSP 14m x 11cm (5 1/2″ x 4 1/2″)
- Scraps for decoration
- Sentiment stamp
- Paper trimmer
You can find the video here on my YouTube channel @craftycarolscards
Score your cardstock on the LONG side at 5.5cm (2 1/8″) on both sides (or 5.5cm and 20cm, 2 1/8″ and 8 7/8″)
Score on the SHORT side at 2.5cm, 8cm, 10.5cm and 16cm (1″, 3″, 4″ and 6″)
Fold and burnish all score lines.
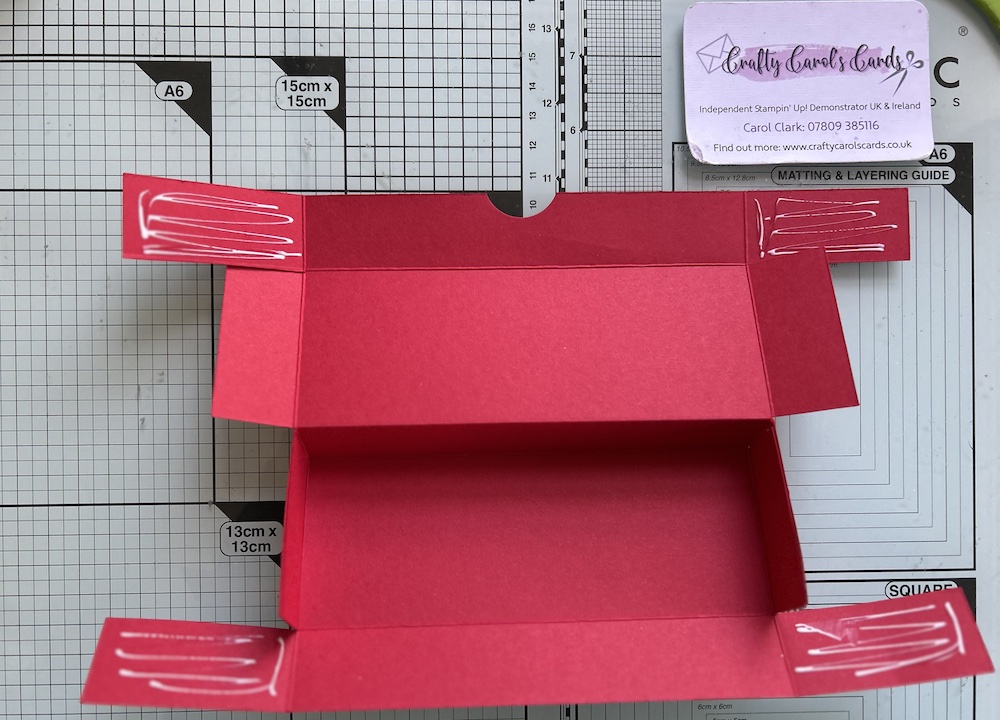
Now cut up all four score lines at each short end of the box to the long side score lines. (This produces three narrow tags and two wider ones.)

Fold the long thin tabs underneath the body of the box and place the folded edge at the 2.5cm (1″) mark on your trimmer as shown:

Cut through the two wide tabs.
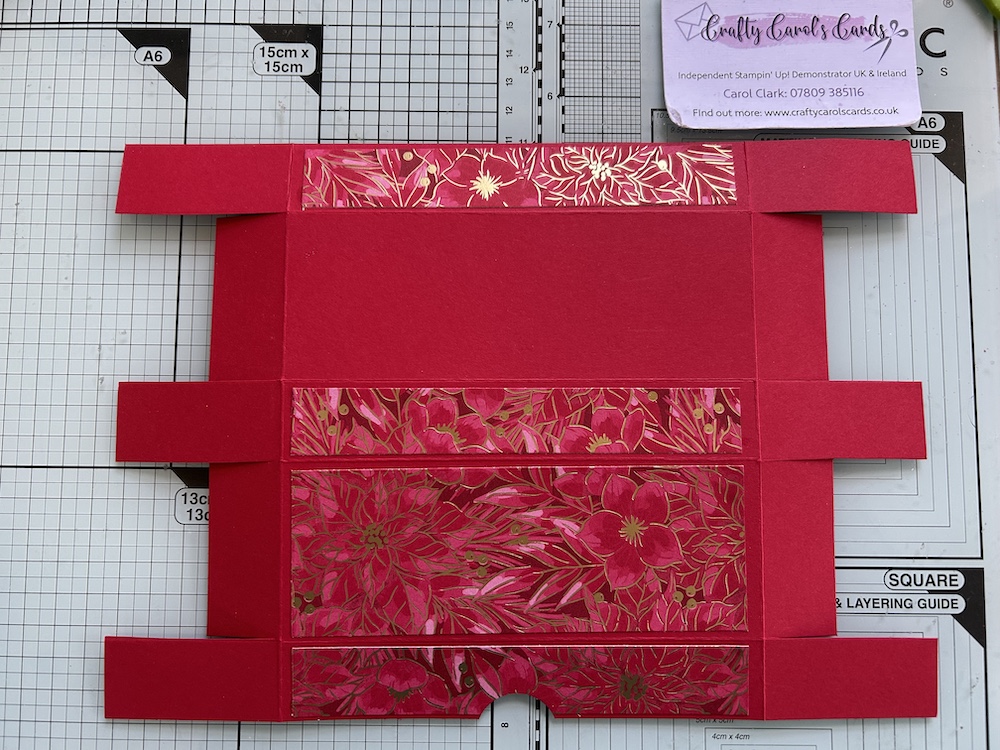
Cut your pieces of DSP. If your DSP has a directional pattern, cut on the short side at 2cm, 5cm and 2cm, with another 2cm wide piece remaining (3/4″, 2 1/4″, 3/4″ plus remaining 3/4″). If the DSP is not directional, it doesn’t matter what order you cut your pieces in!
Stick these onto the outside of your box as shown:
Mark the centre of the top – the side with the three pieces of DSP – with a small pencil mark.
Use a 1″ punch or similar to cut out a thumb crescent. This makes the box easy to open.
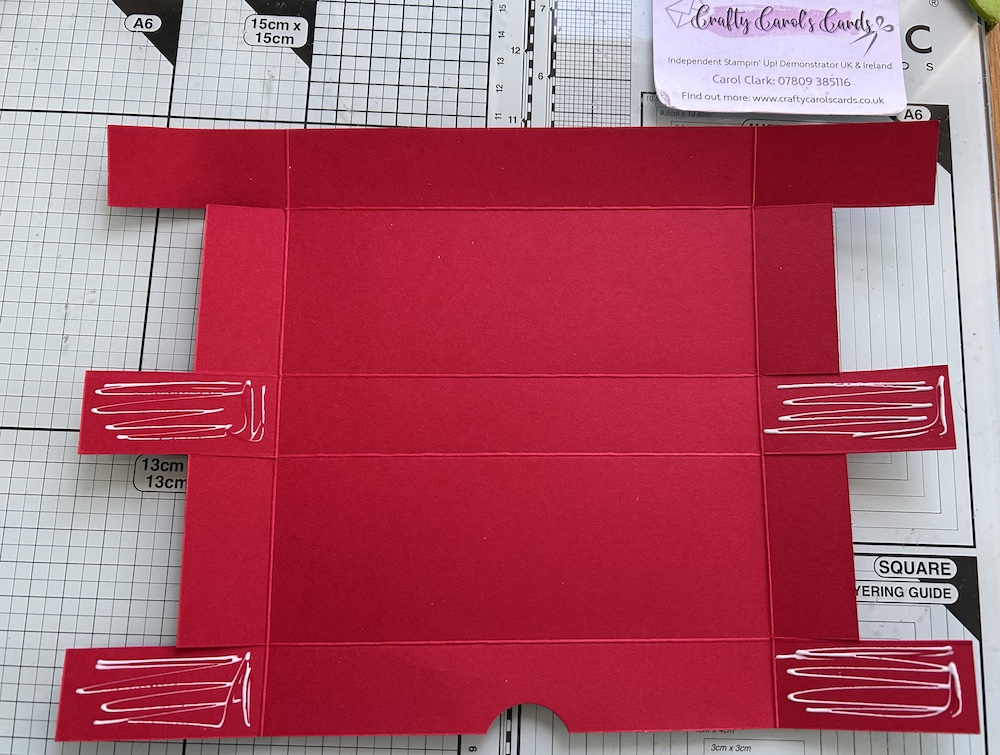
Making up the box
Make up the box base by adding glue to the inside of the bottom two narrow tabs. Fold the stubby side tab up, then stick the centre tab to it, making sure it is square. Then fold over and stick the edge tab down. Repeat on the second side.
Form the lid. Add glue to the remaining narrow tab:
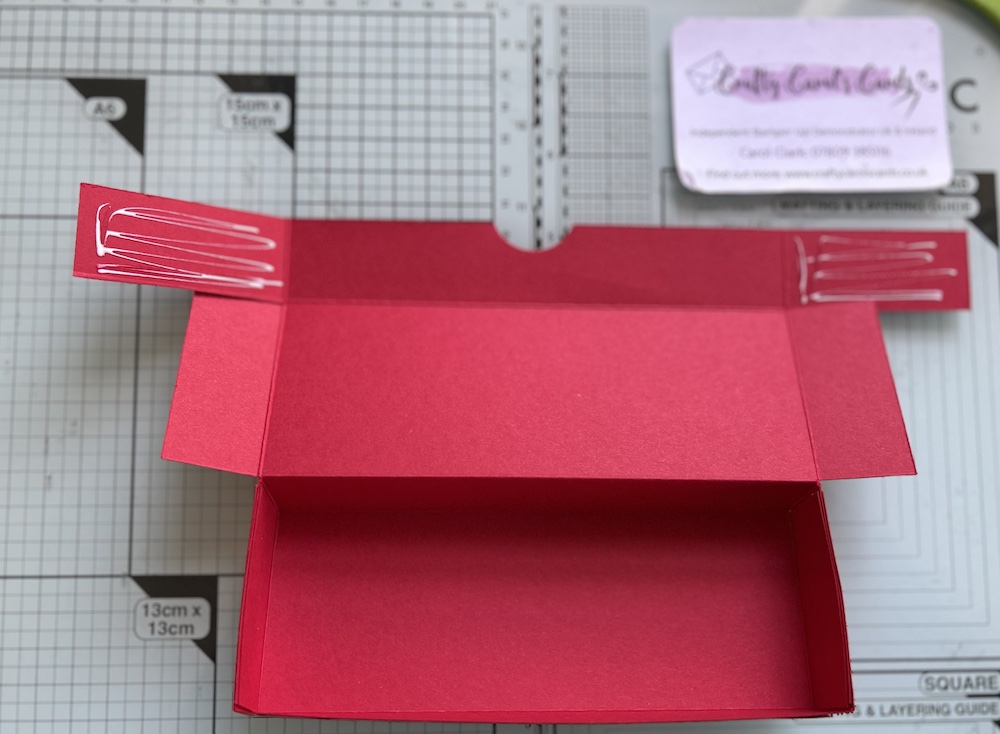
Fold the wide tab in and stick the narrow tab on top, making sure it is square. The lid fits over the outside of the base to close the box.
Decorate the top of your Lindt teddy box. I punched out a 1″ circle of base cardstock from the remnants cut off in the trimming process and stuck it towards the left hand side.
I stamped a sentiment in a coordinating colour ink and trimmed it. I used my fingers to shape it a little then added glue to the left hand edge and stuck it to my card circle.
I die-cut some holly leaves and berries to decorate and added a few gems. You could add a ribbon bow or whatever else you want.
Add your Lindt teddies and your Lindt teddy box is complete to delight someone at Christmas.
Here is the video link again.
Thank you for taking the time to read my post.

Don’t forget – you get a FREE tutorial of eight cards when you place an order with me. There’s a different set every month. And, if your order is over £40, you will also get to choose stuff from my online shop to the value of your order!
