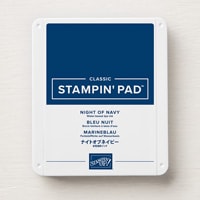
Today’s T4S blog hop theme is White Christmas, so I decided to do a white tree scene as the basis. I had made my prototype in Shaded Spruce, but I needed a darker colour, so I used Night of Navy for my Live today. A tree embossed in white embossing powder and two Basic White die-cut trees completed my card.
I also demonstrated a couple of useful techniques- how to add a simple snowy base to the card and how to outline a sentiment using the same die-cut.

To make my White Chridtma card you will need:
- Thick Basic White card base 10.5cm x 29.6cm (11” x 4¼”)
- Night of Navy / Shaded Spruce layer 10cm x 14.3cm (4” x 5¼”)
- Basic White piece 8cm x 13cm (3″ x 5”) – for die cutting the trees and the additional sentiment die
- Night of Navy piece approx 5cm x 8cm (2½” x 5″) – for the embossed tree and sentiment
- Versamark ink pad
- White embossing powder
- White ink pad
- White ribbon (I used a retired ribbon)
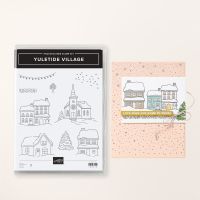
The stamp sets and dies I used are Frosted Forest, Greetings of the Season stamp set and I also used the snow stamp from Yuletide Village.
The instructions for how to make the White Christmas card are given below, or watch the video later in this post.
- Score the Basic White base cardstock at 14.8cm (5½”). Fold and burnish.
2. Die-cut the two Christmas tree inners from the Basic White piece.
3. Stamp a greeting and decoration inside your card using Night of Navy ink.
Here is the inside of my card:
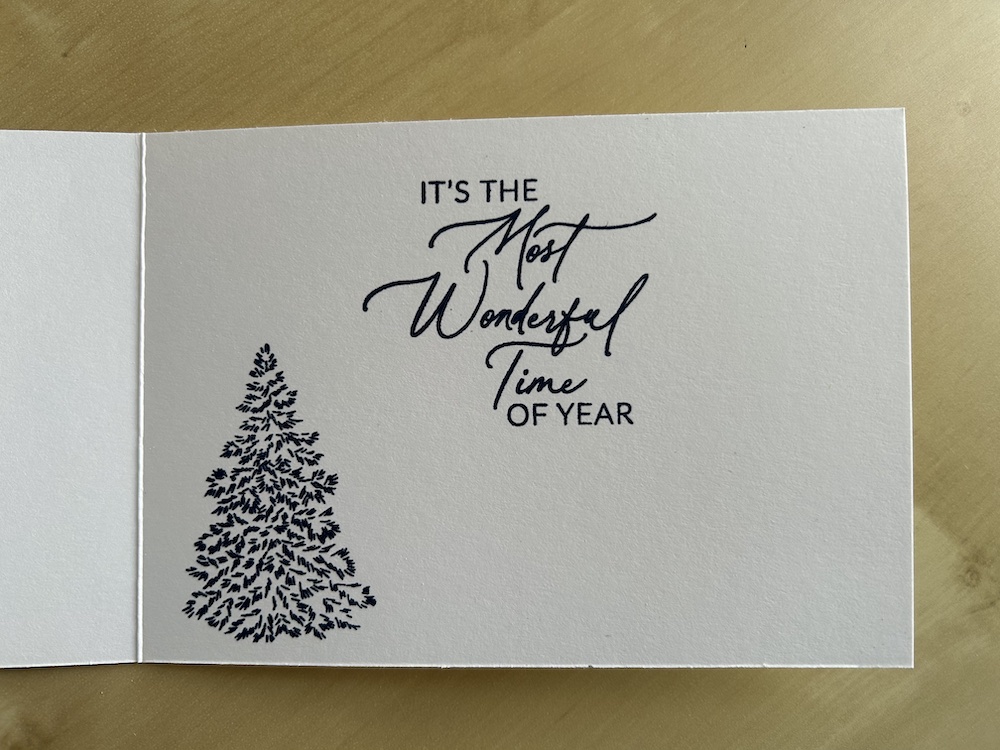
4. Stamp the smaller tree in Versamark on the Night of Navy piece. add white embossing powder and heat set using your heat gun. Die-cut out using the appropriate outline die from the Frosted Forest set.
5. Emboss your chosen sentiment in white on the remainder of the Night of Navy piece and die-cut out. Also die cut the same shape in Basic White. (Note that the Greetings of the Season dies have holes for making tags – this will be dealt with later!)
6. To make the snowy base for the card, lightly smear the Versamark pad over the bottom of the Night of Navy layer. Add white embossing powder and heat set.
7> Stamp snow in white ink over the top of your Night of Navy layer.
8. Stamp a few smaller trees in white ink across your layer. (Note: White ink takes a long time to dry completely. use your heat gun to help if you need, but if you can, leave this piece to dry completely before continuing to make your card.)
9. Stick the Night of Navy layer to your base card.
10. Use small dabs of multipurpose liquid glue to add the two die-cut trees to this layer.
11. Add the embossed tree using dimensionals.
12. Complete the sentiment by cutting the Basic White die-cut piece in half and sticking it behind the main sentiment piece as a border. This technique can be used with almost any die-cut or punched shape.
13. Add a glue dot over the hole and cover with a ribbon bow or gem. You can add further gems to your card if you wish. I used some on my green version (below) to cover up a smudge!
14. Don’t forget to decorate your envelope!
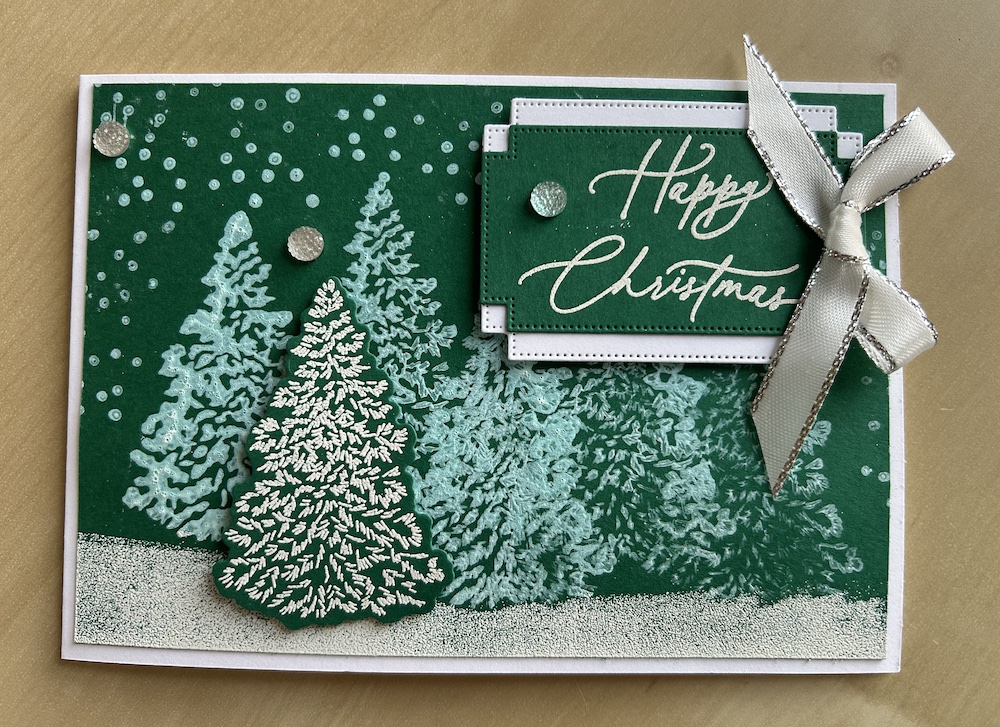
I made this White Christmas card in my Craft with Carol LIVE today (join me every Tuesday at 2pm on YouTube and Facebook) – you can watch the video below:
You can find the links for all the products I used listed below.
Please now check out the wonderful cards made by my fellow T4S stampers via the links below.
See you again soon!
I hope you like this card and will have a go at making one – please show me what you come up with.
Thank you for taking the time to read my post.

Don’t forget – you get a FREE pdf when you place any order with me as your demonstrator. And, if your order is over £40, you will also get to choose stuff from my online shop to the value of your order!
Product List









I nearly used this set. I love your card.
Thanks Fiona
Love these cards and both of the colours
I think I prefer the blue one!
Fabulous cards, tfs Carol.
Thanks Elaine