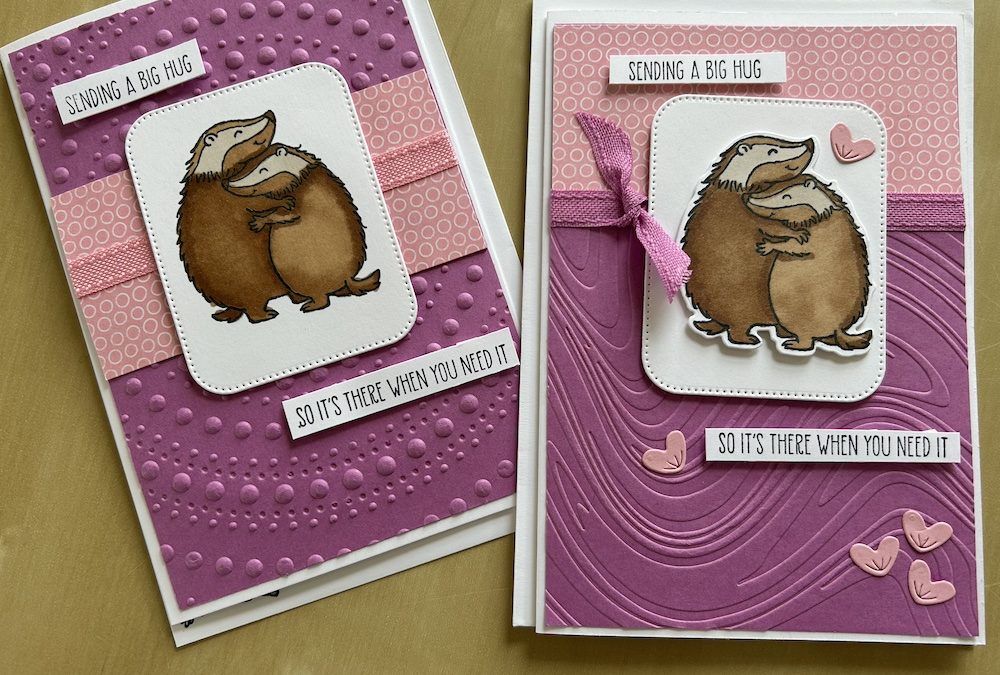
I used two of the new In Colors to make these two-tone cards. The cards in the image used Petunia Pop with Pretty in Pink to make two cards on the same theme.
The main thing I love about Stampin’ Up! is the colour coordination between all their products. The new In Colors go so well together, you can use just about any combination. Or you can use any other of our marvellous colours to make these cards. What’s your favourite colour?
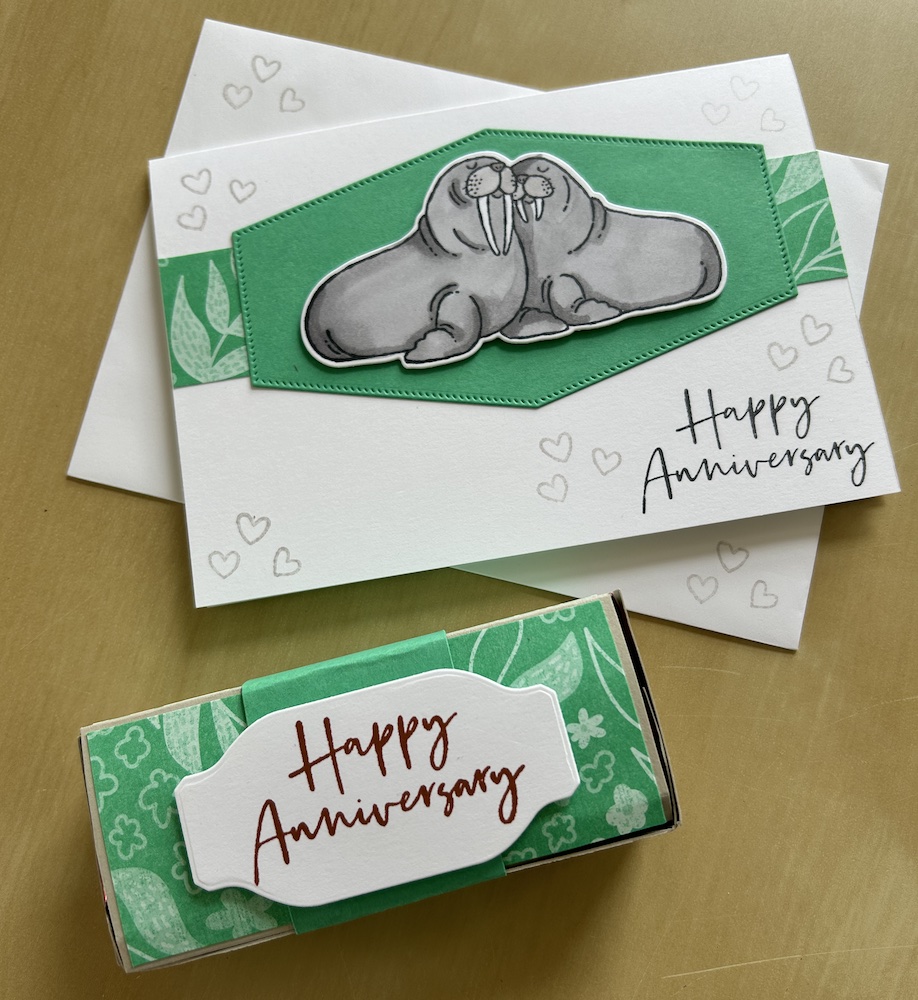
I had made a version of one of these cards as the swap for our monthly team meeting. In my Craftalong I showed attendees how to make a similar card but using different colours and you also saw the anniversary card I made for my husband.
The video shows you how to make the cards – the instructions are also given below.
To make the cards you need:
- Basic White Card base 21cm x 14.8cm (8 ½” x 5 ½”) scored in half at 10.5cm (4 ¼”)
- Colour cardstock layer 10cm x 14.3cm (4” x 5 ¼”)
- Tone colour DSP 10cm x approx 5cm (4″ x approx 2″)
- Basic White scraps for the sentiments, the stamped image and for the die-cut frame
- 13cm length of ribbon plus a length for a knot if desired
The coloured layer is embossed using whichever embossing folder you prefer. I used two new embossing folders for these two-tone cards, So Swirly and Dotted Circles.
Adhere the DSP to the embossed colour layer using tear & tape, either just above halfway or at the top – your choice! Wrap a length of tear & tape around this layer and add your ribbon strip, wrapping it around the back to hold it. For the Get well card I also added a short piece of ribbon crosswise to tie a knot.
Adhere your completed front layer to your base card using multipurpose liquid glue.
Stamp the badger image in Memento ink onto a piece of Basic White cardstock. I coloured it using Pecan Pie blends, colouring the taller badger twice in the light Pecan Pie to make him look darker. I added shading using the dark Pecan Pie. The face stripes are coloured in Crumb Cake.
You can either die-cut this image separately using the die from the bundle or simply cut out the whole image using the largest Nested Essentials rectangular die which forms the frame behind the badger.
Stick your frame and completed badger onto the front of your card as shown in the picture.
Stamp your sentiments onto a strip of Basic White. Trim as shown then add to the card using dimensionals.
I added a few die-cut hearts to the from of the Get Well version of the card as you can see.
I also used this bundle to make my husband his anniversary card, using the greeting from the Layers of Beauty stamp set and the largest diamond die from Nested Essentials. The gift box is made in the same way as the Latte box in last week’s blog post, covered in DSP and with a cardstock belly band.

If you want any of the products listed below and you have a large wish list, don’t forget the marvellous joining offer this month where you can get a range of the new in Color products worth nearly £80 for FREE.
Thank you for taking the time to read my post.

Don’t forget – you get a FREE tutorial of eight cards when you place an order with me. There’s a different set every month. And, if your order is over £40, you will also get to choose stuff from my online shop to the value of your order!
Product List


