I love a fun fold card. This triple flap card is much easier to make than it sounds and has a true wow factor for the recipient. It is based on a gatefold card but has an additional flap card inside. We made it at my free Craftalong this month (July 2025). Sign up for my emails to get the link to join me next month!
To make this card, you will need:
- Colour 1 Card base: 21cm x 14.8cm (8½” x 5½”)
- Colour 2 inner card: 28.6cm x 10cm (10½” x 4″)
- Colour 2 card panels (x2): 14.3cm x 4.8cm (5¼” x 1¾”)
- Basic White panel 9.5cm x 13.8cm (3¾” x 5”)
- DSP panel 9.5cm x 13.8cm (3¾” x 5”)
- DSP panels contrasting pattern 4.3cm x 13.8cm (1¾” x 5″)
- Colour 1 card die-cut shape approx 8cm (3″) diameter – can be a circle, square or oval
- Basic White die-cut the same shape using a size smaller die. (NB your sentiment needs to fit on this)
- Scraps of Basic White for stamping/die-cutting additional images if required.
Start by scoring the base triple flap card on the long side at 5.3cm (2 1/8″) from each end. Fold each side inwards and burnish well.
Score the inner card on the long side at 14.3cm (5¼”), fold over and burnish well.
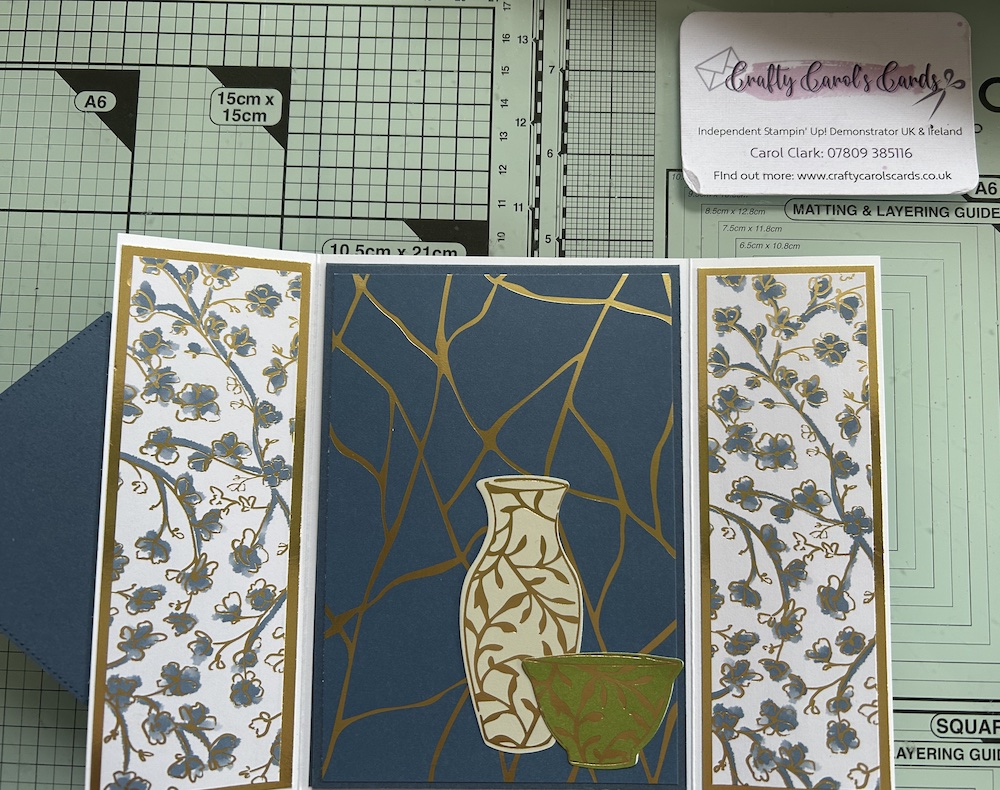
To make up the inner card, stick the large DSP piece to the front of this card – note that this piece will sit longways in the centre of your card base, opening upwards, so be careful with the direction of your DSP if it is directional.
You can add any additional decoration you want to this piece – I used some die-cut vases. Just remember to stick them flat – no dimensionals!
Here is my completed inside card layer:
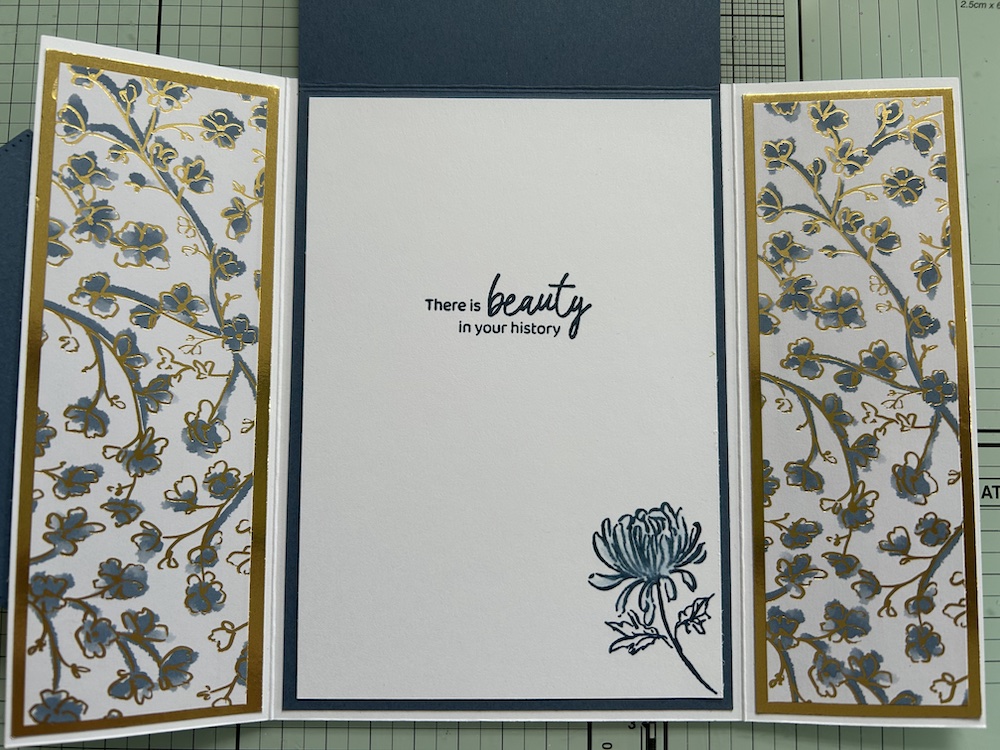
Stamp a greeting on your Basic White panel and add any further stamping and coloured decoration you wish (I used the Kintsugi flower coloured with my Blender pen), then stick this completed panel to the inside of your inner triple flap card base.
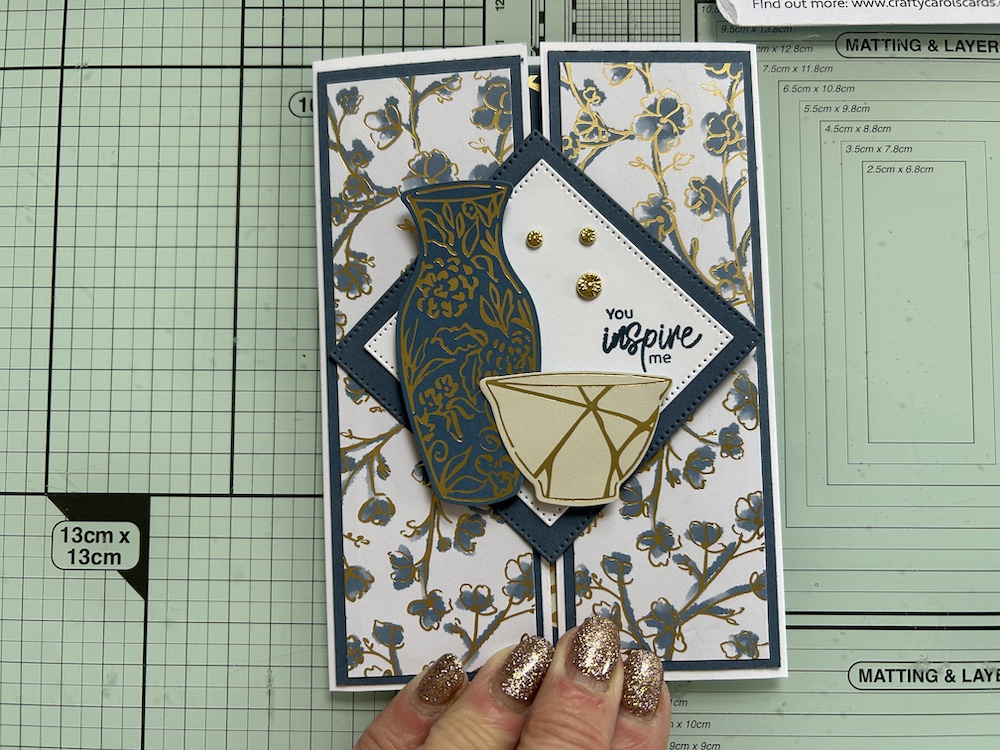
Adhere the completed inner card to the centre panel of your main triple flap card base so that the card opens upwards as shown below.
Stick the coloured panels to the outside of your gatefold flaps and add the DSP pieces on top.
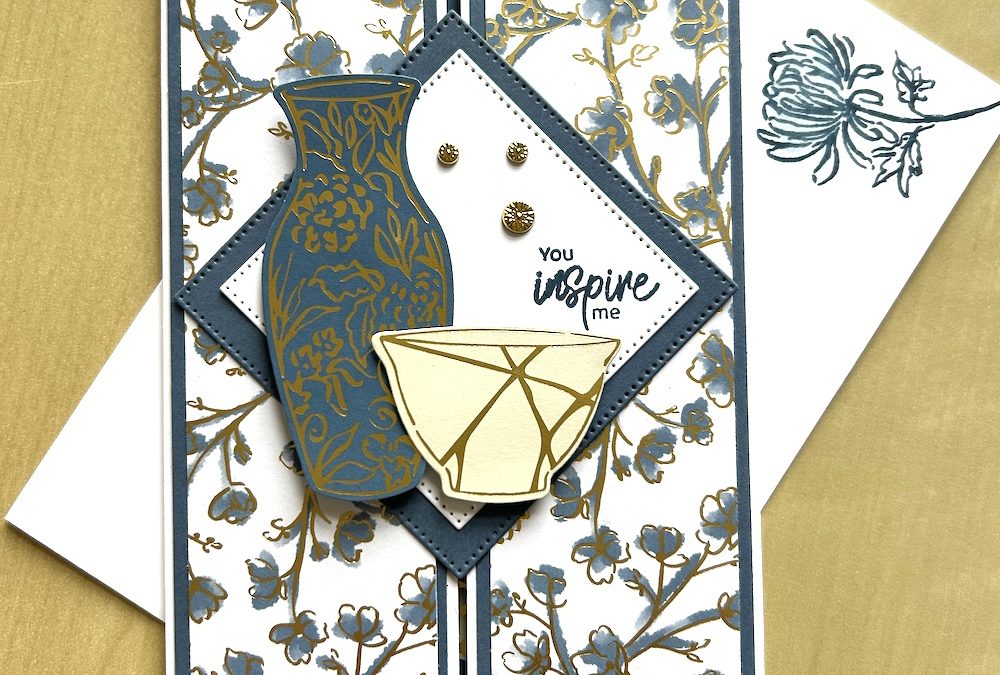
Stamp your sentiment inside the Basic White die-cut shape. Adhere this on top of your coloured shape.
Then stick this to the left-hand panel of your main triple flap card front – be careful not to add glue to the right-hand side!
Stamp and/or die-cut any additional decorations you want and add to your card. I used some die-cut vases from my Kintsugi DSP.
Finish with a few gems – I used the Flower Accents from the Kintsugi suite.
Don’t forget to decorate your envelope!
I hope you like this card and will have a go at making one – please show me what you come up with.
Thank you for taking the time to read my post.

Don’t forget – you get a FREE pdf when you place any order with me as your demonstrator. And, if your order is over £40, you will also get to choose stuff from my online shop to the value of your order!
Product List ![Inspiring Imperfections Dies [ 165166 ]](https://assets1.tamsnetwork.com/images/EC042017NF/165166s.jpg "Inspiring Imperfections Dies [ 165166 ]") | ![Basic White A4 Thick Cardstock [ 159230 ]](https://assets1.tamsnetwork.com/images/EC042017NF/159230s.jpg "Basic White A4 Thick Cardstock [ 159230 ]") |
![Kintsugi Inspirations 12" X 12" (30.5 X 30.5 Cm) Specialty Designer Series Paper [ 165159 ]](https://assets1.tamsnetwork.com/images/EC042017NF/165159s.jpg "Kintsugi Inspirations 12\" X 12\" (30.5 X 30.5 Cm) Specialty Designer Series Paper [ 165159 ]")
![Inspiring Imperfections Photopolymer Stamp Set (English) [ 165161 ]](https://assets1.tamsnetwork.com/images/EC042017NF/165161s.jpg "Inspiring Imperfections Photopolymer Stamp Set (English) [ 165161 ]")
![Misty Moonlight Classic Stampin' Pad [ 153118 ]](https://assets1.tamsnetwork.com/images/EC042017NF/153118s.jpg "Misty Moonlight Classic Stampin' Pad [ 153118 ]")

