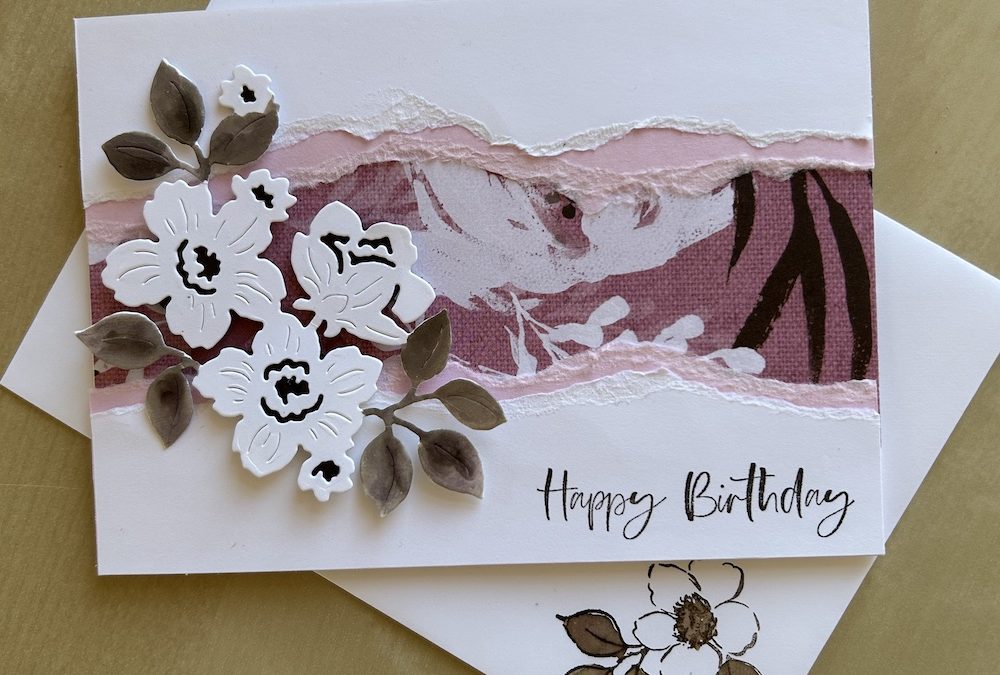
This card is a torn card, that is, the layers on the front are torn rather than cut which gives a lovely effect. This torn flower card is a highly flexible design. It can be made for any occasion and you can use any DSP or decoration you wish.
I used some retired DSP for the centre panel, but used the Online Exclusive Charming Day bundle from June, part of the Floral Charm suite, for the decoration.
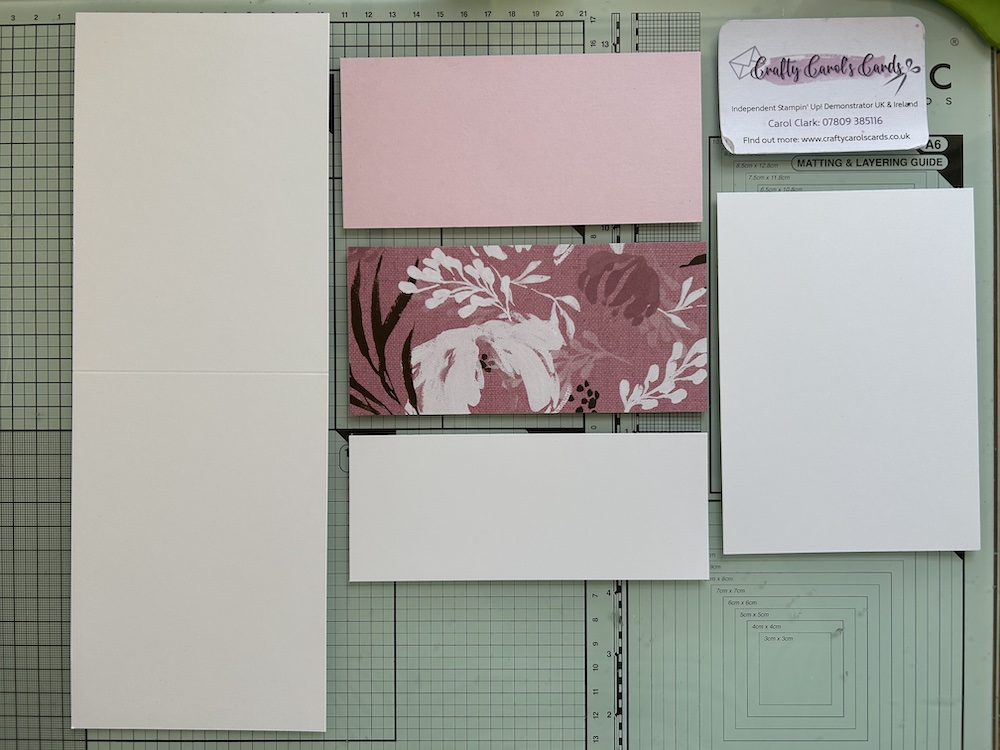
To make this torn flower card you need:
- Basic White thick card base 10.5cm x 29.6cm scored at 14.8cm (11” x 4¼” scored at 5½”)
- DSP panel 7cm x 14.8cm (2¾” x 5½”)
- Colour card (I used Bubble Bath) 7cm x 14.8cm (2¾” x 5½”)
- Basic White card 6cm x 14.8cm (2¼” x 5½”)
- Basic White card approx 9cm x 10cm (4” x 4½”) for die-cutting
- Colour ink pad for leaves and stamping (I used Early Esprsso)
Here are the bits you’ll need:
Fold and burnish the base card.
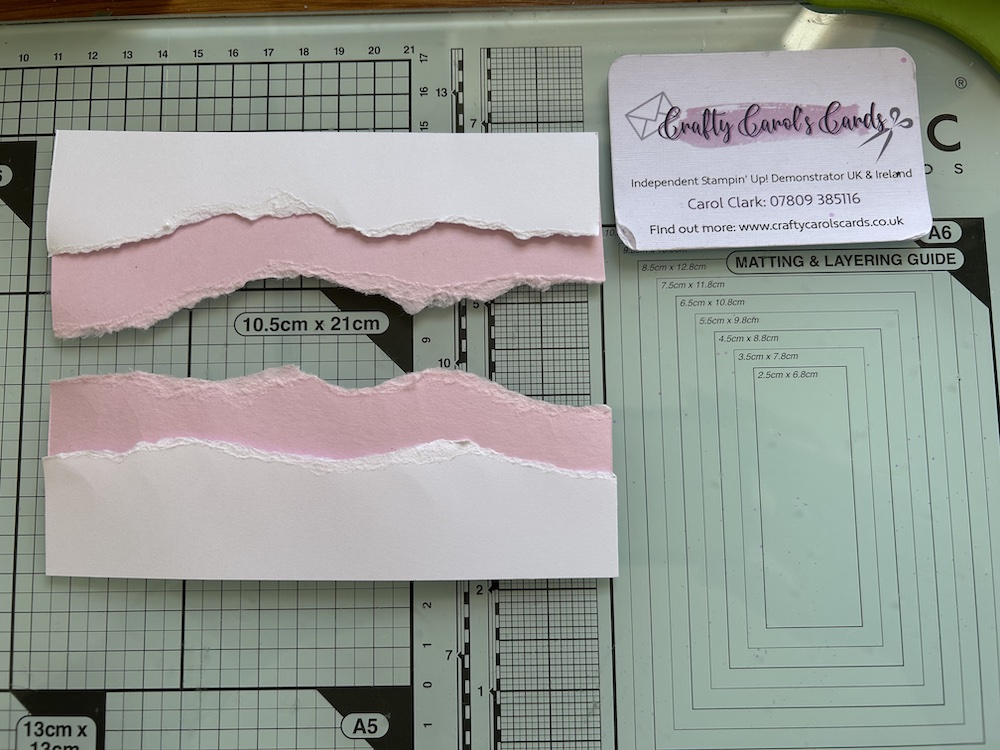
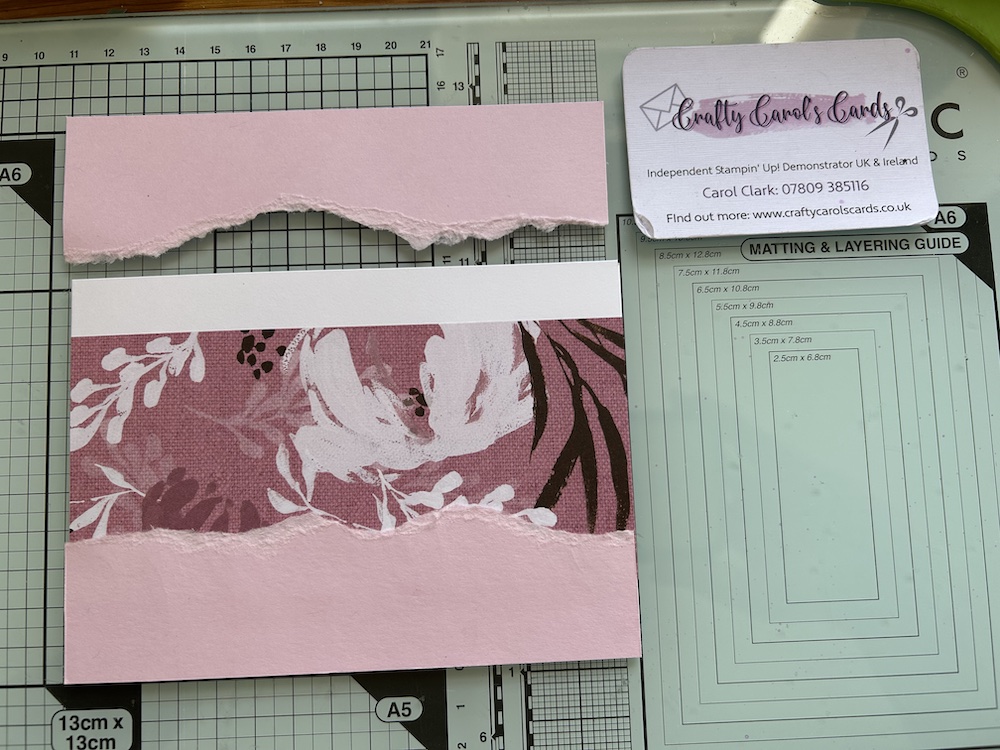
Roughly tear the Bubble Bath (or chosen colour) card in half, but don’t try and tear it straight – it needs bumps and hollows!
Tear the Basic White panel in a similar way.
Place these pieces together and adjust by more tearing if necessary.
Stick the centre DSP panel to the card front so it lies across the centre. Stick the colour cardstock pieces to the top and bottom of the card then stick the torn Basic White pieces on top.
Stamp your chosen sentiment in Early Espresso (or chosen colour) to the bottom right of the card front.
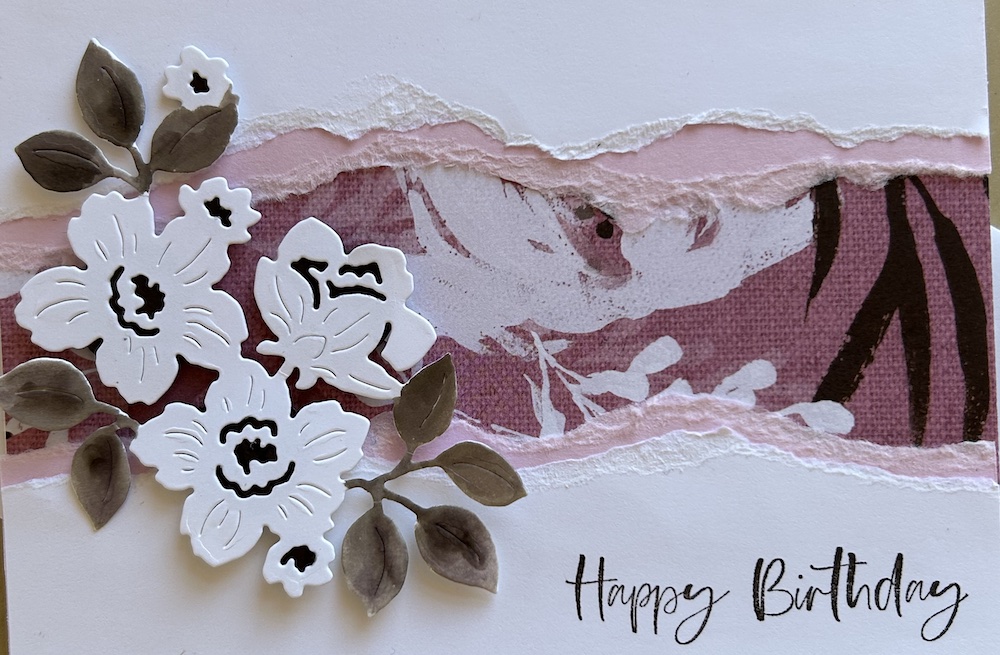
Die-cut the large flower cluster using the die from the Charming Day bundle.
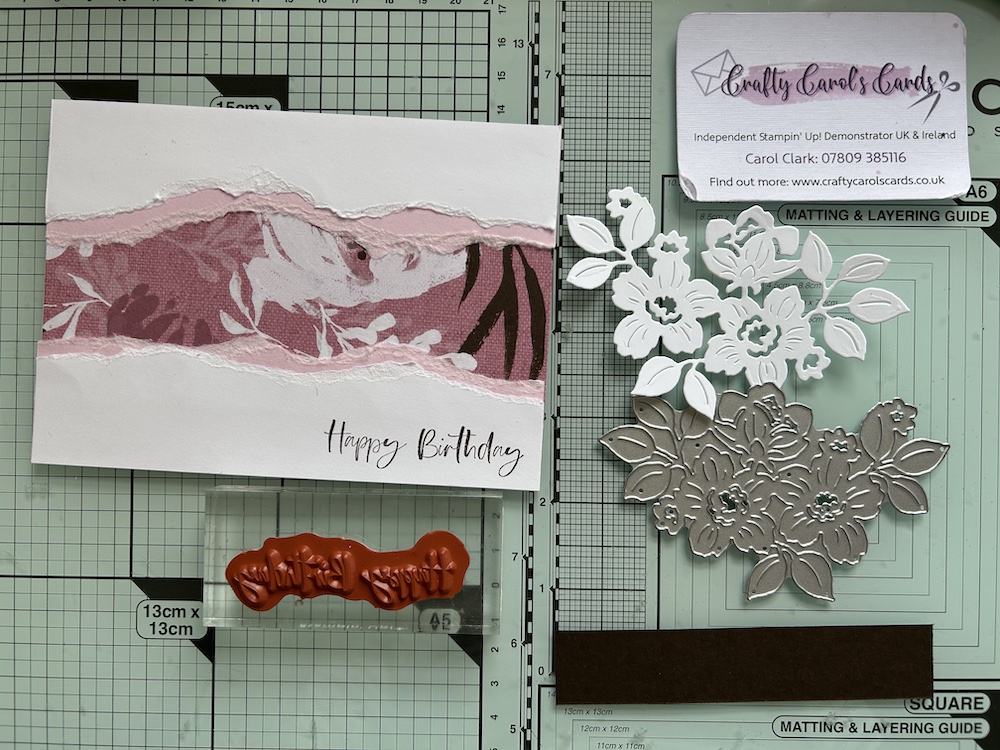
Cut out pieces of Early Espresso (or chosen colour) cardstock and stick these pieces behind the flowers to show through the gaps.
Stamp the single flower from the Charming Day set in Early Espresso (or your chosen colour) as decoration inside the torn flower card and on the envelope. Stamp a sentiment inside the card.
Use a Stampin’ block to pick up some ink from your ink pad. With your water painter, pick up colour to colour the leaves – I used Early Espresso.
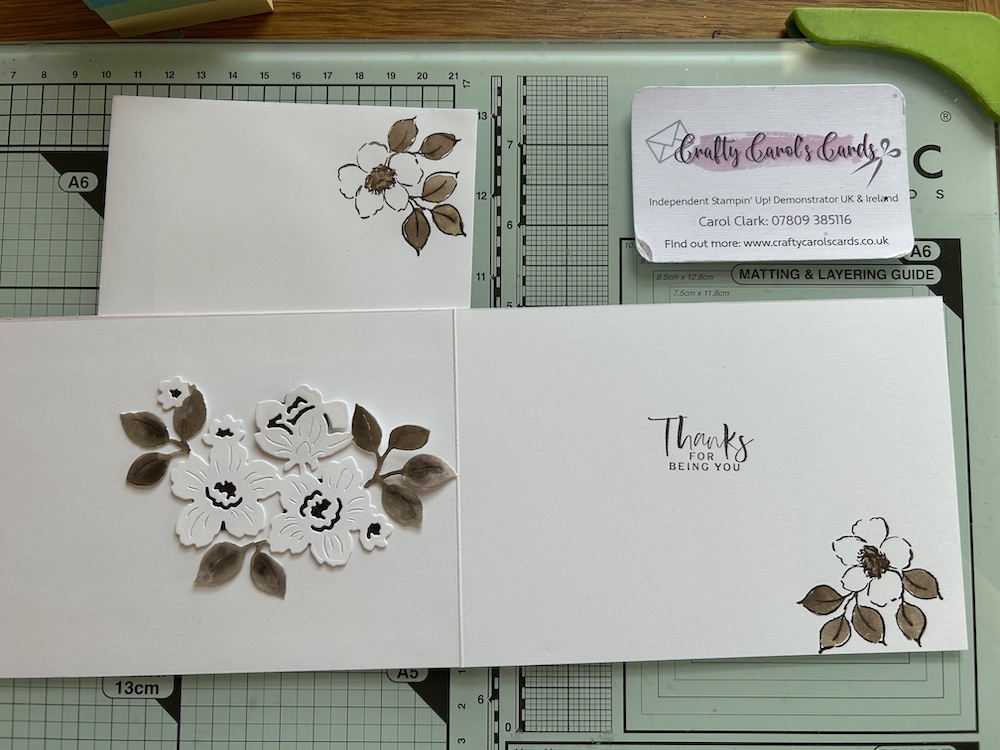
Add the completed flower cluster to the card front using dimensionals, and your torn flower card is complete.
I decided not to add anything else, but you could add some gems or a twine bow if you wish.
I hope you like this card and will have a go at making one – please show me what you come up with.
Thank you for taking the time to read my post.

Don’t forget – you get a FREE pdf when you place any order with me as your demonstrator. And, if your order is over £40, you will also get to choose stuff from my online shop to the value of your order!
Product List ![Charming Day Bundle (English) [ 166136 ]](https://assets1.tamsnetwork.com/images/EC042017NF/166136s.jpg "Charming Day Bundle (English) [ 166136 ]") | ![Basic White A4 Cardstock [ 166781 ]](https://assets1.tamsnetwork.com/images/EC042017NF/166781s.jpg "Basic White A4 Cardstock [ 166781 ]") | ![Bubble Bath A4 Cardstock [ 161727 ]](https://assets1.tamsnetwork.com/images/EC042017NF/161727s.jpg "Bubble Bath A4 Cardstock [ 161727 ]") |
![Early Espresso Classic Stampin' Pad [ 147114 ]](https://assets1.tamsnetwork.com/images/EC042017NF/147114s.jpg "Early Espresso Classic Stampin' Pad [ 147114 ]")

