The December blog hop topic is Celebrate! This is easy for me as I love Christmas – the decorations, the twinkling lights, the mince pies and the chocolate – and I also love giving Christmas cards and gifts to my family and friends.
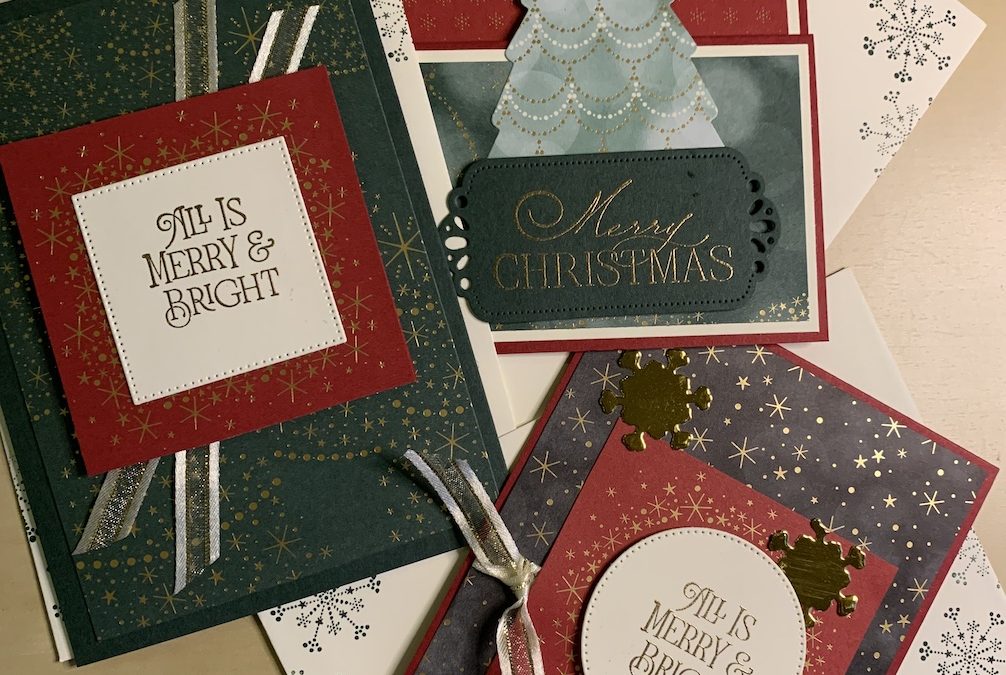
No matter how early I start and how hard I try, I always end up making some last-minute Christmas cards. So my blog hop this month is three simple and quick Celebrating Christmas cards using the gorgeous Lights Aglow Designer Series Paper and sentiment stamps from the Brightest Glow stamp set. You can see the products I used at the bottom of this post.
All cards have a Very Vanilla inner layer 9.5cm x 13.8cm stamped and ready for your own written greeting.
Card 1
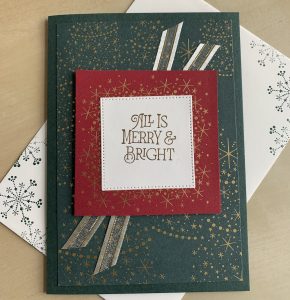
This card uses an Evening Evergreen card base 21cm x 14.8cm scored in half at 10.5cm. I used the gold tree DSP sheet from the Lights Aglow papers, cut in portrait at 9.5cm x 13.8cm and a one-quarter sheet of the red square frames paper.
Stick the DSP to the front of your card base.
Add a piece of tear ‘n’ tape to the centre of the card. Cut two lengths of satin-edged gold ribbon of approximately 11cm and stick down crosswise to the tape as shown in the picture.
Stamp the sentiment in Versamark on a scrap of Very Vanilla cardstock, add gold embossing powder and heat until set.
Trim the sentiment or use a die (I used the third largest square from the stylish shapes dies) and attach it to the centre of the DSP frame. Add this to the centre front of the card using dimensionals.
Card 2
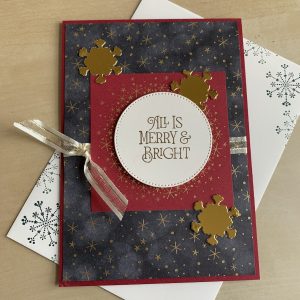
This card uses a Cherry Cobbler base 21cm x 14.8cm scored in half at 10.5cm.

Choose a sheet of DSP and cut to 10cm x 14.2cm. Using tape behind the DSP, add an 11.5cm strip of ribbon across the centre of the DSP, wrapped around the back.
Slide another strip of ribbon of approximately 12cm underneath this fixed piece of ribbon on the left-hand side and tie a knot. Trim the ends.
Attach the completed DSP to the front of your card base. Using a DSP red gold frame piece, adhere the DSP frame flat to the front of your card.
Stamp your chosen sentiment in Versamarak on a scrap of Very Vanilla and emboss in gold. Cut out using a stitched circle die (I used the Stylish Shapes) and attach using dimensionals.
Using the small snowflake die from the Twinkling Lights dies (or any other small snowflake die) cut three snowflakes from gold foil and add to your card as shown.
Card 3

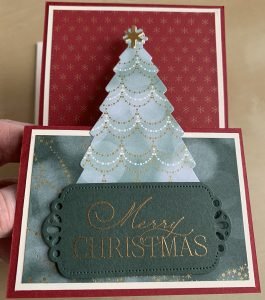
For this easy fun fold card, use a Cherry Cobbler vase as above. You need a second piece of Cherry Cobbler measuring 10.5cm x 29.6cm, scored at 7.4cm and 14.8cm. Fold into a “W” shape and attach to your card base.
Very Vanilla cardstock is used as layers. The layer for the back piece is 10cm x 14.2cm and the layer for the front fold is 10cm x 6.9cm.
The DSP sheet for the back of the card is 9.5cm x 13.7cm. The DSP layer for the front is 9.5cm x 6.4cm. I used two different sheets of DSP. Your choice!
The tree is cut from the sheet of DSP using the Twinkling Lights die and the star for the top is die-cut using the same die set from gold foil. The tre is attached to the front piece using multipurpose glue.
Die cut a frame in Evening Evergreen using the die from the Labels Aglow dies. Stamp your greeting in Versamark and emboss in gold. Attach to the front of the card using dimensionals.
Don’t forget to decorate your envelopes!
I hope you enjoyed this project. Please get in touch if you want to know more about what I do and please check out and subscribe to my YouTube channel, @craftycarolscards.
Now click on the list below to see the wonderful creations from my fellow Tech 4 Stampers.
Product List
|
|
|
|
||
|
|
|
|
|
|
|
|
|
|
|
|


Beautiful cards Carol. Love that paper
Lovely cards, Carol – love this suite. TFS.