I’ve made a few cards now with the Thoughtful Wishes bundle but mainly using the stamps, This time I wanted to show how the Thoughtful Wishes dies that are part of the bundle add even more to any card you make. There are three dies that complement the stamp set but do not cut out any images from the set and they have taken pride of place on my card.
The bundle of stamp set and dies together has an additional 10% off this month (June 2024) on top of the original 10% off, so let me know if you’d like this bundle.
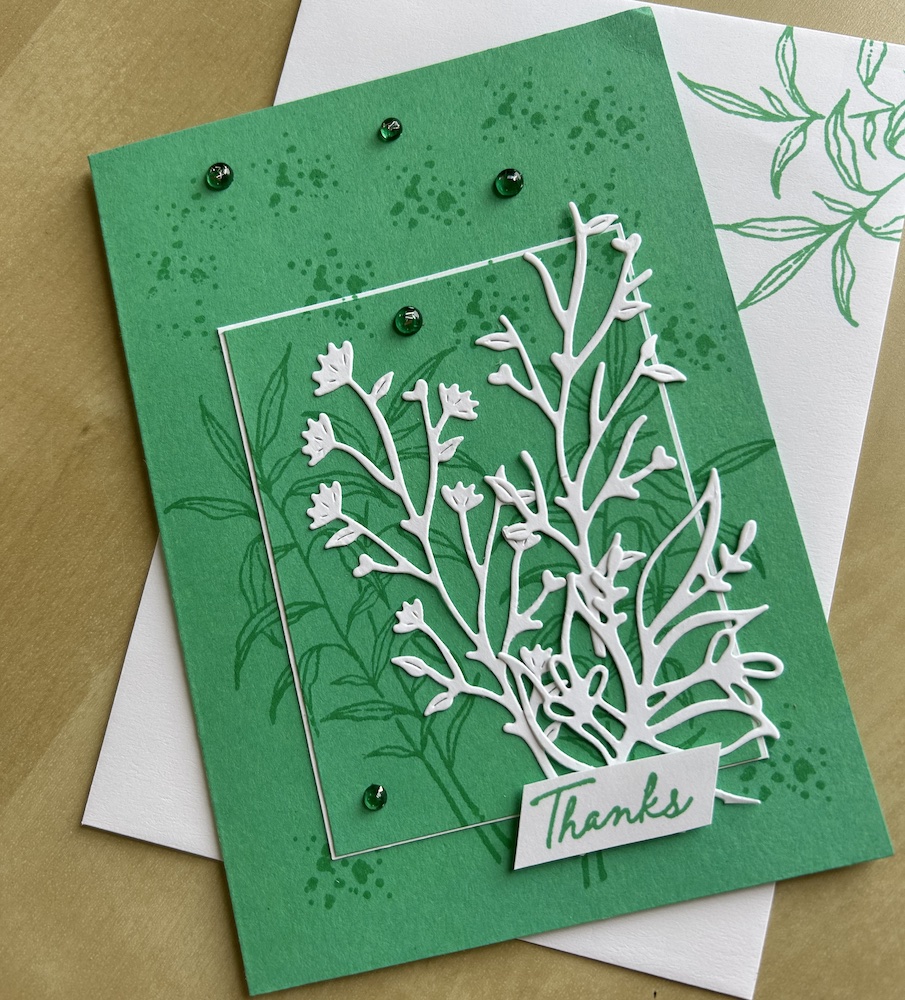
I wanted to carry on the monochrome theme this week. I made my first card using Shy Shamrock but I wasn’t altogether pleased with it. The centre panel I used seemed too big and the stamping and die cuts were rather muddled. The gems seemed too big as well. Here’s the card I made. What do you think?
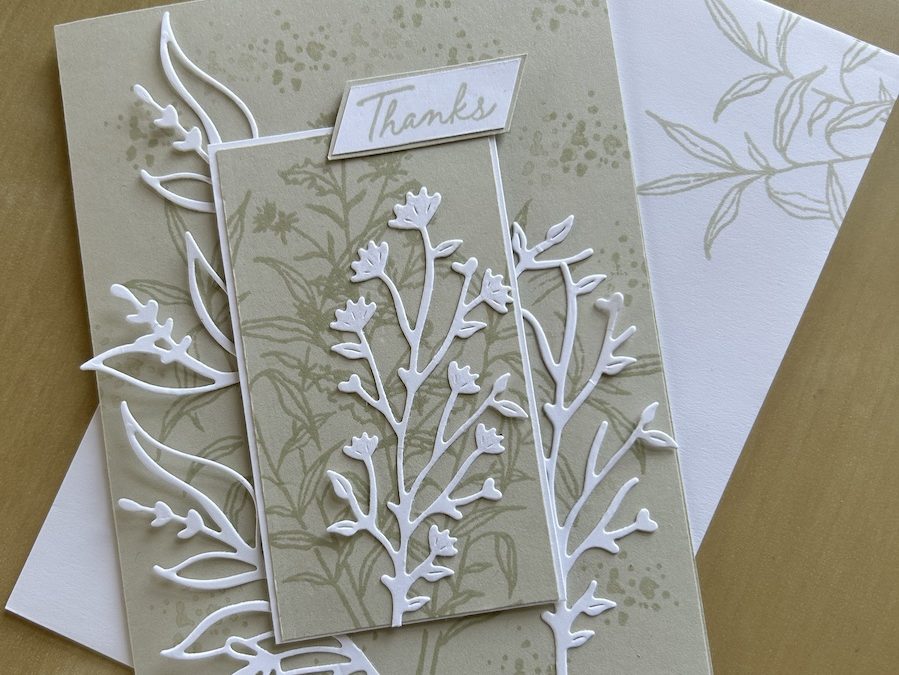
So I revised the card for my Craft with Carol Live today. I used Basic Beige as the base and changed the size of the panels. I like it better, as did the lovely ladies who joined me – I’d love to know what you think!
Here are the instructions and you can also see how to make the card in the video which you can find at the end of this post.
To make the Thoughtful Wishes card you will need:
- Basic Beige (or another colour) cardstock 21cm x 14.8cm (8 ½” x 5 ½”) scored at 10.5cm (4 ¼”)
- Basic Beige (or another colour) cardstock panel 5cm x 9cm (2″ x 3 ½“)
- Basic White panel 5.25cm x 9.25cm (2 1/8″ x 3 5/8″)
- Basic White pieces approx 12cm x 7cm (5″ x 3″) and 10.5cm x 7cm (4½” x 3″) for die cutting
- Basic Beige (or your chosen colour) ink pad
- Scrap of Basic White for sentiment
Place the colour panel on top of the card base – use temporary adhesive if you wish to hold it in place.
Stamp the Thoughtful Wishes stamps in Basic Beige (or your chosen colour) across both card pieces. Remove the panel.
Stamp the spotty stamp randomly to fill in some of the remaining space on the card front.
Die cut the three dies that do not match any stamps.
Stick the panel to the Basic White layer. Add to the front of the card using dimensionals.
Stick the Thoughtful Wishes die cuts around this panel however you wish. Add the flower head die cut on top.
Stamp your chosen sentiment onto a scrap of Basic White using Basic Beige (or your chosen colour) ink. I added a layer of Basic Beige cardstock, too.
Add to your card wherever you like! Use dimensionals or stick it flat, whichever suits the card best.
Use Basic Beige to stamp the inside panel, using a stamp from the set and a sentiment of your choice. Here is how I stamped my first Shy Shamrock Thoughtful Wishes card. I stamped my Basic Beige card (and envelope) in the same way:
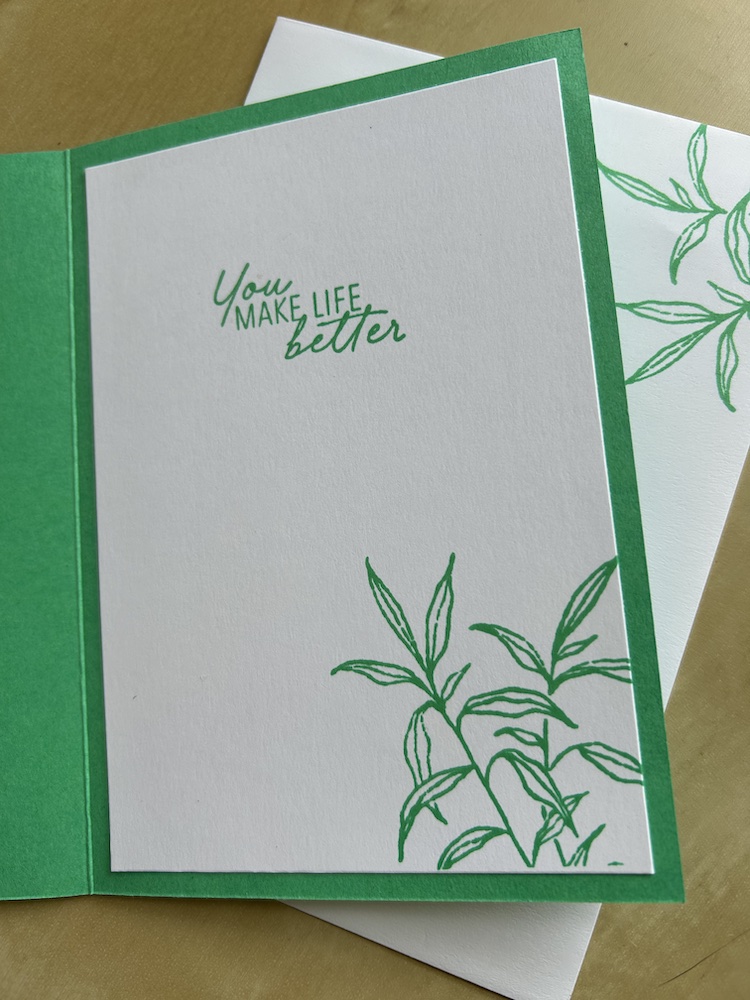
Don’t forget to decorate your envelope!
Here is the video of how to make the card:
Which card do you like best? Let me know in the comments!
You could make this card using any similar stamp set and dies. I’d love to see what you make.
PLEASE NOTE: I am having a week off so the next Craft with Carol LIVE will be in TWO weeks time. Hope to see you then!
Thank you for taking the time to read my post.

Don’t forget – you get a FREE tutorial of eight cards when you place an order with me. There’s a different set every month. And, if your order is over £40, you will also get to choose stuff from my online shop to the value of your order!
Product List  |  | |||
 |  |  |  |  |
")

 Bordered Ribbon")

