As this post is published I will actually be in Strasbourg at our annual Stampin’ Up! On Stage event. We will be finding out about the new annual catalogue, new In Colors, new products and updates, and having a fabulous time meeting old and new friends and crafting together. You can come to these yearly events if you are an active demonstrator – another big benefit of joining my team!
Many of us take swaps – small hand crafted items using current products that we then swap with other demos. I find this is a great source of ideas for future crafting, as well as an opportunity to introduce yourself to people who aren’t yet friends but soon will be!
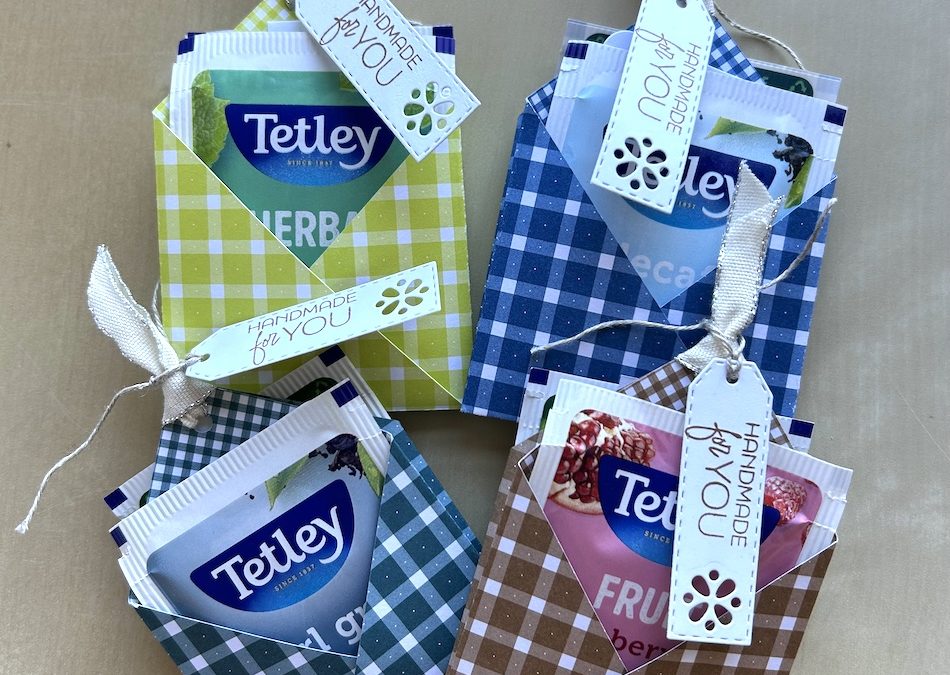
For my swaps this year I made thirty hot drink treat holders (blog post for those can be found in December 2024) and thirty teabag holders. These no-glue teabag holders hold two teabags and are quick and easy to make, important when you are making so many!
You will need:
- One sheet of 6″ x 6″ DSP (I used Glorious Gingham)
- Bone folder
- Hole punch
- Any coordinating ribbon approx 6″ long
- Small piece of twine
- Scrap of Basic White for the sentiment
I’ve included pictures of each stage – there is also a free downloadable pdf available in my online store if you want it. Or watch the video at the end of this post to see me make this teabag holder.
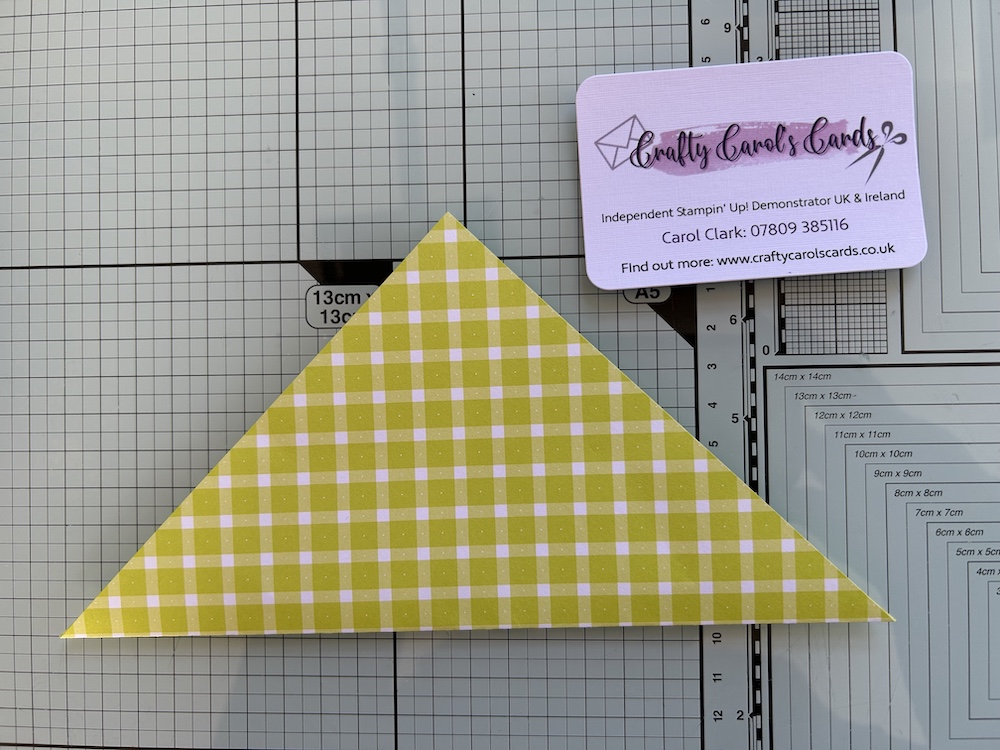
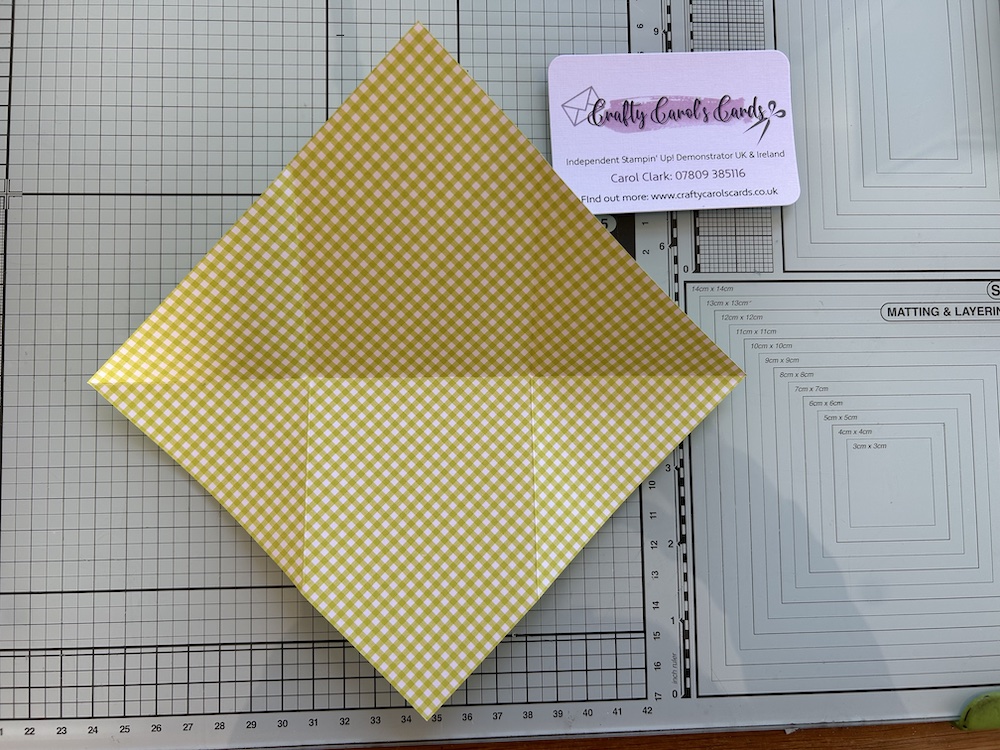
Fold your DSP sheet in half from corner to corner and burnish well with your bone folder:
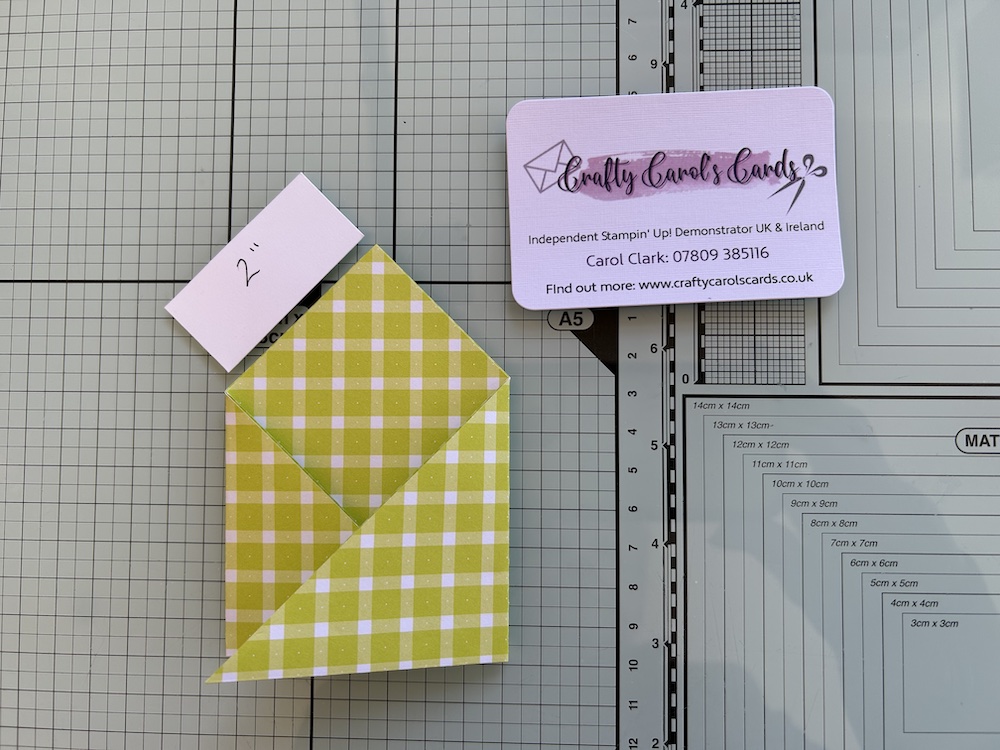
Then fold in one side with the fold 2″ from the top point and burnish:
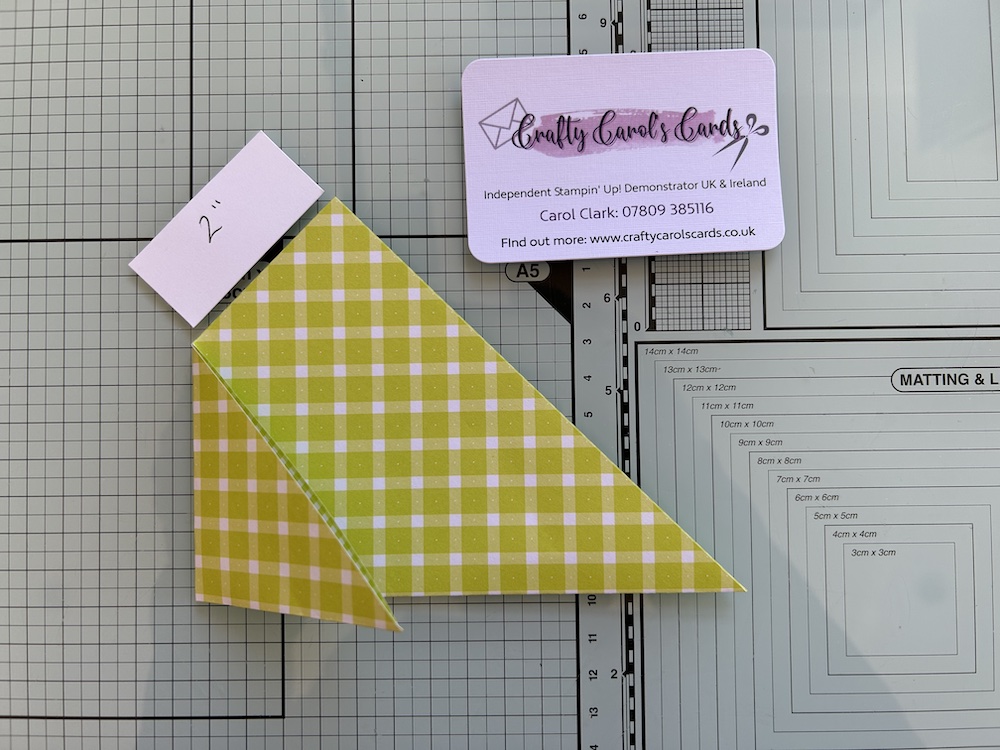
Fold the other side across making sure it is level with the bottom fold and burnish:
Open up the sheet. You should have two vertical folds and one horizontal fold:
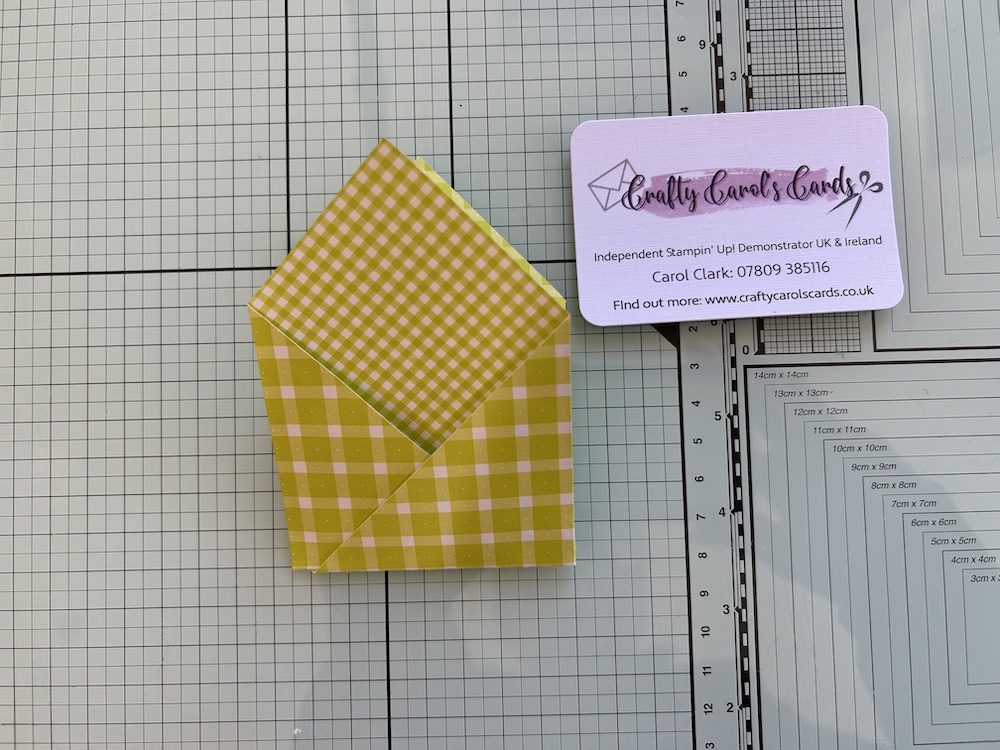
Fold in one side so that the point is level with the horizontal fold. Burnish well:
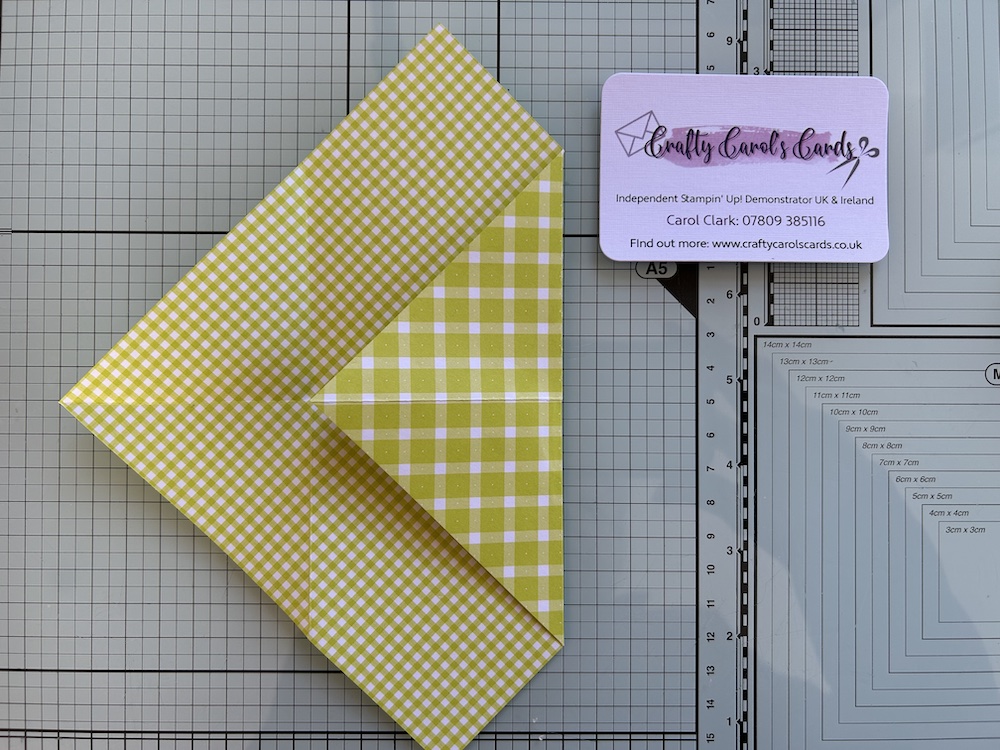
Fold the other side over in the same way and burnish:
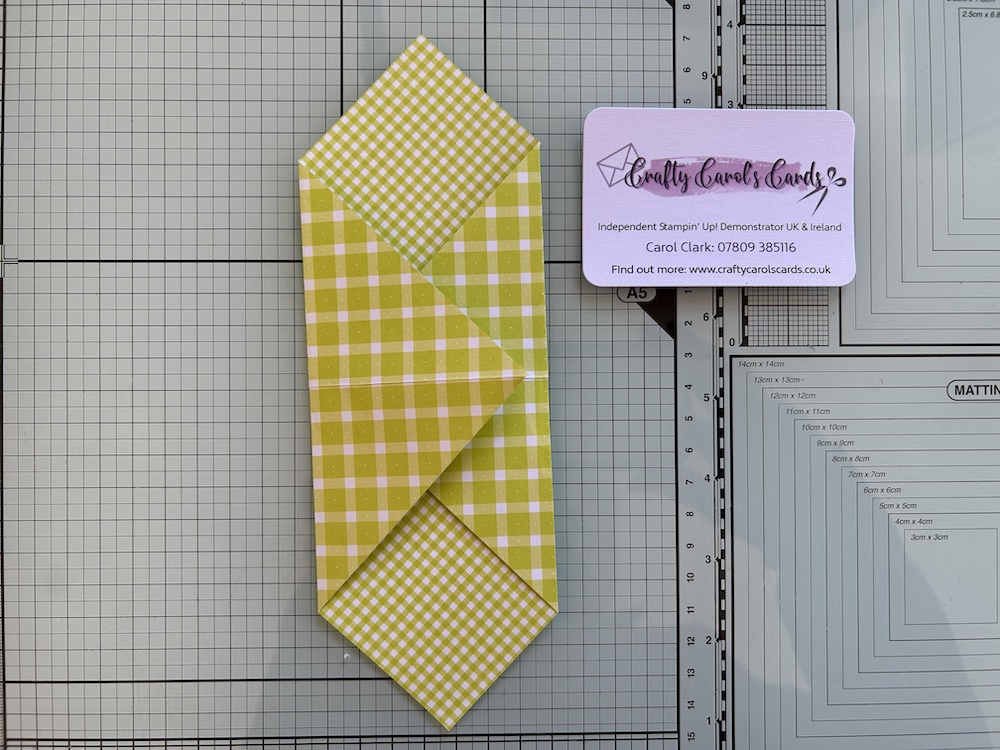
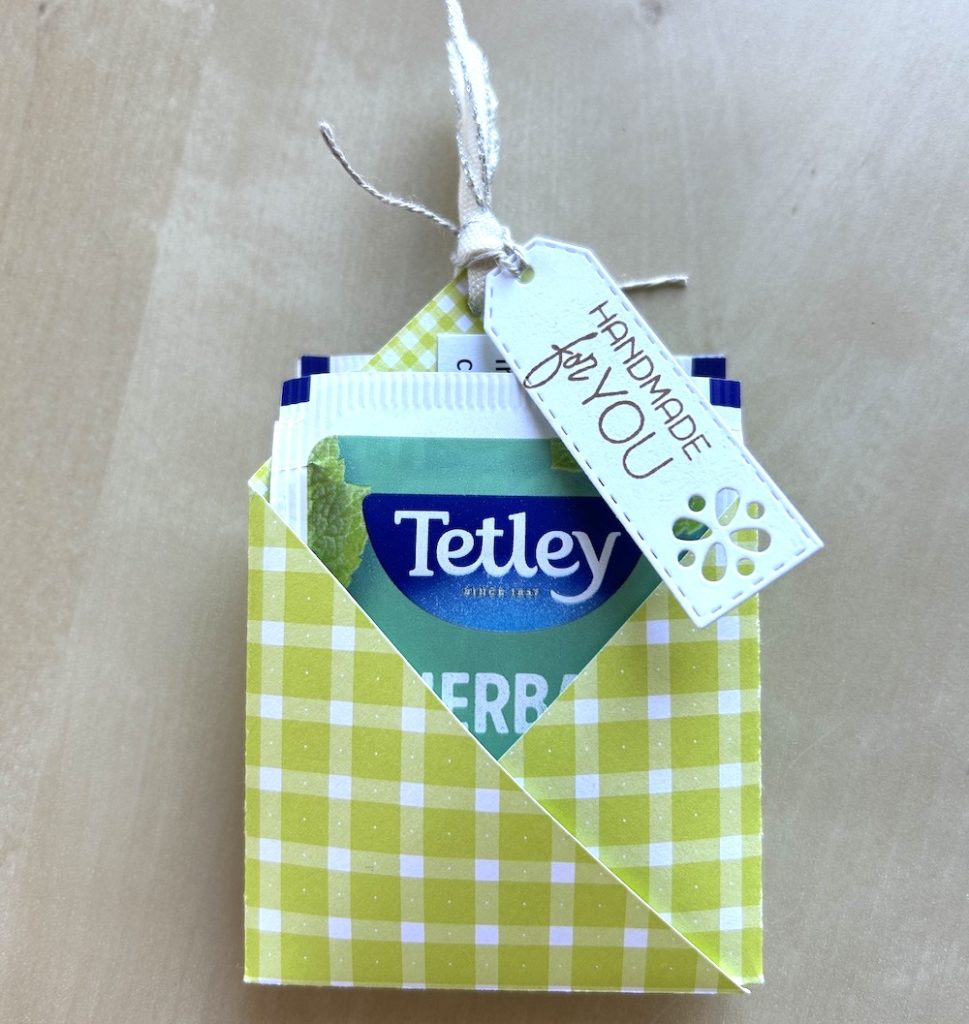
Now you have a choice! You can either fold the teabag holder up across the horizontal fold with the teabag holder pouches on the outside, or fold the opposite way to have them on the inside – whichever you prefer! I folded mine so that the pouches were on the outside:
Punch a hole in the centre at the top and add the ribbon:
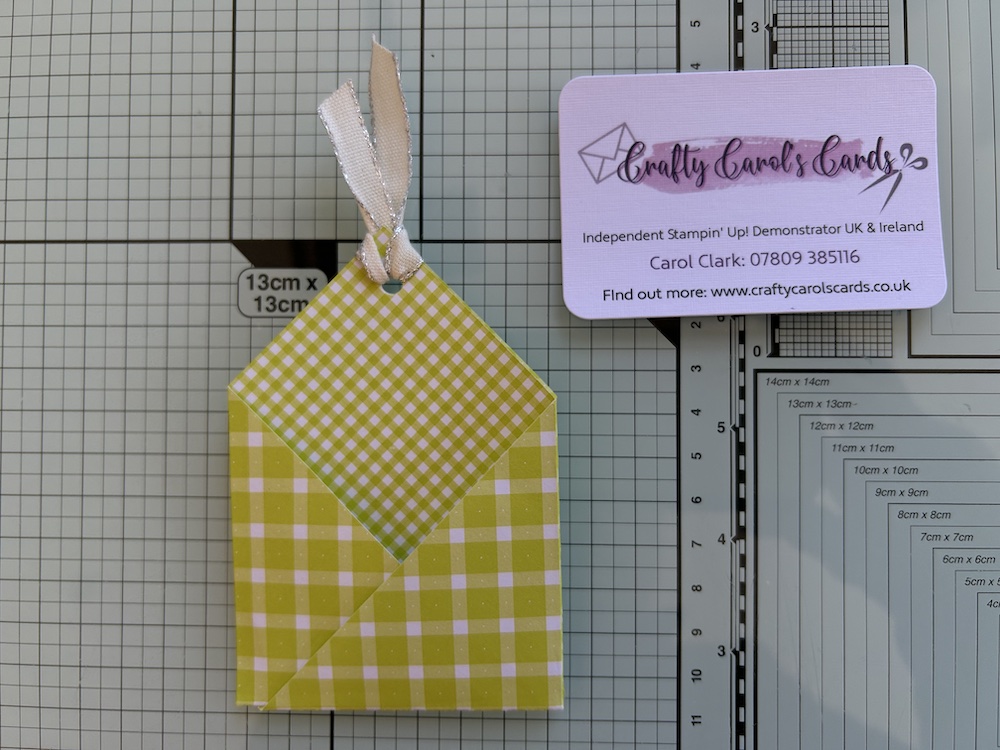
Complete by stamping a chosen sentiment on a small tag and tying it to the top of the teabag holder using twine.
Here is the video of how to make this project:
Don’t forget you can get a free pdf for this project from my online store.
Thank you for taking the time to read my post.

Don’t forget – you get a FREE tutorial of eight cards when you place an order with me. There’s a different set every month. And, if your order is over £40, you will also get to choose stuff from my online shop to the value of your order!
Product List  |  |  | ||
 |  |
 Designer Series Paper")
 Sheer Ribbon")
")

