This month’s theme is Embossing, which gives a lot of scope for many different cards. I thought about using an embossing folder to add a background, or to use my brayer and colour an embossing folder, or heat embossing…I love this topic!

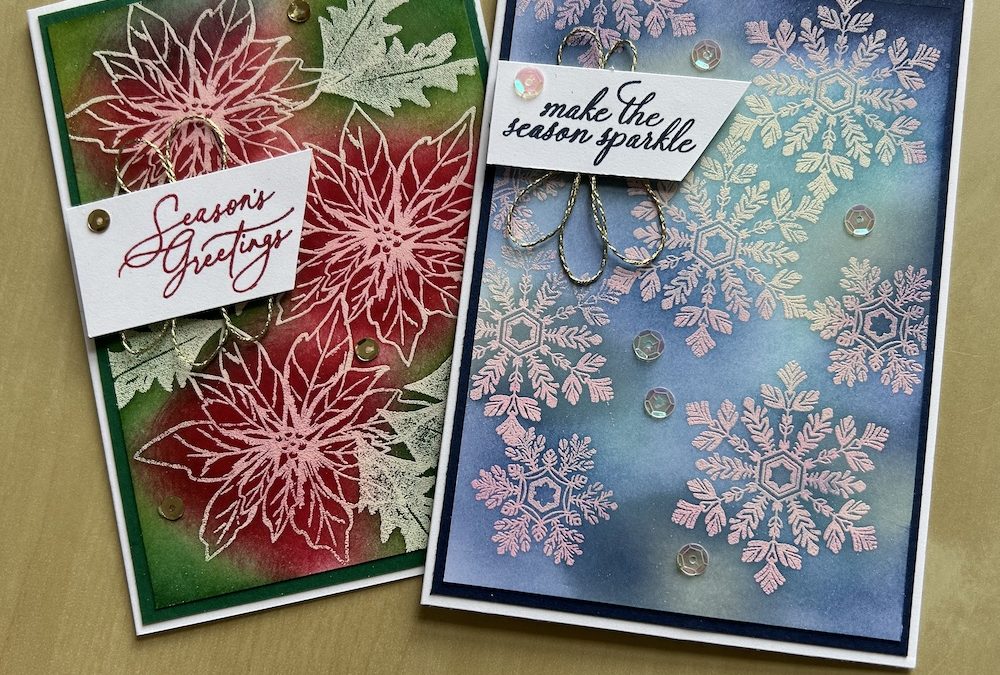
In the end, I decided to showcase the embossing resist technique for my card this month. This is a lovely technique to play with. Once the colour(s) is added using a blending brush, the embossing shows through:

To make my emboss resist card you will need:
- Basic White thick card base 21cm x 14.8cm scored at 10.5cm (8½” x 5½” scored at 4¼”)
- Colour cardstock 10cm x 14.3cm (4” x 5¼”)
- Basic White cardstock 9.5cm x 13.8cm (3¾” x 5”)
- Embossing buddy
- Versamark ink pad
- White embossing powder
- Heat tool
- Scrap of Basic White for sentiment
Instructions
Score and burnish the card base. Adhere the colour layer to the card front.
Rub your embossing buddy all over the Basic White layer.
Stamp your image(s) to cover the card front using Versamark. I used a retired set of poinsettias for this card.
Add white embossing powder and set using the heat gun. Keep the heat giun moving across the card and check all the embossing power has melted.

Use blends to colour the card front. For the poinsettia card I used Real Red on the flowers, and Old Olive and Garden Green around the leaves.
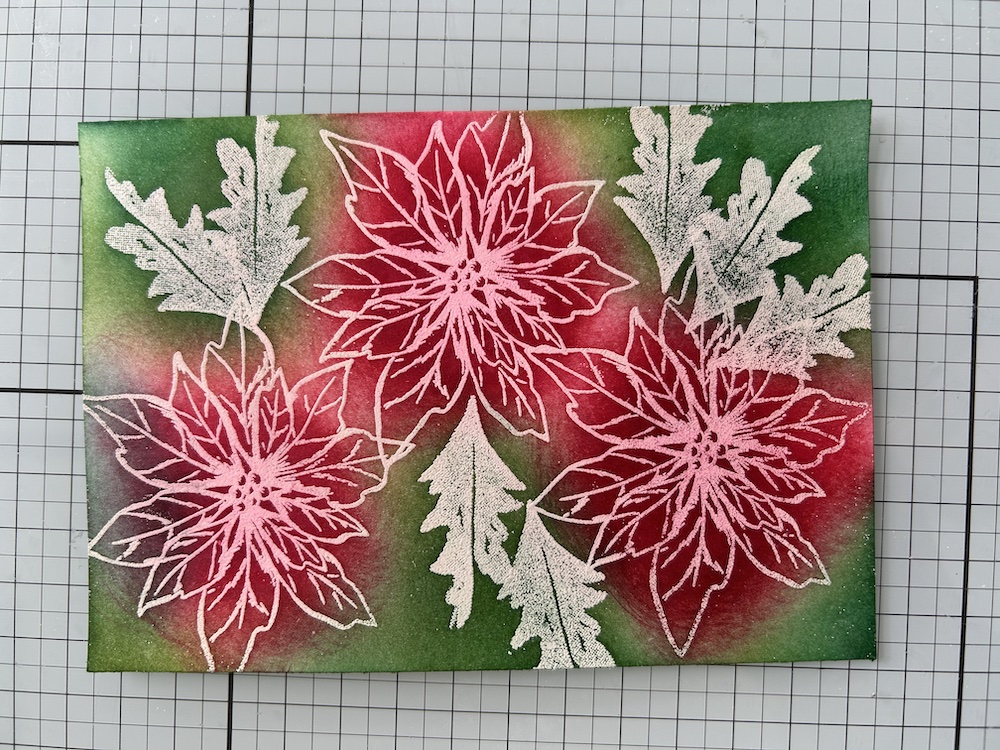
Rub off any excess ink using some kitchen towel or tissue. Stick this completed layer to the card front.
Stamp your sentiment in colour on a scrap of Basic White.
Add some tear & tape to the back and loop some gold twisted thread around, sticking it down to the tape.
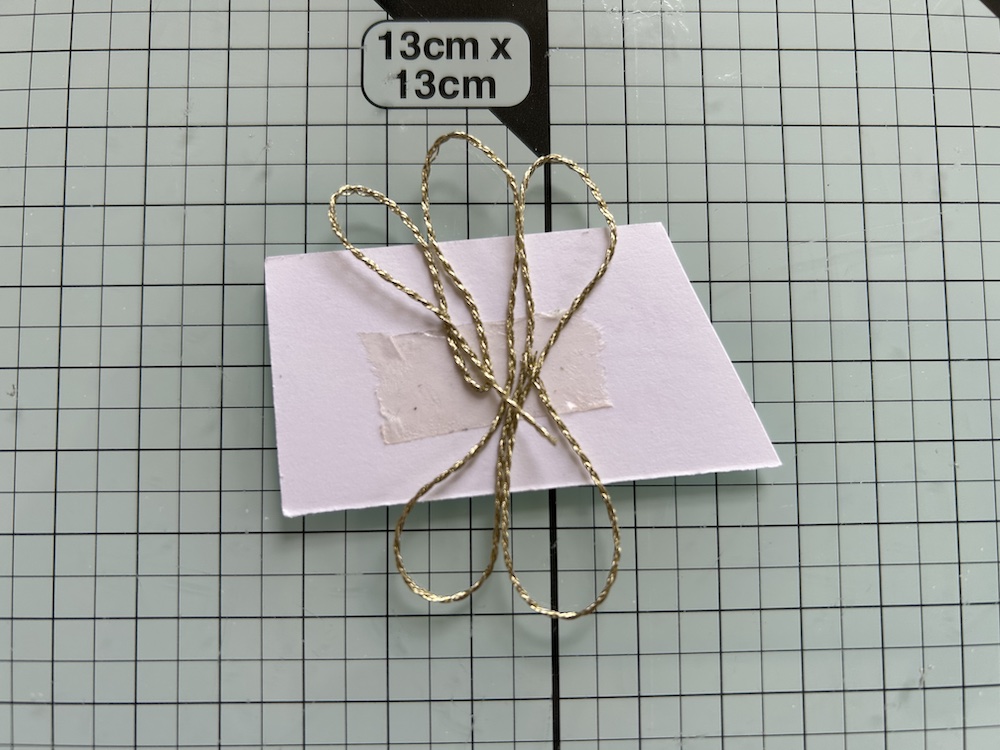
Add to the front of your card using dimensionals.
You can add some gems if you wish.
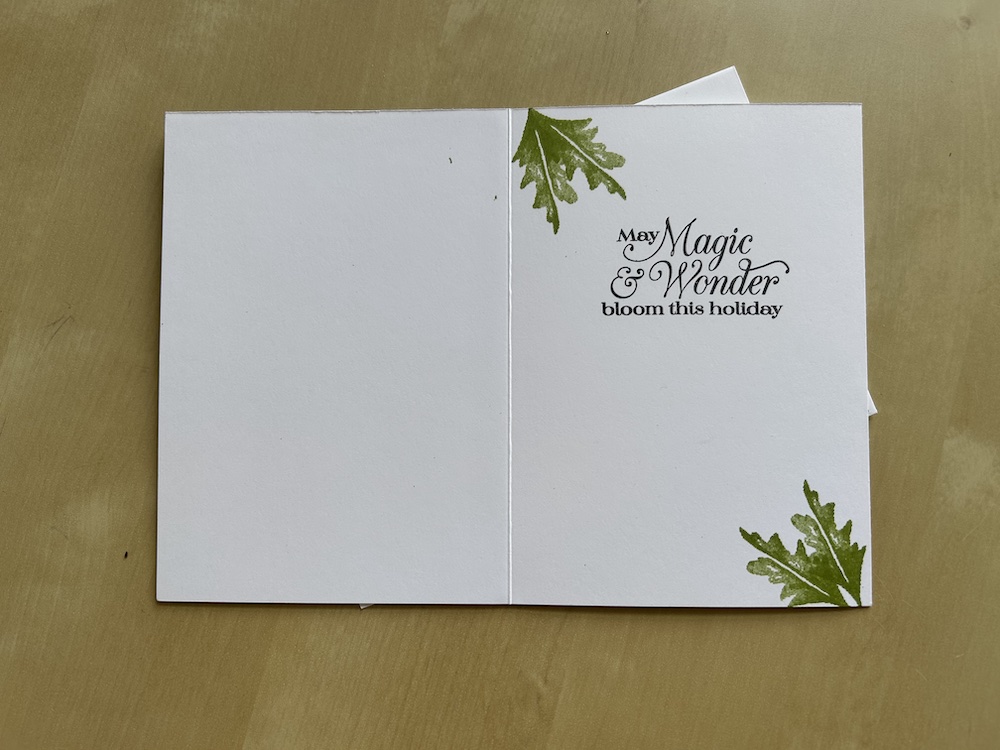
Decorate the inside as you wish. I added a sentiment and some more leaves stamped in Old Olive.
Don’t forget to decorate your envelope!
See the video below from my Live today on how to make a snowflake version. The new Delicate Pines stamp set is perfect for this card, though I used a now retired snowflake set. Here is my snowflake emboss resist card:
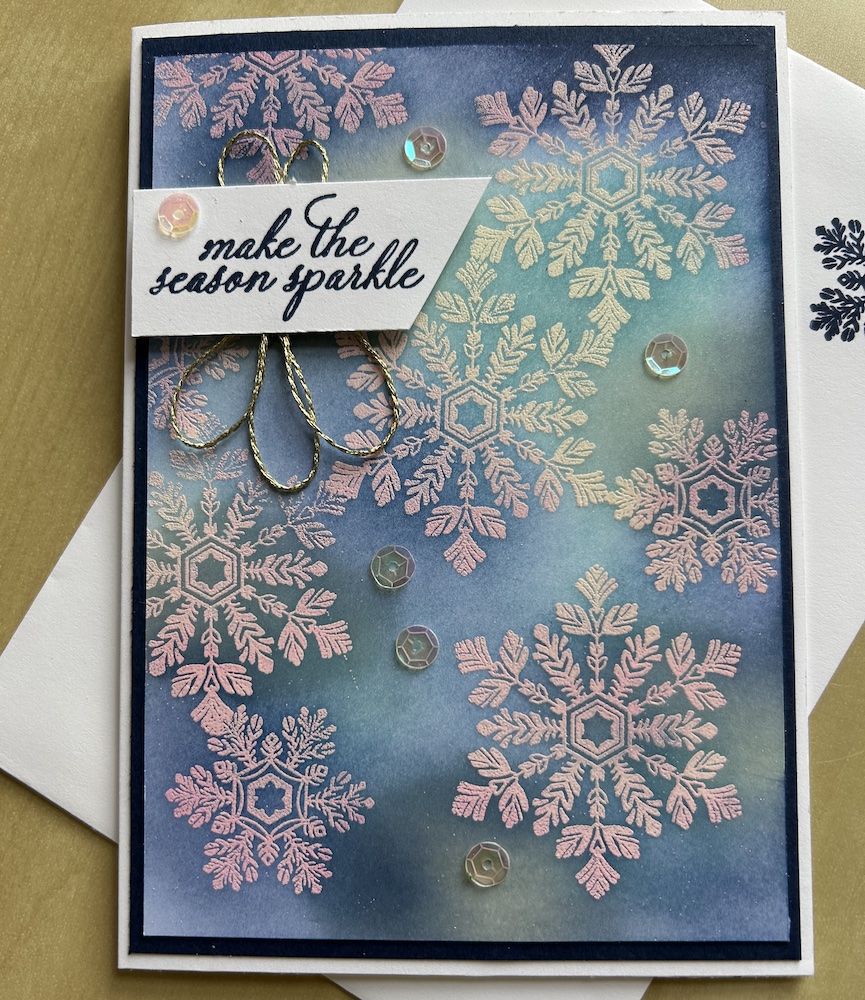
Again I used three colours for blending, Cloudy Sky, Balmy Blue and Night of Navy. I was interested to see that the Night of Navy ink coloured the white embossing a pinky colour – just like the residue it leaves on the blending brushes and stamps, which I presume is the dye colour used. But I liked the effect!
Please now go and look at the other gorgeous cards my fellow blog hoppers have made using the links below.
I hope you like this card and will have a go at making one – please show me what you come up with.
Thank you for taking the time to read my post.

Don’t forget – you get a FREE pdf when you place any order with me as your demonstrator. And, if your order is over £40, you will also get to choose stuff from my online shop to the value of your order!

