Our blog hop has a new name! It’s now the Build & Bloom Stampers blog hop. I love the new banner. This month’s theme is Festive Season, which is great as I need to get all my Christmas cards made!
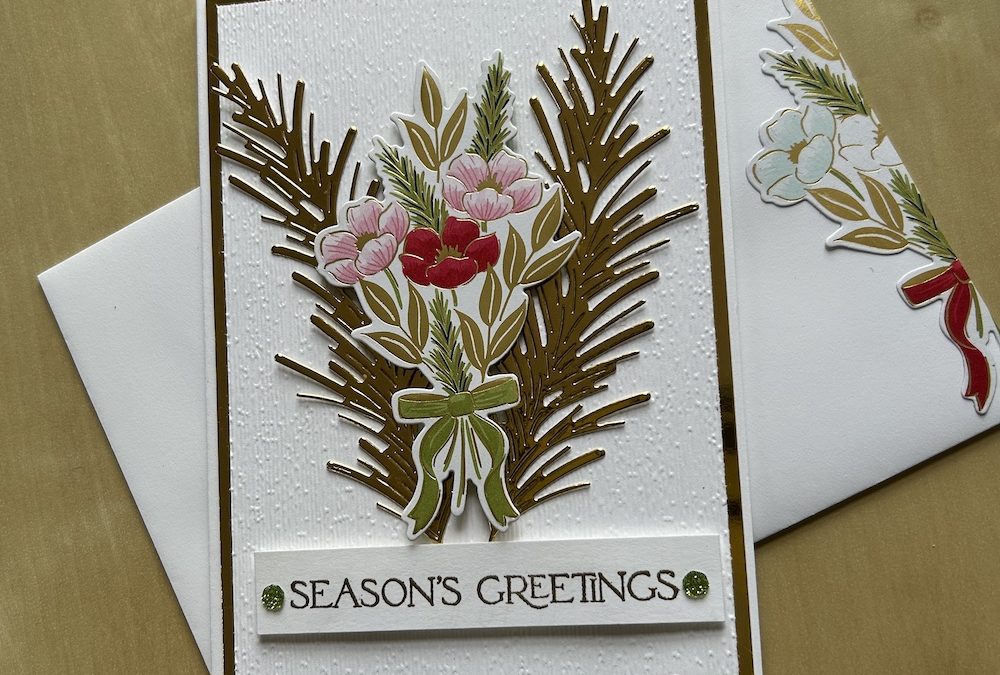
I’ve used the Traditions of Christmas DSP and Christmas Greenery dies to make my Festive Season greetings card. There is very little stamping, just some die-cutting, so it is a quick card to make – important when making lots of cards for Christmas!

The Traditions of Christmas suite is packed with goodies. I didn’t buy the Traditional Labels bundle as I have so many Christmas greetings in sets from previous years, but the Christmas Greenery bundle is to die for, with lovely images and a fantastic set of dies that also cut out images from the beautiful Traditions of Christmas specialty DSP which I adore. I finished the card with some Traditional Sparkling Sequins.
To make my Christmas card you will need:
- Basic White thick card base 21cm x 14.8cm scored at 10.5cm (8½” x 5½” scored at 4¼”)
- Gold foil 10cm x 14.3cm (4” x 5¼”)
- Basic White cardstock 9.5cm x 13.8cm (3¾” x 5”)
- Traditions of Christmas DSP and Christmas Greenery dies (or patience to fussy cut!)
- Gold foil approx 1/4 sheet for cutting out fronds
- Embossing buddy
- Versamark ink pad
- Gold embossing powder
- Heat tool
- Scrap of Basic White for sentiment
Instructions
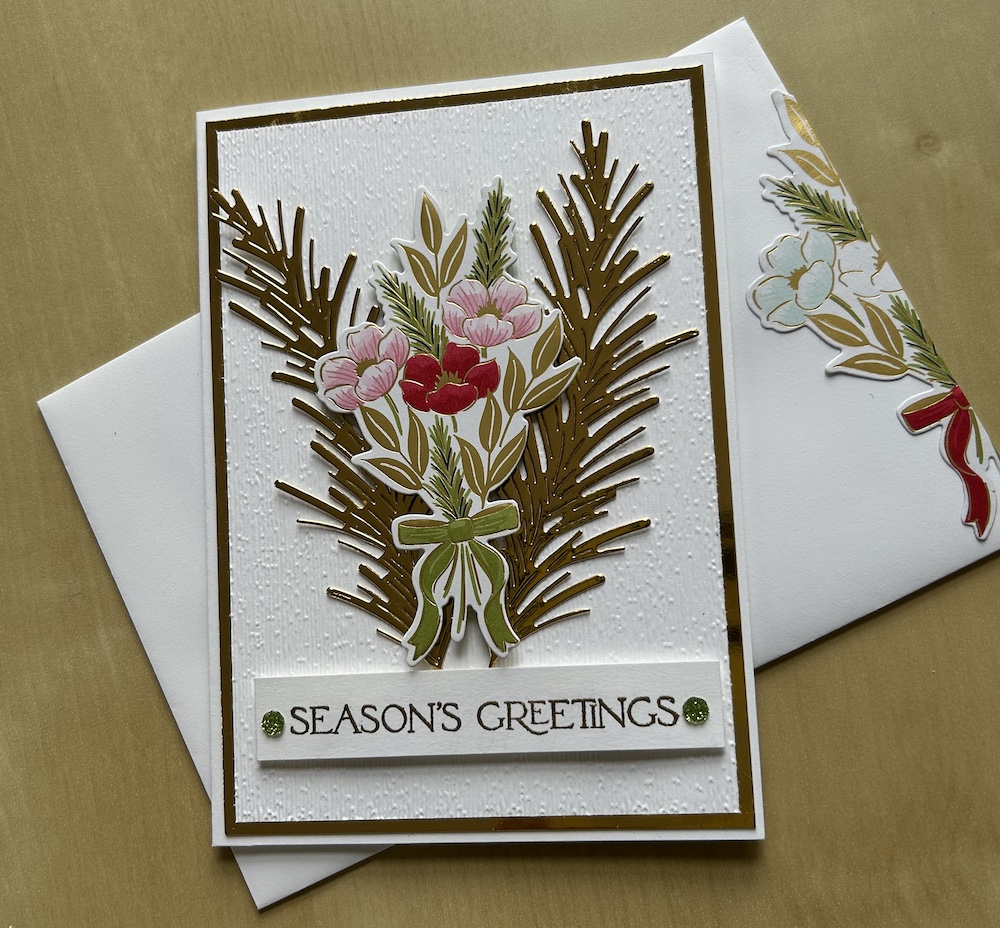
Score and burnish the card base. Adhere the gold foil layer to the card front.
(Optional) Emboss your Basic White piece with an embossing folder of your choice – I used the retired Subtle embossing folder. Stick this piece to your card front.
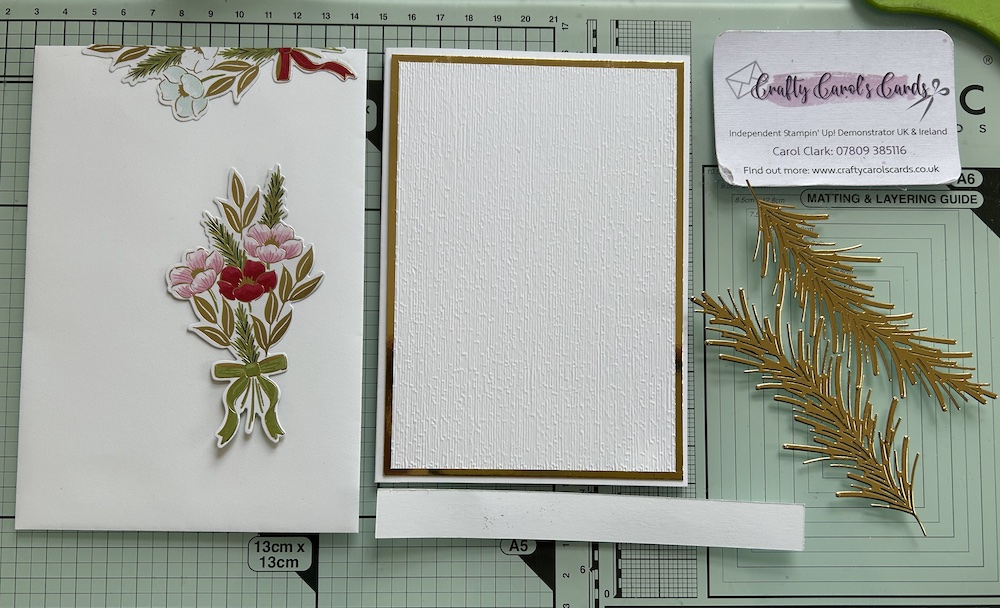
Die-cut a bouquet or sprig from the DSP using the Christmas Greenery dies (or fussy cut). I also die-cut some of the partial images from the edge of the DSP to add inside my card and to my envelope.
Die-cut two of the large Christmas Greenery die fronds from gold foil.
These are the pieces you should now have:
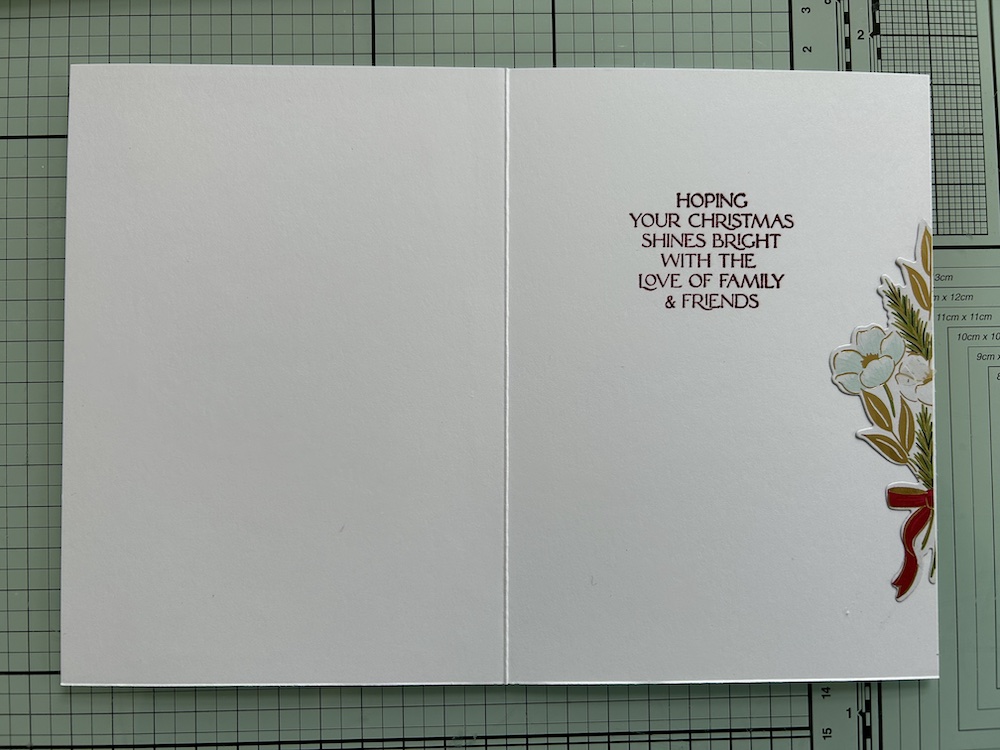
Adhere one of the partial die-cuts to the inside of the card for decoration. Stamp a suitable sentiment of your choice inside the card – I used Real Red ink to match the bow on my bouquet.
Stick the fronds to the card front using multipurpose glue, positioning them to each side of the card front.
Then add the die-cut bouquet or sprig to the centre using dimensionals.
Rub the scrap of Basic White with your embossing buddy. Stamp your greeting in Versamark and add gold embossing powder. Set with your heat gun.
Add this towards the bottom of the card using dimensionals.
Add some Traditional Sparkling Sequins for decoration if you wish.
Don’t forget to decorate your envelope! I used another partial die-cut bouquet on mine.
Here’s the video of me making a similar card in my Live today using the die-cut sprig:
Please now go and look at the other gorgeous cards my fellow blog hoppers have made using the links below.
I hope you like this card and will have a go at making one – please show me what you come up with.
Thank you for taking the time to read my post.

Don’t forget – you get a FREE pdf when you place any order with me as your demonstrator. And, if your order is over £40, you will also get to choose stuff from my online shop to the value of your order!
Product List ![Christmas Greenery Dies [ 165872 ]](https://assets1.tamsnetwork.com/images/EC042017NF/165872s.jpg "Christmas Greenery Dies [ 165872 ]") | ![Traditional Sparkling Sequins [ 165875 ]](https://assets1.tamsnetwork.com/images/EC042017NF/165875s.jpg "Traditional Sparkling Sequins [ 165875 ]") | ![Basic White A4 Cardstock [ 166781 ]](https://assets1.tamsnetwork.com/images/EC042017NF/166781s.jpg "Basic White A4 Cardstock [ 166781 ]") | ![Gold Foil Sheets [ 132622 ]](https://assets1.tamsnetwork.com/images/EC042017NF/132622s.jpg "Gold Foil Sheets [ 132622 ]") | |
![Metallics Wow! Embossing Powder [ 165678 ]](https://assets1.tamsnetwork.com/images/EC042017NF/165678s.jpg "Metallics Wow! Embossing Powder [ 165678 ]") | ![Heat Tool - Uk Plug [ 129054 ]](https://assets1.tamsnetwork.com/images/EC042017NF/129054s.jpg "Heat Tool - Uk Plug [ 129054 ]") | ![Paper Trimmer [ 152392 ]](https://assets1.tamsnetwork.com/images/EC042017NF/152392s.jpg "Paper Trimmer [ 152392 ]") | ![Stampin' Dimensionals [ 104430 ]](https://assets1.tamsnetwork.com/images/EC042017NF/104430s.jpg "Stampin' Dimensionals [ 104430 ]") |
![Traditions Of Christmas 12" X 12" (30.5 X 30.5 Cm) Specialty Designer Series Paper [ 165853 ]](https://assets1.tamsnetwork.com/images/EC042017NF/165853s.jpg "Traditions Of Christmas 12\" X 12\" (30.5 X 30.5 Cm) Specialty Designer Series Paper [ 165853 ]")


Love your card Carol! This is my favorite Christmas set!
I love your card Carol
Thank you both. I’m trying to do simple but sparkly cards this year!