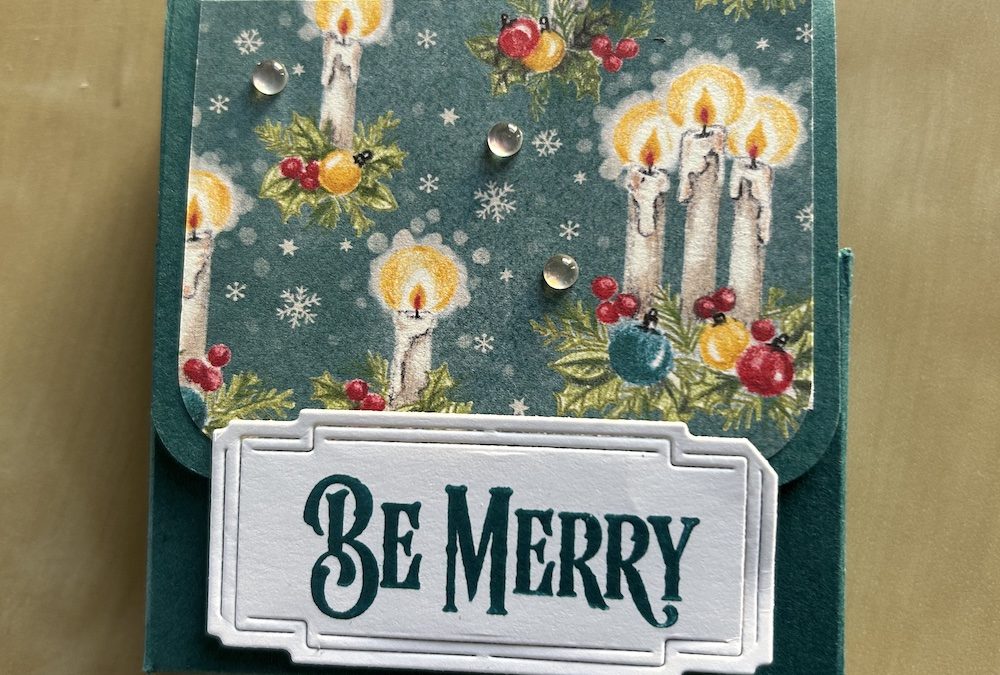
It’s T4S blog hop time again – the final one of this year. This month the theme is fun fold. I decided it is now getting a bit late to make cards, much though I love a fun fold card, so instead I’ve made a holder for four individually packed teabags or After Eight mints or similar, which would make good table favours.
I also demonstrated my cheat ribbon bows and how to make the centre hole bigger than the punch.

To make this teabag /sweet treat holder you will need:
- Coloured card base 10.5cm x 28cm (4¼” x 11″)
- DSP piece 7.2cm x 5.5cm (3” x 2½” )
- Basic White scrap for sentiment label
- Coloured ribbon to match, approx 17″ plus piece for a bow
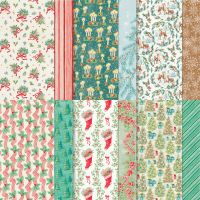
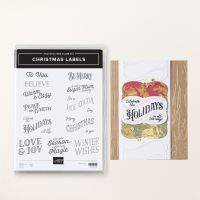
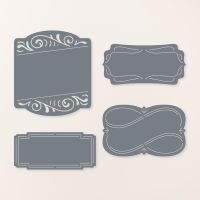
The stamp set and die I used were Christmas Labels and I used the Sentimental Christmas DSP. All the sup[lies used are given at the end of this post.
The instructions are given below and the video is towards the end of this post if you prefer.
1. On the short side of the base, score at 1.3cm (½”) and 9.2cm (3¾”).
2. On the long side, score at 3cm , 5cm, 10cm, 12cm, 20cm and 22cm (1½”, 2″, 4¼”, 4¾”, 7¾” and 8¼”).
3. Next, punch the hole. To make the hole large enough for individually wrapped Tetley teabags, follow the instructions below. For After Eight mints, or smaller teabags, simply punch once in the centre as shown in the picture.
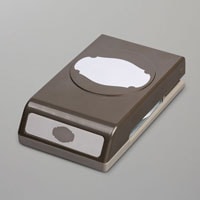
Insert the card base all the way into a large oval type punch ( I used the retired Story Label punch) so that the first two score lines are central. Line the punch up just inside the left hand score line and punch. Move the punch to jut inside the right hand score line and punch again.
4. Now put a mark on the two tabs either side of the long central piece at 5cm (2¼”) up from the score line below and cut your base as shown. Note: only taper the short 2cm (½”) tabs – cut the longer tabs straight:
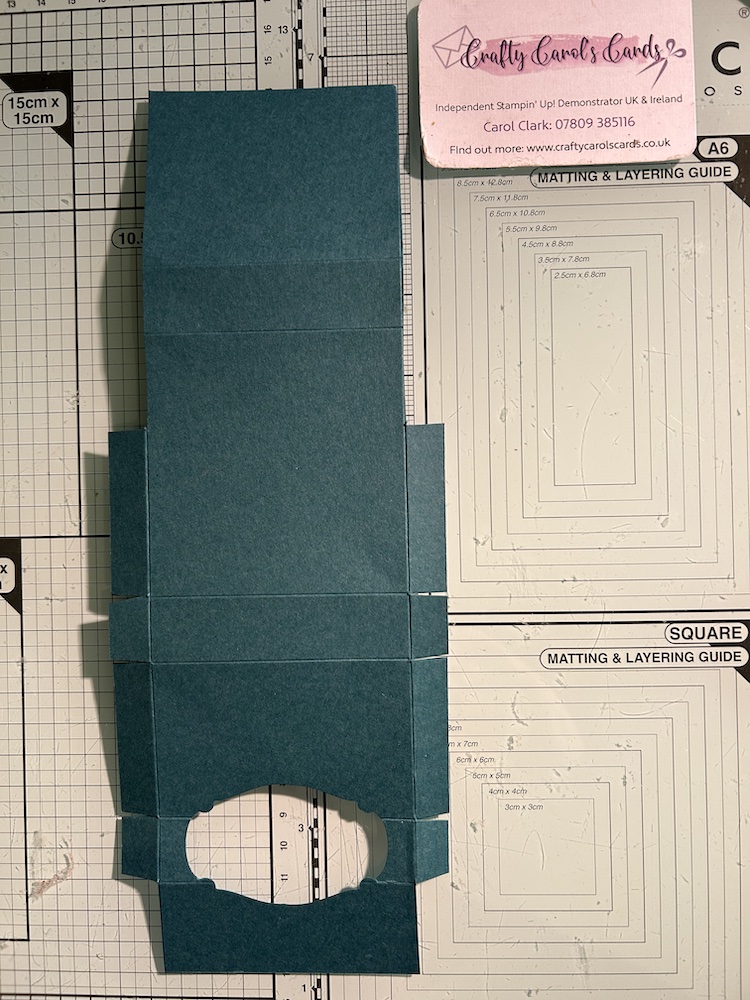
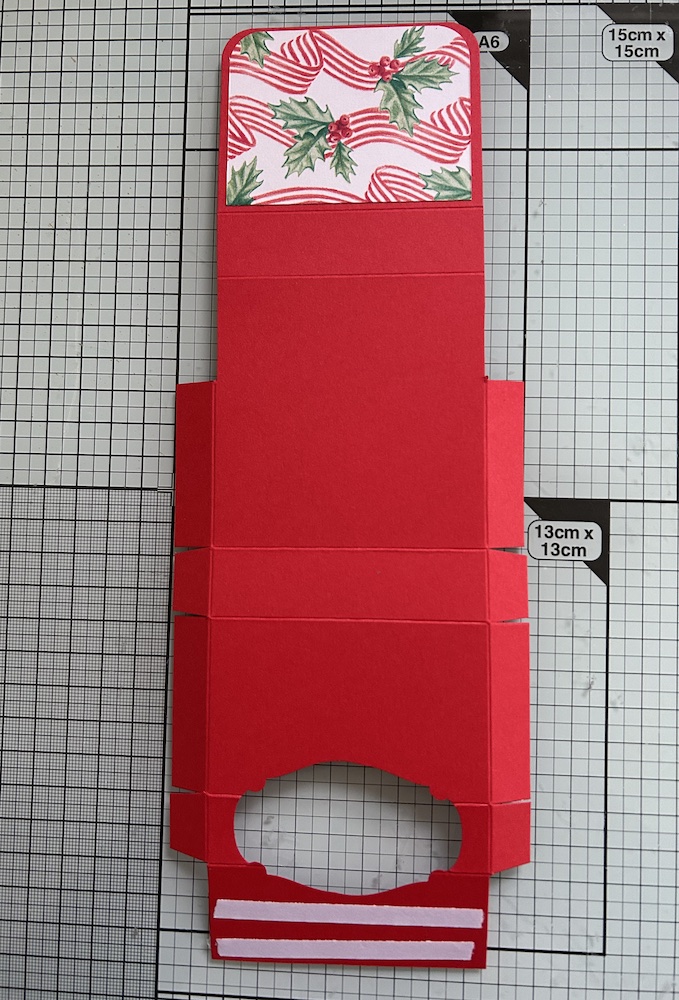
5. Round the corners of the top flap. Also round the two bottom corners of the DSP and adhere to this end flap.
6. Form the holder by adding tape across the bottom flap as shown below. I used two strips of tear & tape.
7. Add tape to the back of the front side tabs as shown below.
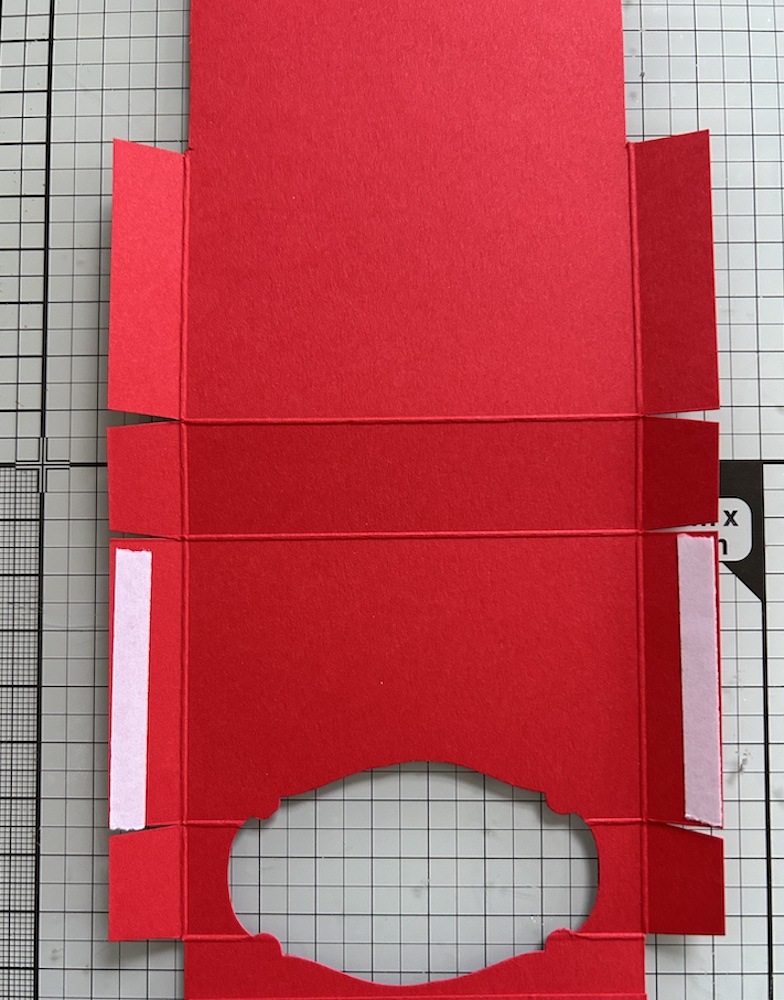
8. Fold the bottom flap inwards then fold up the third score line to stick the bottom panel down square and straight (see video).
9. Fold the small tabs in at the sides and the fold the back tab over. Stick the front tabs on top. Use the straight cut edges to make sure the sides are square. See the video if you are unsure.
10. Stick a long length of tear & tape around the top short panel of your holder. Stick the ribbon down overlapping the ends underneath the panel (see video if unsure).
11. Tie a neat ribbon bow and add to the top centre of your teabag holder using two glue dots.
12. Stamp your chosen sentiment in a matching ink on your Basic White scrap and die-cut.
13. Fold the top flap over. Add dimensionals to the bottom half ONLY of your die cut and stick to the bottom front of the holder. The top flap will tuck nicely behind to keep the teabag holder closed.
14, Add your teabags (or After Eights) and your holder is complete.
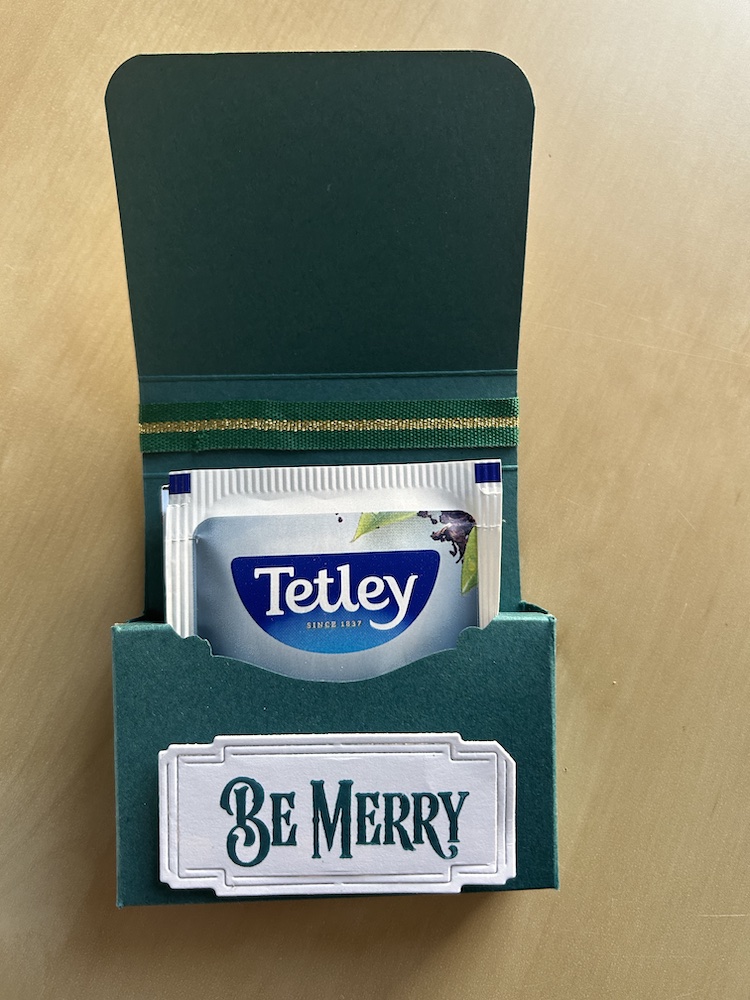
If you wish, you could personalise the label for the guests if using as a table favour.
I made this teabag holder / table favour in my Craft with Carol LIVE today (join me every Tuesday at 2pm on YouTube and Facebook) – you can watch the video below:
You can find the links for all the products I used listed below.
Please now check out the wonderful projects made by my fellow T4S stampers via the links below.
See you again soon!
Thank you for taking the time to read my post.

Don’t forget – you get a FREE tutorial of eight cards when you place an order with me. There’s a different set every month. And, if your order is over £40, you will also get to choose stuff from my online shop to the value of your order!
Product List



Beautiful, my favourite papers! I love this, has that bit extra than the teabag holders I have. made before x
Fabulous 3D project – tfs.
Thank you all! Happy Christmas