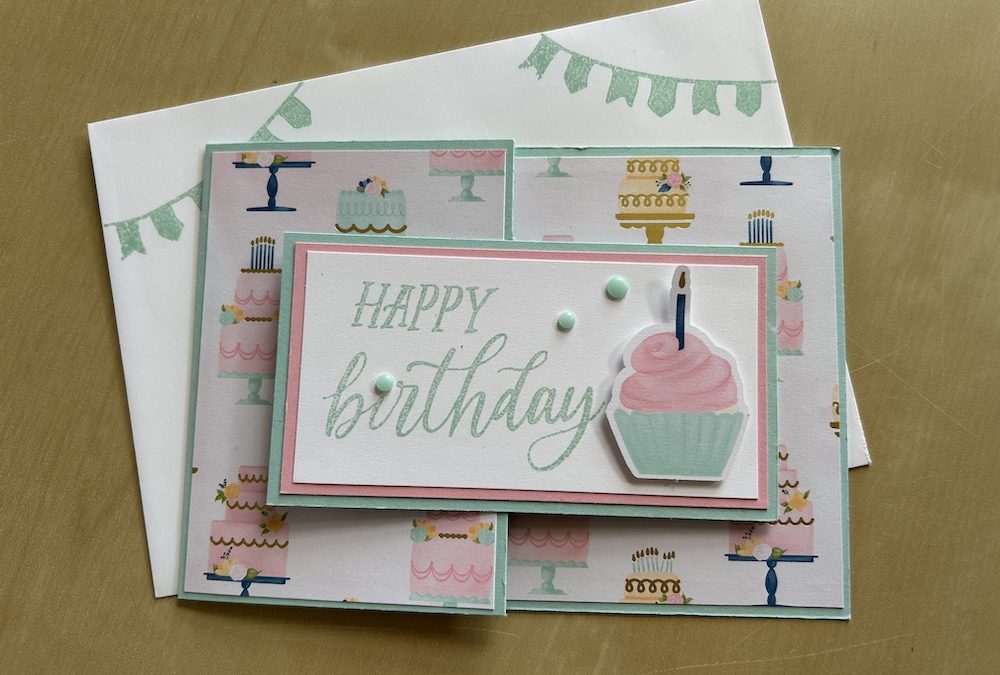
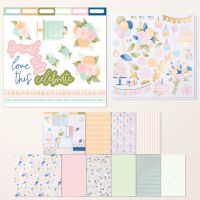
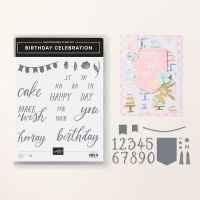
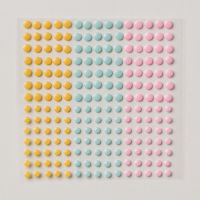
In today’s LIVE Craft with Carol I made a fun fold swing card. I used the new Wildflower Birthday suite from the new mini catalogue. The DSP not only has beautiful gold detail double-sided papers, but it also has two sheets of card toppers and tags AND two sheets of die cut toppers and images. I love it! The stamp sets comes as a bundle with fabulous number dies and the dot embellishments and ribbon that complete the suite are to die for.
Check out the new mini catalogue and Salebration offerings by clicking the links on the sode bar or home page of the website. SAB has plenty of free gifts for every order above £55 available from today (Plus two fabulous joining offers). Let me know if you would like a paper copy of the catalogues. There are also some gorgeous new Online Exclusives and THREE new kits, so grab a coffee and have a browse!
The idea for this swing card was from the wonderful Tami White in the USA, but I’ve adapted it for UK size cardstock. My example card is shown above and you can see the second card I made below and in the video.:
To make a swing card you will need:
- Colour cardstock base: 10.5cm x 29.6cm (11” x 4¼”)
- Colour cardstock layer 1 (x2): 11cm x 6cm (4½” x 2¼”)
- Coordinating colour cardstock layer 2 (x2): 10.5cm x 5.5cm (4 3/8” x 2 1/8”)
- Basic White layer (x2): 10cm x 5cm (4 1/8” x 2”)
- DSP front layer: 7cm x 10.1cm (3″ x 4″)
- DSP inside layer: 14.4cm x 10.1cm (5¼” x 4”)
- Scrap of Basic White for stamping as required
INSTRUCTIONS:
The video for how to make this card is shown below
Score the card base long side at 7.4cm and 11.8cm (2¼” and 5½”). Fold and burnish well, burnishing the short section score line in both directions.
Lay one of the layer 1 pieces centrally on top of the front of your card and draw a pencil line around each side on the outer section of the card front. Use your trimmer to cut off the two side pieces to the first score line. Also remove the excess edge piece. See the video for more details.
(Alternatively, make a mark 2.25cm (1″) down from the top and up from the bottom of the half-side score line and also on the outside edge of the piece and cut the sides away. Remove a similar size piece from the edge.)
The card base in now complete.
Adhere the DSP to the inside and front left side panel of the card base.
Stick the first layer 1 piece to the front flap of the card, lining it up with the cut base. Make sure you only place glue on the flap, not the whole layer 1, as below:
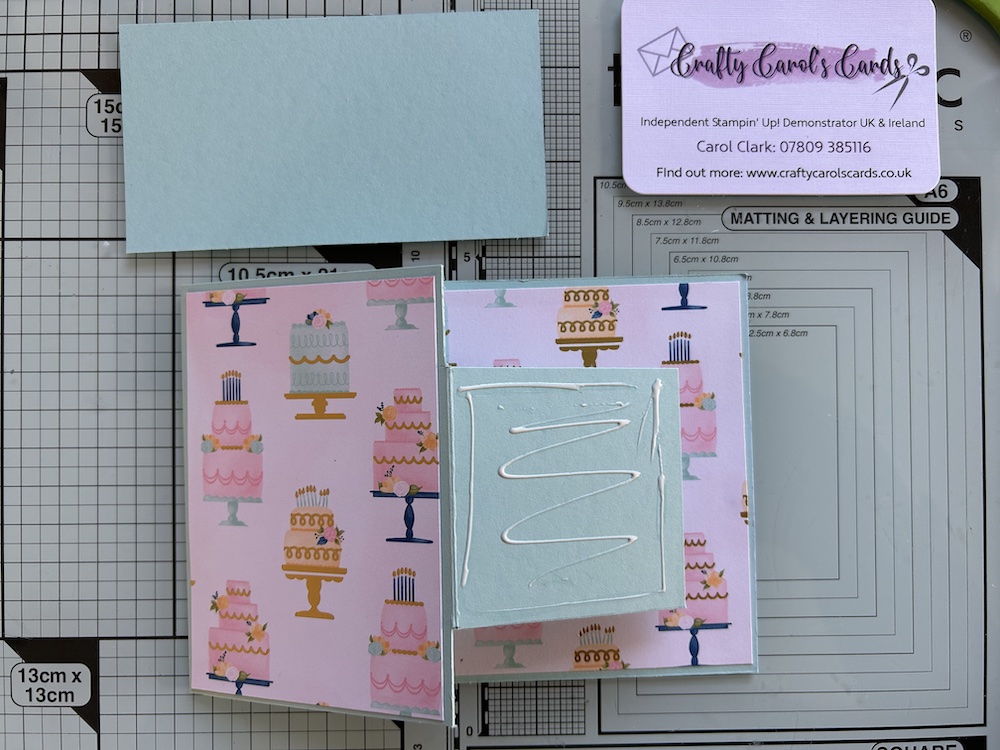
Stick one coordinating cardstock layer on top.
Stamp your main sentiment onto one Basic White panel. Alternatively, stamp onto a scrap piece of Basic White cardstock adn trim. Adhere the sentiment panel on top of your front coloured panels.
Stamp an image separately onto a scrap of Basic White (or use a die-cut topper), colour and add to the panel using dimansionals.
To complete the inside panel, stamp a suitable sentiment and any decoration – here is my first card to give you an idea.
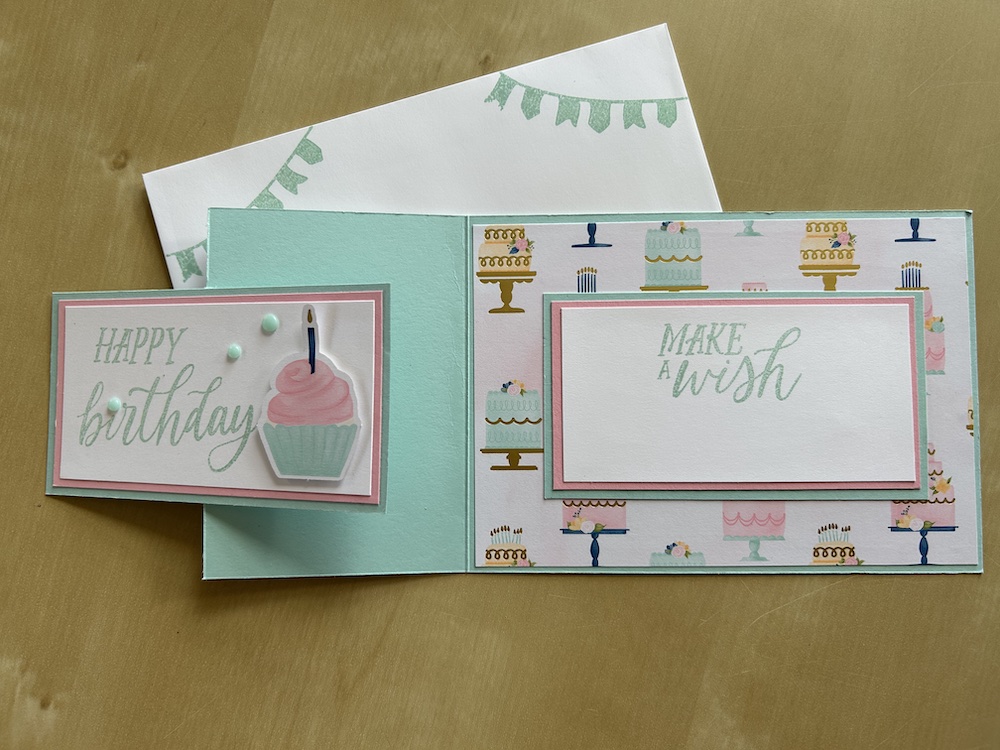
Stick this panel inside your card.
Finish the card by adding some party dots or other gems to suit. Don’t forget to decorate your envelope!
Here is the video of how to make the card – once I’d managed to get the tech working!
And here is that second card:
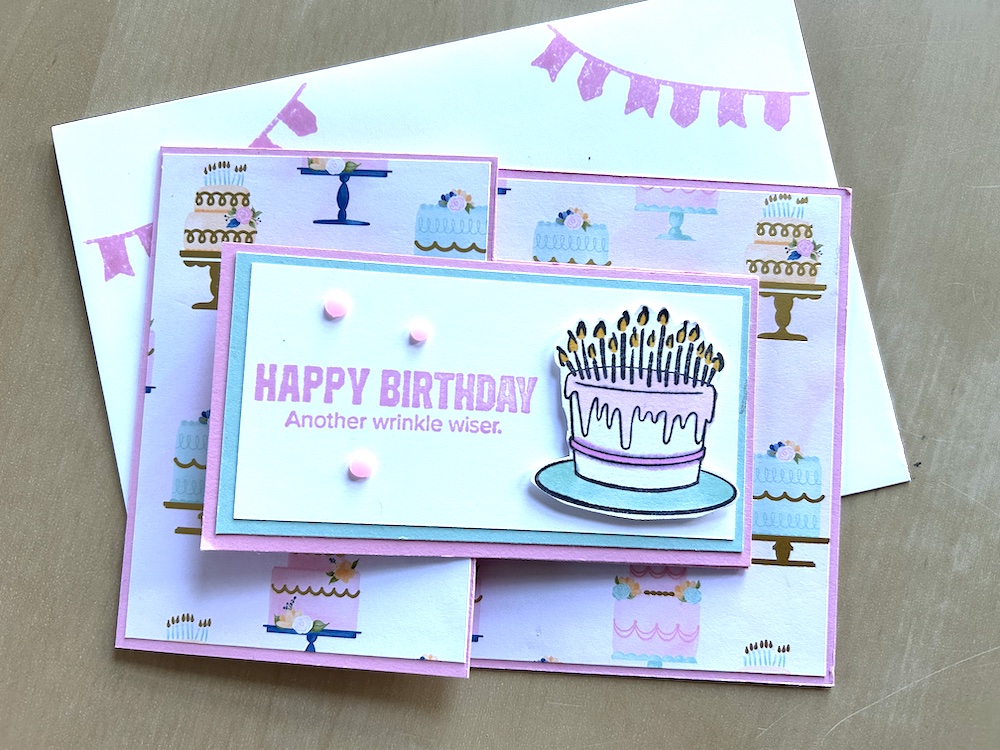
I hope you like this card and will have a go at making one – please show me what you come up with.
Thank you for taking the time to read my post.

Don’t forget – you get a FREE pdf when you place any order with me as your demonstrator. And, if your order is over £40, you will also get to choose stuff from my online shop to the value of your order!
Product List
