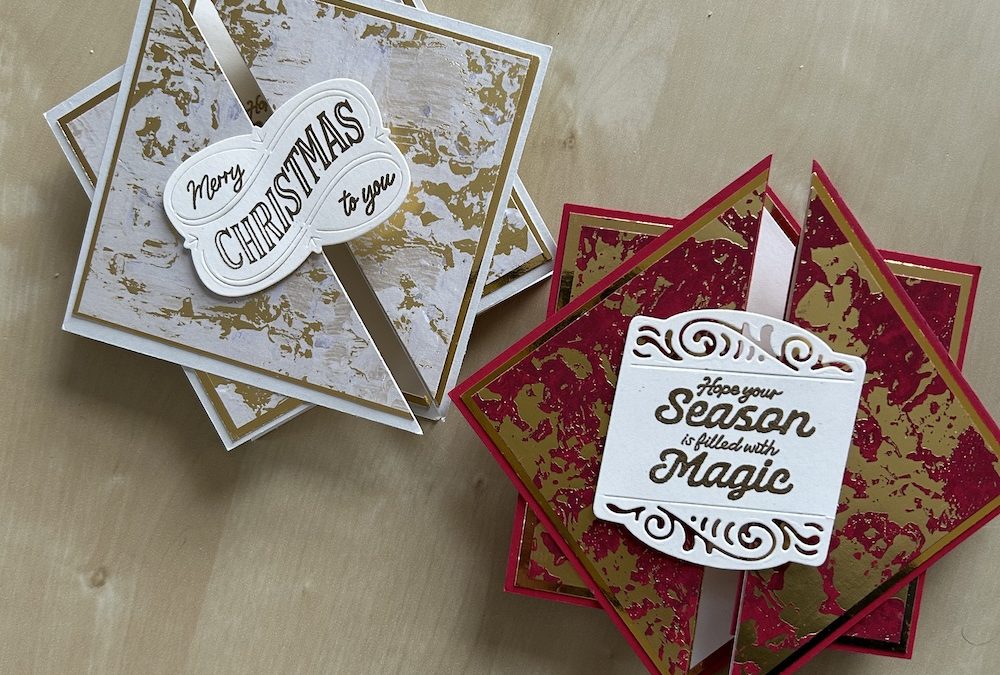
I’ve seen a lovely star gatefold card made by the wonderful Tami White that uses some of the new online exclusive products, I’ve adapted it for centimetres for those of us who prefer that and made some Christmas cards.
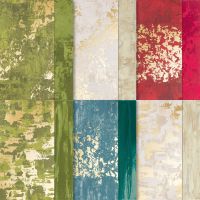
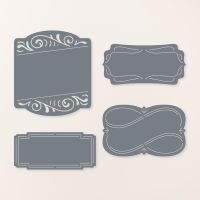
The measurements and instructions are below, and the video is at the end of this post for those who prefer visual learning! I’ve used the gorgeous Season of Elegance DSP but you can of course substitute whatever DSP or cardstock you wish. I used the Christmas labels stamp set and dies for the sentiments.
It is easiest to make it using 12″ x 12″ cardstock, but I’ve given alternative measurements if you only have A4 (or letter) cardstock. The star gatefold card fits in a square 6″ x 6″ envelope. Here is the star gatefold card opened up. It stands easily on the three star points.
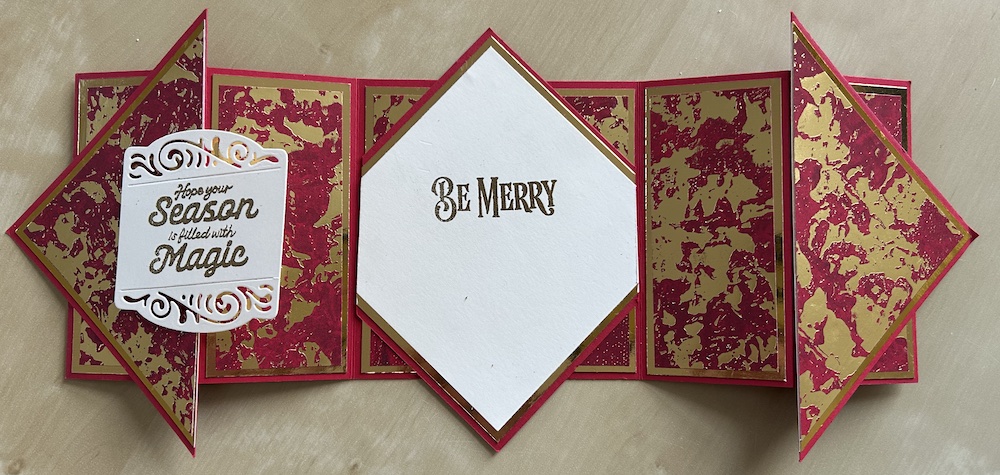
For my first card, I used Basic Beige which does not have a 12″ x 12″ option. I also made that card more difficult than it needed to be as I tried to add a border around the cut-off central star section, not very successfully. It is far easier not to…. .Here is the inside of that star gatefold card:
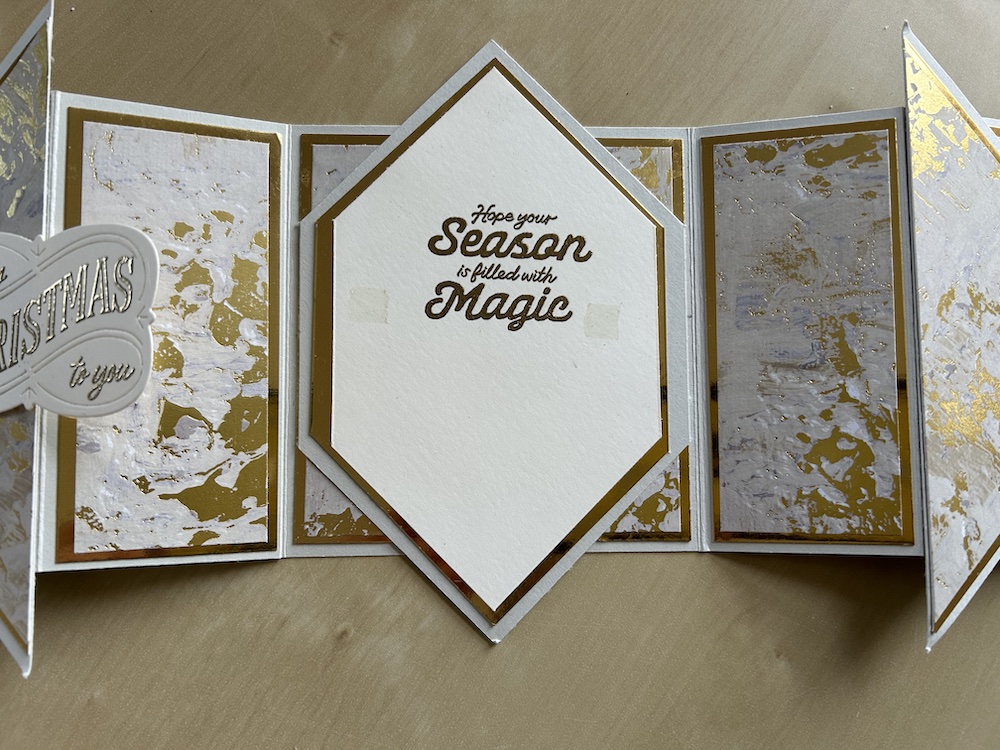
I think the Real Red card looks better. What do you think?
To make this star gatefold card you will need:
- Real Red 12″ x 12″ cardstock: 30cm x 10.5cm (12″ x 4″) OR Real Red A4 (letter) cardstock: 1 piece 25cm x 10.5cm (10″ x 4″) and 1 piece 10cm x 10.5cm (4″ x 4″)
- Real Red Star base pieces x 2: 10.5cm x 10.5cm (4″ x 4″)
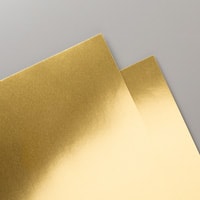
- Large Gold Foil layers x 2: 10cm x 10cm (3¾” x 3¾”)
- Gold foil card centre layer: 10cm x 9.5cm (3¾” x 3¾”)
- Golf foil panels x 4: 10cm x 4.5cm (3¾” x 1¾”)
- Season of Elegance DSP card front layer: 9.5cm x 9.5cm (3½” x 3½”)
- Season of Elegance DSP card centre layer: 9.5cm x 9cm (3½” x 3½”)
- Season of Elegance DSP panels x 4: 9.5cm x 4cm (3½” x 1½”)
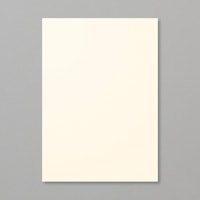
- Very Vanilla inside panel: 9.5cm x 9.5cm (3½” x 3½”)
- Scrap of Very Vanilla for sentiment
Make the base card:
If using 12″ x 12″ cardstock, score on the long side at 5cm, 10cm, 20cm and 25cm (2″, 4″, 8″ and 10″). Fold as a gatefol card adn burnish.
If using A4 (etter) cardstock, score the main piece at 5cm, 10cm, and 20cm (2″, 4″, and 8″) and score the smaller piece at 5cm (2″). Place one side of the smaller piece over the end panel of the main card and stick together.
To make up the star gatefold card:
Adhere each DSP panel to the corresponding Gold Foil piece and stick to the main card base. Stick the card centre DSP piece to the card centre gold foil piece and add to the centre of the card.
Take one of the star base pieces and cut diagonally in half. Place in your trimmer so that the two end points lie in the cutting channel. (See the video to remind you to start your cutting blade in the centre of the piece, don’t cut up through a point.)
Cut one large Gold Foil layer and the card front DSP in the same way. Stick each resulting triangle to the corresponding g=Golf Foil pieces and then to the star base pieces. Note that the centre diagonal abuts to the edge of each piece – there is no border at the centre edge.
Stick the completed half triangles to the front of your gatefold card, lining them up so they touch in the centre and stick out equally top and bottom. I used my glass mat to measure where to place the pieces so that there was an equal distance above and below the base card – it was four of my little squares!
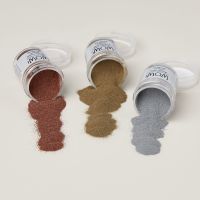
Stamp a sentiment onto the Very Vanilla piece, remembering it will sit on a diagonal. I embossed mine with gold embossing powder, or you could use Real Red to match your base card. Assemble the centre star by sticking the sentiment layer onto the gold foil then the remaining star base piece.
Turn the completed centre star over and mark 2.5cm (1″) from each side point. Line up the piece carefully on the trimmer, making sure it is sitting straight then chop off the side point at the mark. Repeat for the other side. See the video if you are not sure about this.
Stick your chopped off star inside the card, using the front points to help line it up correctly. Agina see the video if you need.
Stamp the sentiment for the front of your star gatefold card – again I embossed it in gold. DIe-cut and add it to the left hand front panel only using dimensionals. Add some ribbon or gems if you wish.
Don’t forget to decorate your envelope!
Here is the video of how to make a star gatefold card:
I hope you like this card and will have a go at making one – please show me what you come up with.
Thank you for taking the time to read my post.

Don’t forget – you get a FREE pdf when you place any order with me as your demonstrator. And, if your order is over £40, you will also get to choose stuff from my online shop to the value of your order!
Product List
