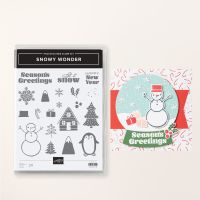
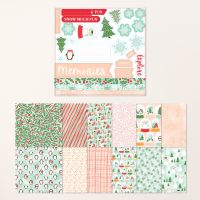
Have you seen the Snowy Wonder stamp set? It is gorgeous and has so many images you are spoilt for choice! The coordinating dies also cut out many of the images on the matching DSP too.
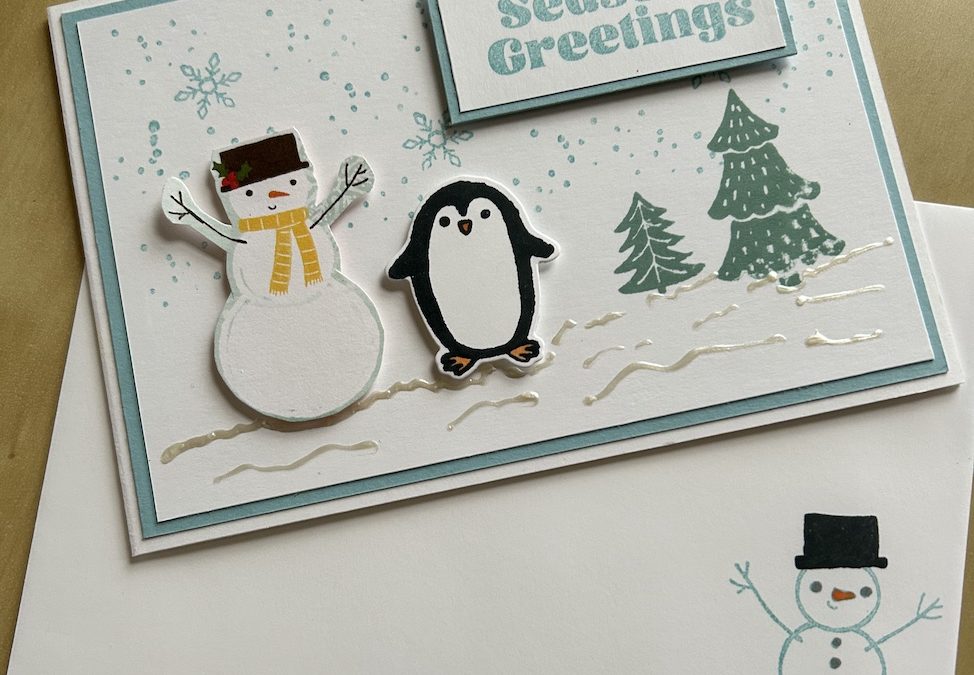
This is a quick and easy card with pearlised enamel effects adding a wow factor as snow!
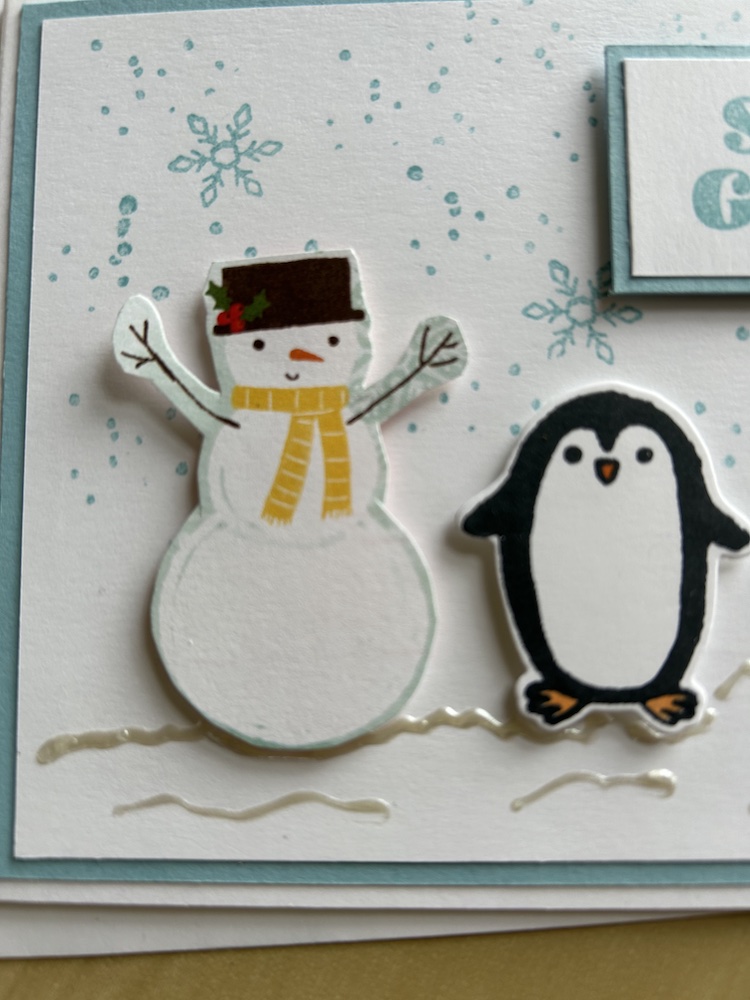
The images on the DSP are fabulous – the only downside is that you need to fussy cut them. I used one of the DSP snowmen on the front of my card with a stamped and die-cut penguin.
The measurements and instructions for this Snowy Wonder card are given below or watch the video.
To make this simple Snowy Wonder card you need:
- Thick Basic White Card base 10.5cm x 29.6cm scored at 14.8cm (11” x 4¼” scored at 5½”)
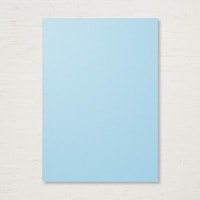
- Balmy Blue Layer 1: 10cm x 14.3cm (4” x 5¼”)
- Basic White Layer 2: 9.5cm x 13.8cm (3¾” x 5”)
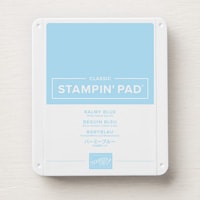
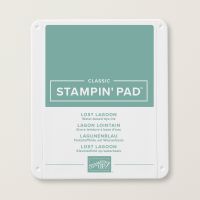
- Balmy Blue, Lost Lagoon and Memento ink pads
- White pearlised enamel effects
- Scraps of Basic White and Balmy Blue for the sentiment
Fold and burnish the card base. Stick the Balmy Blue layer on top.
Use the small snowflake stamp to stamp random snowflakes in Balmy Blue across the top two-thirds of the card. Add the snow cluster stamp between these again using the Balmy Blue ink pad.
Stamp the two trees in Lost Lagoon to the right of the card,
Fussy cut a snowman from the DSP or stamp one if you prefer – I liked the hat with the holly!
Stamp the penguin in Memento and colour his nose and feet with Stampin blends of your choice. I used Pumpkin Pie.
Add the snowman and the penguin to the card front using dimensionals. Stick them a little way up from the bottom to allow for the snow!
Stamp the sentiment in Balmy Blue on a scrap of Basic White. Trim then add to a scrap of Balmy Blue to provide a border – see the video for how I do this quickly and easily. Add to the card front using dimensionals.
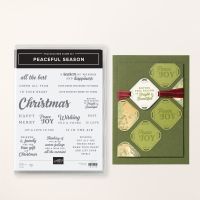
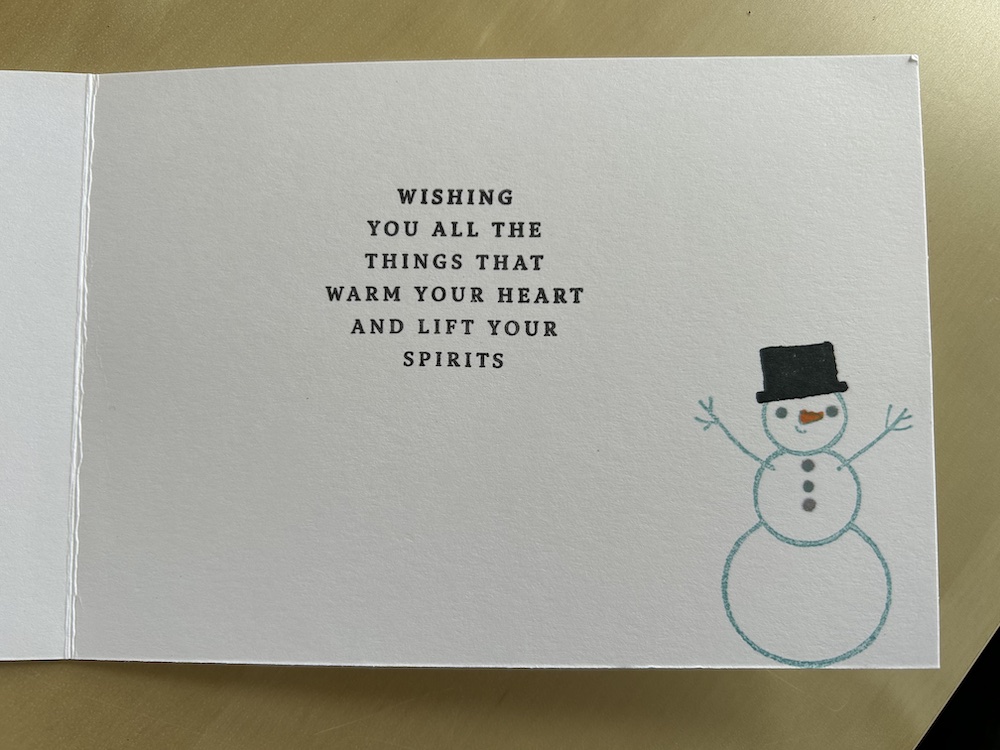
NB. Stamp your decoration and greeting inside the card (and on your envelope!) before finishing the front because the pearlised enamel effects take a while to dry. This greeting is from the Peaceful Season stamp set.
Finish your Snowy Wonder card by adding random lines of white pearlised enamel effects across the bottom of the card then leave to dry.
Here’s the video of making this simple Snowy Wonder card:
I hope you like this card and will have a go at making one – please show me what you come up with.
Thank you for taking the time to read my post.

Don’t forget – you get a FREE pdf when you place any order with me as your demonstrator. And, if your order is over £40, you will also get to choose stuff from my online shop to the value of your order!
Product List
