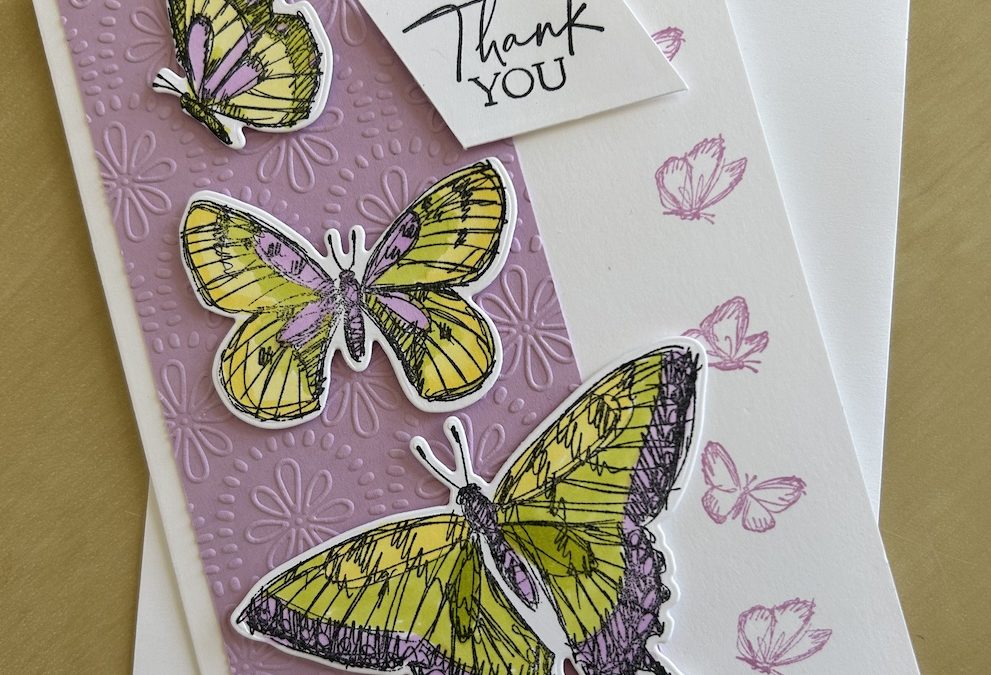
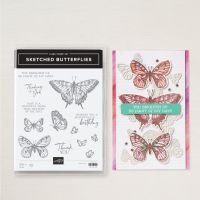
I didn’t spot the Sketched Butterfly bundle in the catalogue at first, but once I did I had to have it. The sketched images are beautiful and the dies add extra butterfly options for your crafting and card making. You certainly don’t need to be a colouring genius to make the most of these images as the sketched nature gives you all the help you need.
The measurements and instructions are given below and the video showing how I made the card can be found further down this post.
For this card I used:
- Basic White base 21cm x 14.8cm (8 ½” x 5 ½”)
- Fresh Freesia layer 6.5cm x 13.9cm (2 ½” x 5”)
- Basic White piece for stamping approx 9cm x 15cm (3½” x 6”)
- Basic White scrap for the sentiment
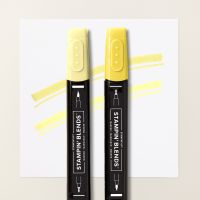
- Stampin Blends for colouring
Score the base card in half at 10.5cm (4 ¼”), fold and burnish well.
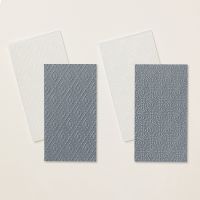
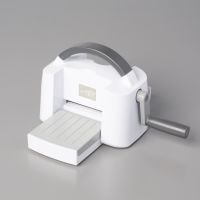
Place the Fresh Freesia panel in the flower Fun Pattern embossing folder and run through your Cut & Emboss machine. Stick the panel to the left of your card front.
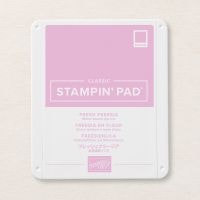
Using the Fresh Freesia ink pad, stamp the three butterflies in a line (from the four butterfly stamp) twice on the right-hand side of the card front.
Stamp the three Sketched Butterfly stamps in Memento ink onto the Basic White piece. Use the dies to cut them out.
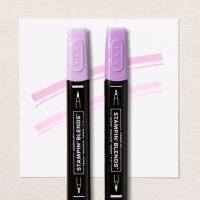
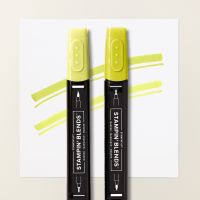
Colour the butterflies however you wish using Stampin Blends – I used Fresh Freesia, Lemon Lolly and Lemon Lime Twist. See the video – this is basic, easy colouring!
Stamp your chosen sentiment (in Memento or Fresh Freesia – your choice) onto your scrap of Basic White. Trim and stick to the upper right of your card using dimensionals. Watch the video to see how I cut mine on an angle using my paper trimmer.
Add your butterflies down the left-hand side of the card using dimensionals. (I was going to add some twine behind the sentiment but I could not find it and I think it looks better without!)
Don’t forget to stamp the inside of your card and decorate your envelope – I used the small side-on butterfly stamp for this and coloured it in to match my card colours as you can see in the pictures.
I made a second card using the same card base measurements and some scraps of cardstock. Here it is:
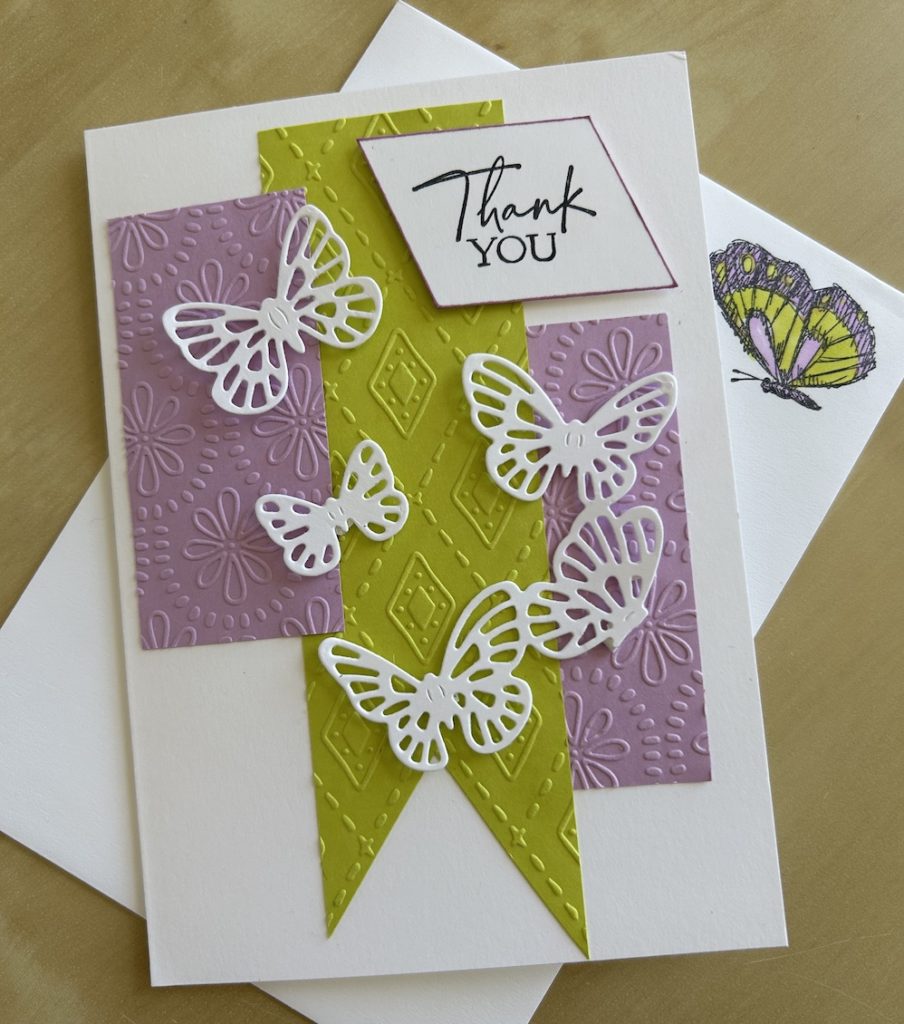
I used up some scraps of Lemon Lime Twist and Fresh Freesia cardstock and ran them through my Fun Patterns embossing folders. The Lemon Lime Twist scrap was approximately 4cm x 14cm (1¾” x 5 ½) and the Fresh Freesia scraps were both approximately 3.5cm x 7.5cm (1¼” x 3″).
I trimmed the Lemon Lime Twist piece by following the embossing lines and stuck all three pieces to the card front as shown using multipurpose glue.
I then die-cut all three of the detailed butterfly dies from Basic White scraps. I added tiny pieces of dimensionals to the more solid areas to stick them to the card front.
I stamped the sentiment in Memento ink onto a scrap of Basic White then gently touched the edges into my Fresh Freesia ink pad to give an edge of colour, adding it to the card using dimensionals. NOTE: If you try this technique, please do not press the edges into the ink pad surface as you can damage your ink pad.
Here’s the video of how I made both cards:
I hope you like this card and will have a go at making one – please show me what you come up with.
Thank you for taking the time to read my post.

Don’t forget – you get a FREE pdf when you place any order with me as your demonstrator. And, if your order is over £40, you will also get to choose stuff from my online shop to the value of your order!
Product List
