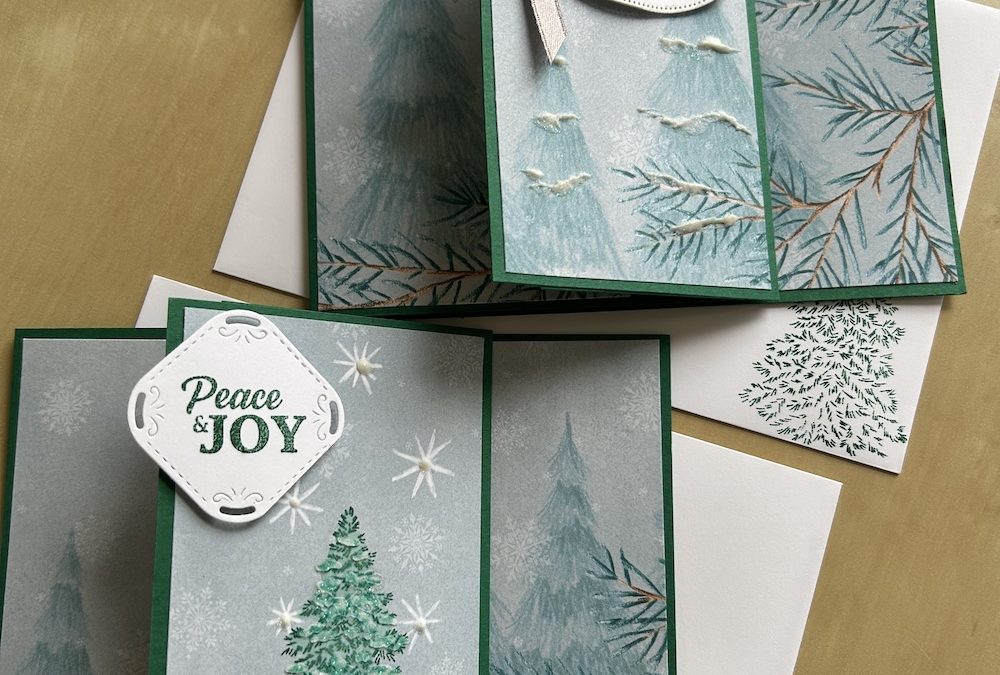
I love a quick and easy Christmas card and I love fun folds, so what is better than to combine them? This is a very simple fun fold which can be made with any DSP and coordinating cardstock.
This simple fun fold card is fine when made simply by adding the DSP panels, but I jazzed it up by adding some shimmer embossing paste on the central panel. I don’t use this paste enough – do you? Watch the video to find out more.
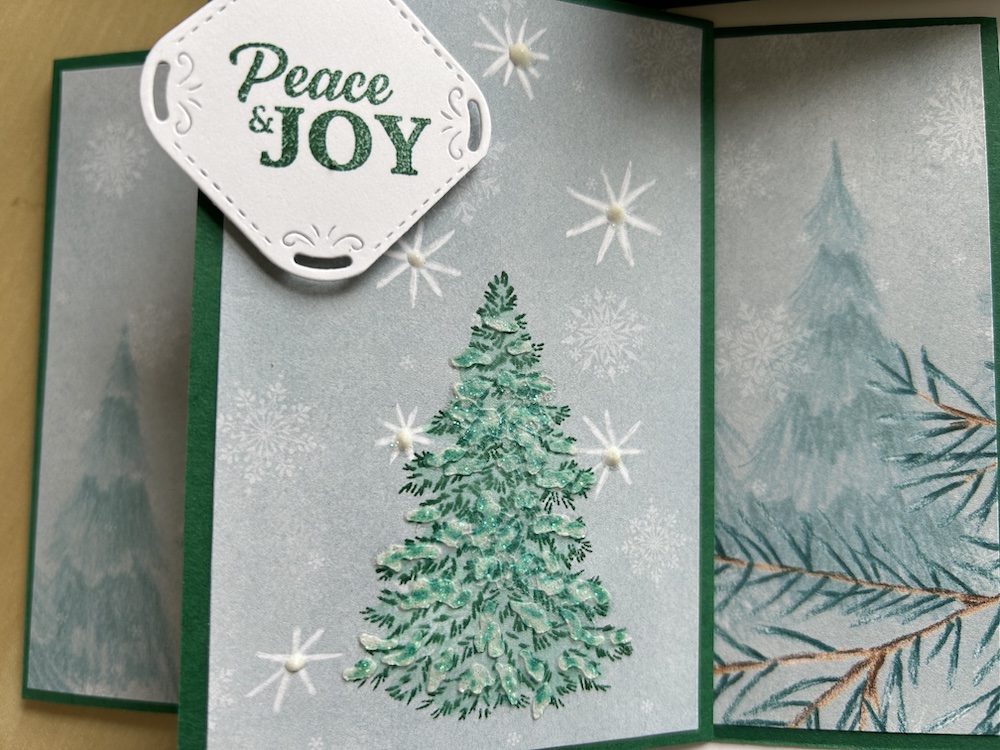
I used the Frosted Forest stamp set to stamp the central tree and added embossing paste using one of the masks on the second card.
Here is a close up of the tree and stars after adding the embossing paste:
To make this card you will need:
- Shaded Spruce Card base 10.5cm x 29.6cm (11” x 4¼”)
- Shaded Spruce piece: 7cm x 10.5cm (3” x 4¼“)
- Basic White layer inside: 6.5cm x 10cm (2¾“ x 4”)
- Sentimental Christmas DSP: 20.5cm x 10cm (7¾“ x 4) – can be one panel or three pieces – see below
- Scrap of Basic White for sentiment approx. 4cm x 3cm (2” x 1½“)
- Shaded Spruce ink pad
- Frosted Forest stamp set and masks
- Christmas sentiment – I used the Peaceful Season bundle
- Gray Granite or other coordinating ribbon (optional)
Score the card base at 14.8cm and 5cm (5½” and 2”). Fold and burnish both folds, the centre score as a mountain fold then the outer score as a valley fold (i.e. fold it back on itself). This forms the simple fun fold.
Keeping your DSP panel scene intact if required, cut the DSP for the first panel from the left-hand side at 7cm (3”) – this is for the left-hand side of the card. Then cut the panel for the centre at 6.5cm (2¾“). This leaves the final 7cm (3”) panel for the right-hand side of the card. (I cut a separate panel for the centre as I wanted to add a stamped tree.)
Stick the two 7cm (3”) DSP panels respectively to the left front and right back of your card.
Stamp a greeting in Memento or coloured ink on the piece of Basic White then stick it to the inside of your card next to the DSP.
Stick the smaller centre DSP panel to the separate piece of cardstock.
lgnore the next two steps if the picture on your DSP is enough on its own.
if you have a plainer centre panel, stamp the smallest Frosted Forest tree in Shaded Spruce on the panel. Use a water painter to spread the colour across the tree as I show on the video.
Add Shimmer embossing paste to the tree using the mask as shown in the video by spreading it on with a palette knife. Please see below for tips on using embossing paste.
Stick the completed centre panel to the folded back part of the card base, making sure to line it up so it is central.
Stamp your sentiment in Memento ink onto the Basic White scrap and die-cut out using a die from the bundle or any appropriately shaped die you have.
Add the sentiment to your card using dimensionals.
(Optional): Tie a bow in Gray Granite ribbon then add at the side of the sentiment using glue dots to secure.
Don’t forget to decorate your envelope! I used a Frosted Forest tree.
Tips for using embossing paste
Embossing paste will last a long time if cared for. Your enemy is air. Open your pot and use the palette knife to take out a glob and put it on a silicone mat. Close the pot up tightly.
Pick up the embossing paste using the palette knife and add to your project as you wish. In teh video I show how to use it with a mask, how to use the edge of the knife to add snow to a picture and how to use a small embossing tool to add snowflakes.
If you only have basic embossing paste, trying adding some glitter and mix it in with the palette knife to make it shimmer.
You can also mix in one drop of ink to your paste to make a coloured embossing paste.
Note: treat your palette knife gently – do not break it as i did in the video!
After using embossing paste, put the tools, masks if using and silicone mat in warm soapy water as soon as you have finished using them. Wash, then allow to air dry.
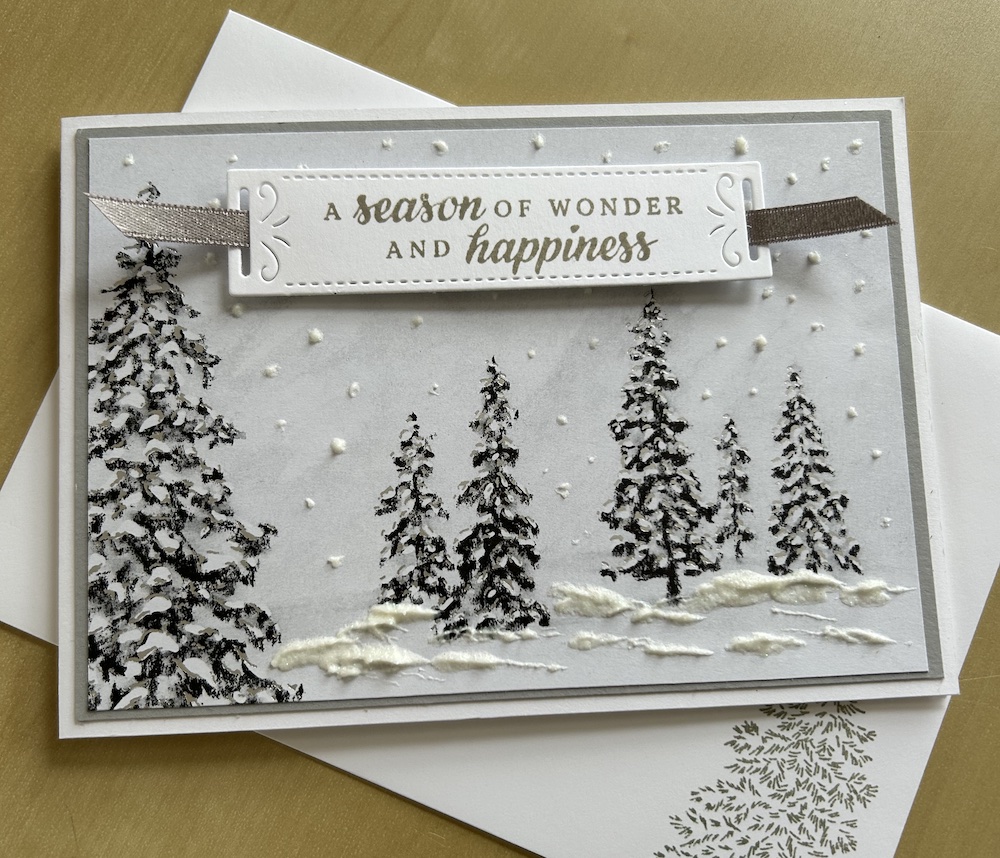
Here is another card I made to show how to add snowflakes and snow with embossing paste. This card uses a very gorgeous but sadly retired DSP:
I hope you have a go at making this simple fun fold card and also try using embossing paste. Please let me know how you get on.
Thank you for taking the time to read my post.

Don’t forget – you get a FREE tutorial of eight cards when you place an order with me. There’s a different set every month. And, if your order is over £40, you will also get to choose stuff from my online shop to the value of your order!
Product List  |  | ") | ||
 |  |  |  | |
 |
 Designer Series Paper")
")

 Shimmer Ribbon")

