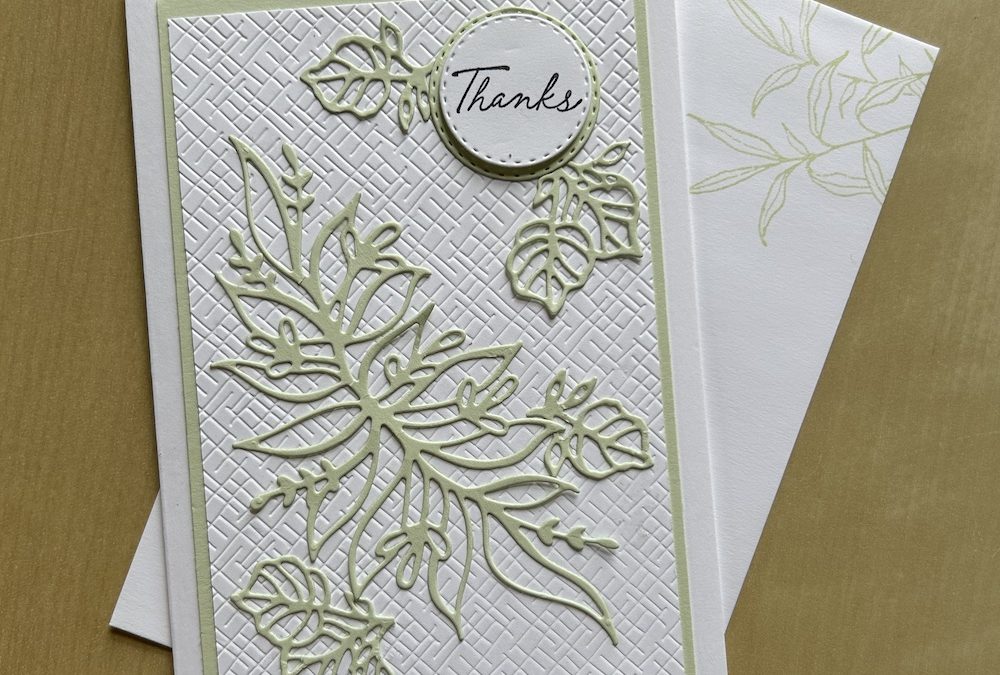
I like to make simple but effective cards and this monochrome card uses Soft Sea Foam with a Basic White base. The card has several die-cut leaves and a simple sentiment glued onto an embossed white base
There’s very little stamping to do. The sentiment is stamped and I also used the Thoughtful Wishes stamps to add an image to the inside of the card and the envelope.
To make the card you will need:
- Basic White card base 21cm x 14.8cm scored in half at 10.5cm (8 ½” x 5 ½”scored at 4 ¼”)
- Soft Sea Foam layer 10cm x 14.3cm (4” x 5 ¼”)
- Basic White layer 9.5cm x 13.8cm (3 ¾” x 5”)
- Scrap of Basic White for stamping the sentiment
- Soft Sea Foam approx 17cm x 7cm for die-cutting
- Basic 3D embossing folders
- Thoughtful Wishes stamp set and dies
- Unbounded Love dies
Emboss the Basic White layer using the hatched 3D embossing folder, one of the Basic 3D embossing folders available from the online store. I used the de-bossed side to face outwards for this card as it makes sticking the die-cuts down much easier than trying to stick them on top of a raised embossed area.
Die-cut the Thoughtful Wishes large leaf spray and several small leaves from the Unbounded Love die set in Soft Sea Foam.
Die cut the Unbounded Love larger circle die in Soft Sea foam. Stamp the “thanks” from Thoughtful Wishes onto a scrap of Basic White and use the smaller circle die to cut it out.
Stick the Soft Sea Foam layer onto the base card. Add the embossed Basic White layer on top. Stick the two die-cut sentiment circles together using a dimensional and add to the top right-hand corner of the card.
Add the die-cut leaves arranged as you want. I use some multi-purpose glue on the back of my hand as the easiest way to add some glue, or use tiny dots of glue around each die-cut. See the video for details.
Stamp part of the large foliage stamp in Soft Sea Foam onto the inside bottom right corner of the card. Repeat on the corner of the envelope. Add a sentiment inside if you wish, stamped in Soft Sea Foam.
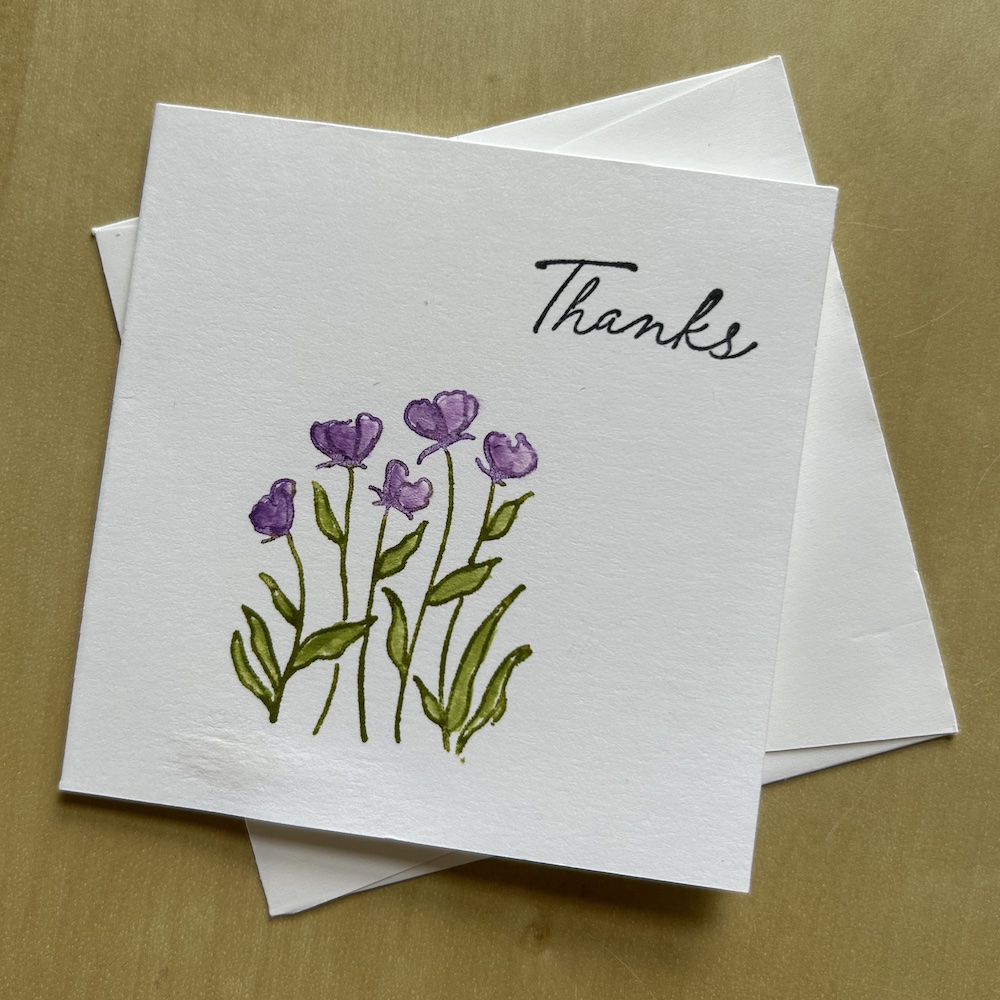
The video also shows a bonus mini simple stamped thank you card I made using this gorgeous stamp set. For that card I used our Stampin’ Write markers to colour the stamp before stamping and I then filled in the outline using a blender pen. You can see exactly how I did this in the video.
I hope you like this card and will have a go at making one – please show me what you come up with.
Thank you for taking the time to read my post.

Don’t forget – you get a FREE pdf when you place any order with me as your demonstrator. And, if your order is over £40, you will also get to choose stuff from my online shop to the value of your order!
Product List  |  |  | ||
 |  |  |  |  |
")


