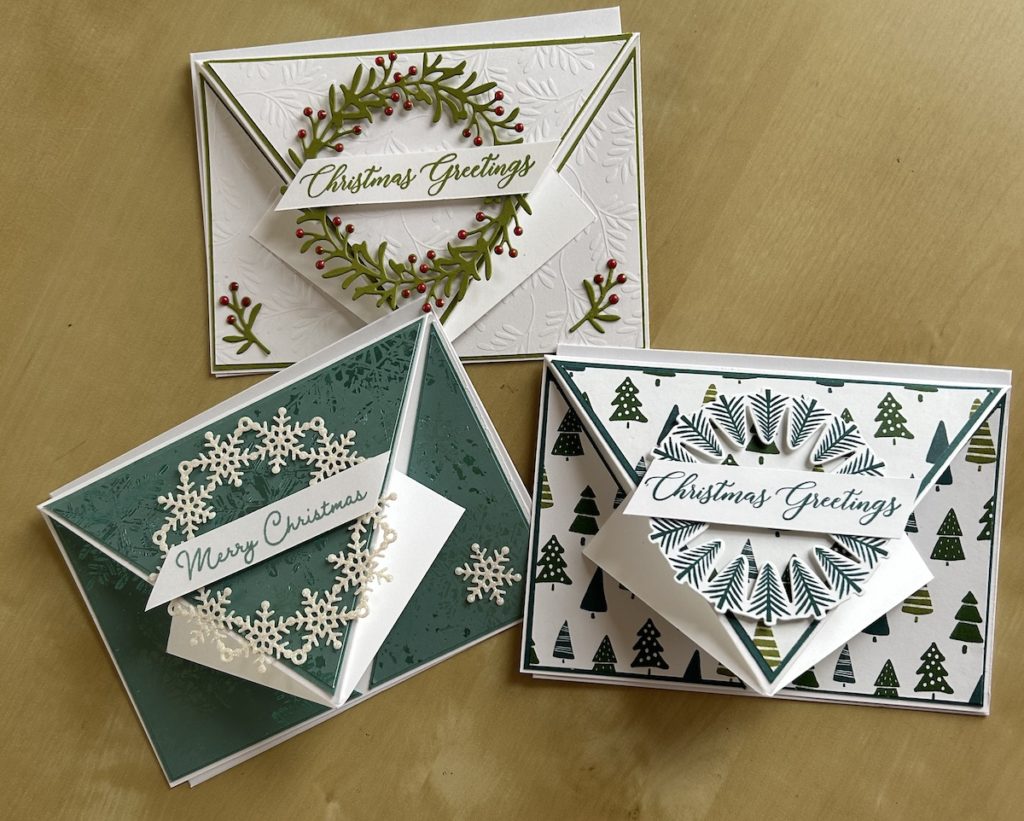
I love a fun fold card. This arrow card is such a simple fun fold but it still has a wow factor. I’ve used the Wishes All Around bundle and A Walk in the Forest DSP for decoration.
I first saw this arrow fun fold card a year or so ago on the Frenchie Stamps website and I decided I wanted to use the lovely Wishes All Around bundle with it as I felt the circle elements set it off well. There are three lovely circle dies in the bundle and I have made this card using them all, with different DSP backgrounds.
I’ve used pearlised red enamel dots for the berries on the bough/wreath one, white glimmer card for the snowflake one and stamped trees for the tree one (which you can see in the video below).

This card would work well with any of our gorgeous DSPs and can be made for any occasion, such as a birthday, a get well card, as a general greeting, a special sympathy or a birth celebration card. You just need a suitable greeting to fit on the front and some coordinating DSP and colour cardstock.
The measurements and instructions are below. Here is the video of how to make the card:
You will need:
- Base card (Basic White) 14.8cm x 21cm scored at 10.5cm
- Colour layer 14.3cm x 10cm – I used Pretty Peacock
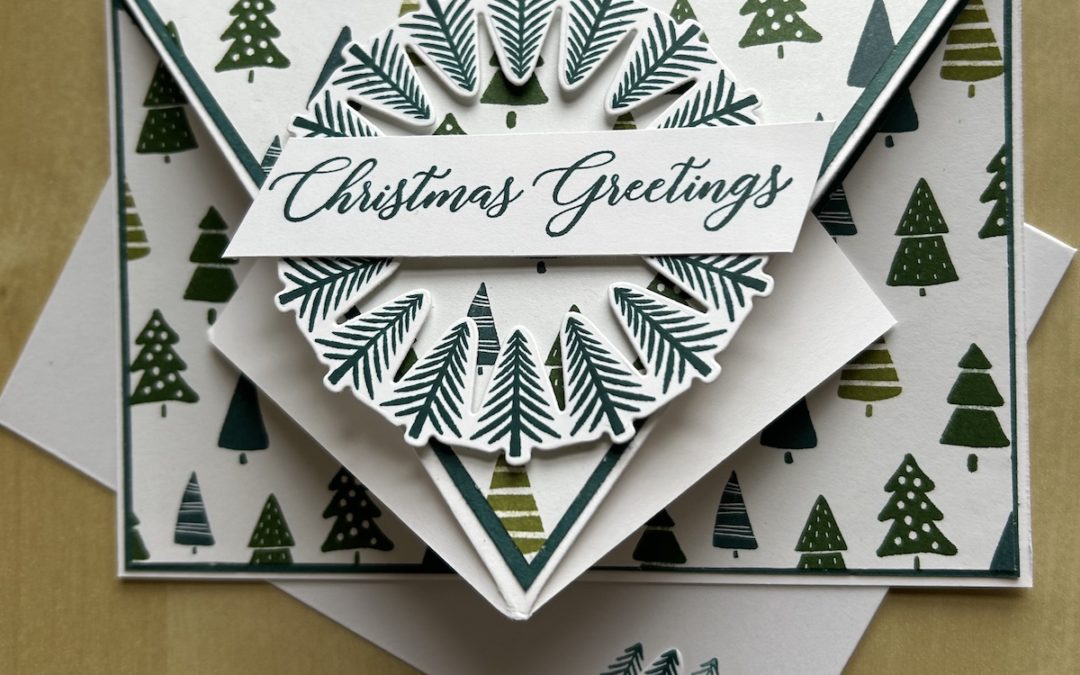
- DSP layer 13.6cm x 9.5cm – I used A Walk in the Forest DSP
- Basic white cardstock for tree circle approx 9cm square
- Scrap for sentiment
Instructions:
- Fold and burnish the base card. Using your trimmer, make a small pencil mark in the centre of one side edge in the middle at 7.4cm, Mark down the centre on each side at 5.25cm from the edge.
- Score from the first centre pencil mark down to the centre scoreline, then for the centre pencil mark to the side pencil mark. Repeat on both sides. See the video if you are unsure about this. Erase your pencil marks.
- Fold the longer fold inwards and the shorter fold outwards and burnish well. This forms the fun fold arrow card base.
- Mark the colour cardstock layer at the centre of one long edge at 7.15cm. Cut diagonally down from that mark to each corner.
- Do the same for the DSP layer, marking at 6.8cm. To cut DSP to a corner point , start with the trimmer blade in the middle of the piece you are cutting – again, see the video for details.
- Stick the DSP pieces to the cardstock pieces then to your base cardstock.
- Stamp a greeting inside the card and add further decoration if wanted.
- Stamp the tree circle in Pretty Peacock and die cut out. Add to the centre front of your card using dimensionals.
- Stamp your sentiment in Pretty Peacock. Trim the edges diagonally or as wanted and add across the tree circle.
Don’t forget to decorate your envelope!
Product List


