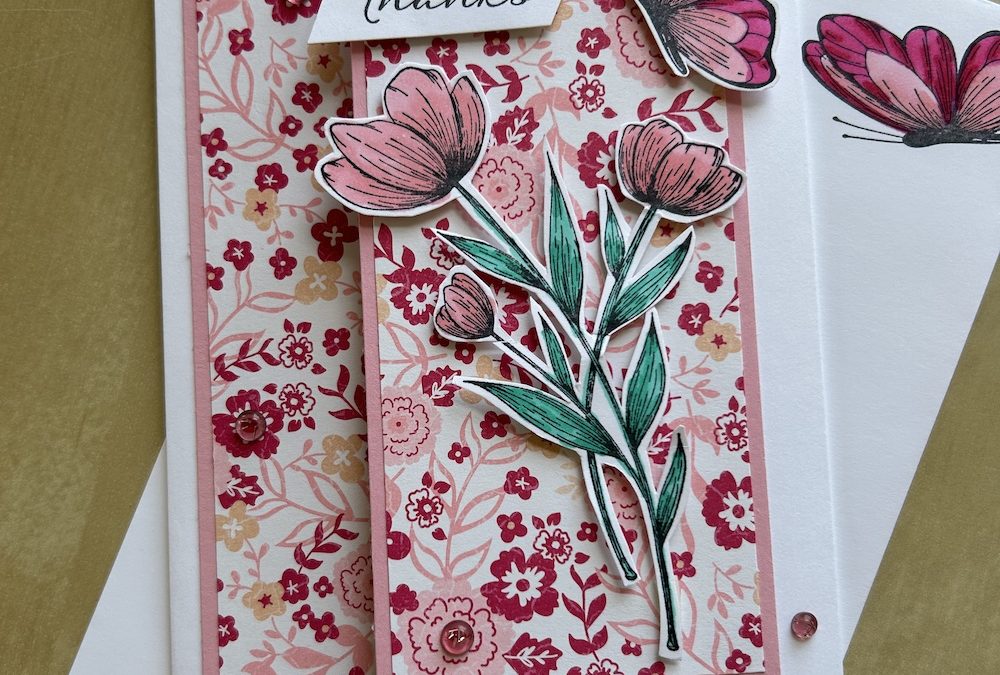
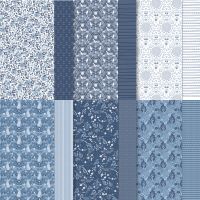
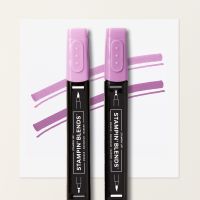
In today’s Craft with Carol LIVE I made a side fun fold card using the gorgeous Countryside Rose DSP I was proud to receive from Stampin Up! as a reward for meeting a sales challenge in April. I understand this DSP will be available to customers at some point, but you can use any DSP you want to match your chosen image. However, the blue version, Countryside Inn DSP, is available in our current Annual Catalogue.
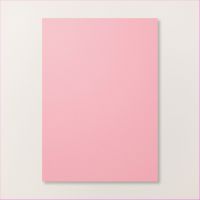
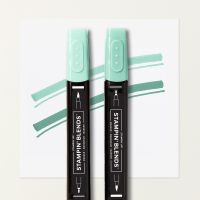
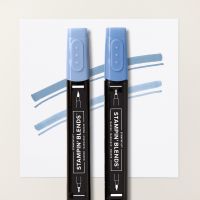
I’ve used Pretty in Pink cardstock to match the DSP I used, but if you are using Countryside Inn DSP, use Boho Blue – I’ve given both colours in the Product List at the end of this post. Here is a card made using the Countryside Inn DSP, Boho Blue and Summer Splash blends. (The sentiment is from the So Sincere stamp set.)
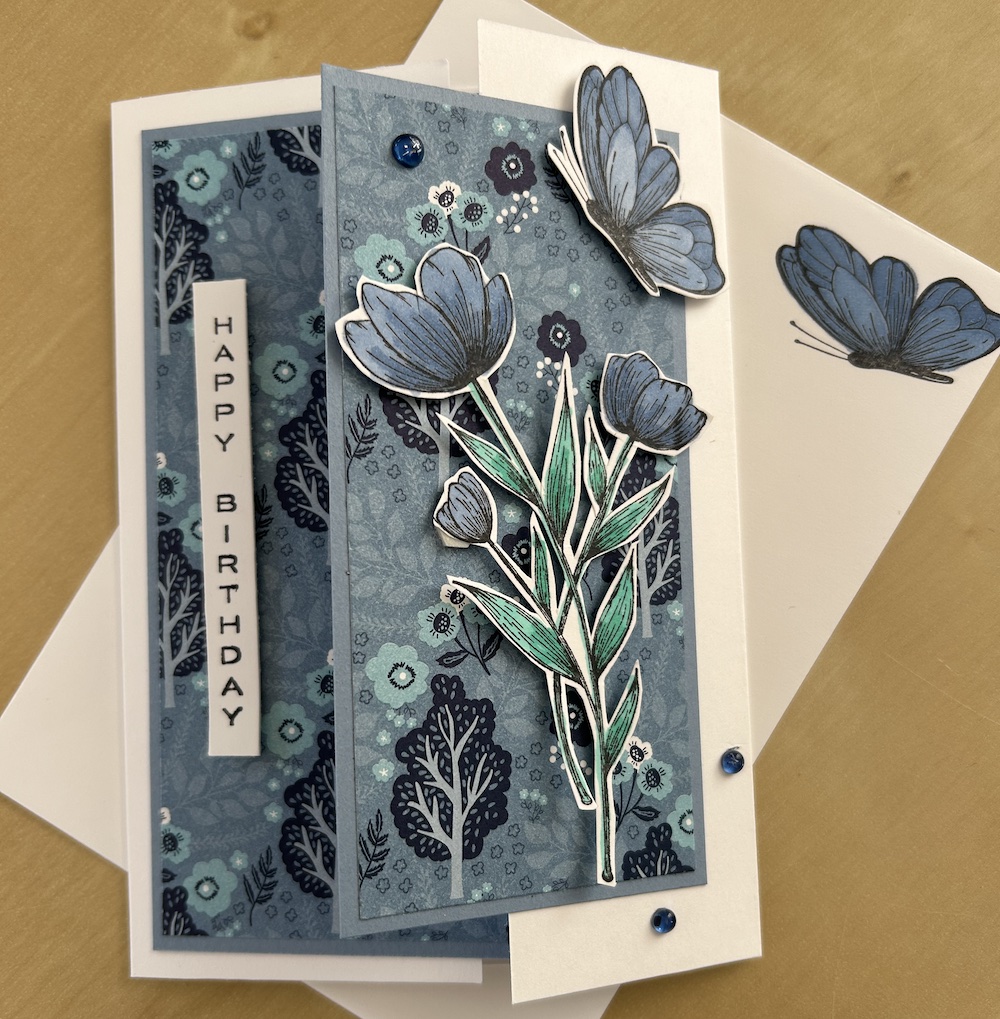
This side fun fold card is based on an asymmetric gatefold card with added panels and layers. All is revealed in the video below and I’ve given you all the measurements and instructions here. It is not as complicated as it looks, honestly!
I got the idea from a similar side fun fold card we made in one of the online crafting sessions run by our lovely demonstrator support manager, Helz Simms. I’ve altered it a bit as I didn’t like the gap between the side folds in the original card. When we made the card with Helz we used Basic White for all the top panels and made our own stamped background – but using DSP is easier! Your choice of course!
To make the side fun fold card you will need:
- Base cardstock 21cm x 14.8cm (8 ½” x 5 ½”)
- Colour cardstock panel 1: 13.8cm x 7.5cm (5 ¼” x 2 ¾”)
- DSP panel 1: 13.3cm x 7cm (2 ½” x 5″)
- Colour cardstock panel 2: 12.3cm x 6cm (4 ¾” x 2 ¼”)
- DSP panel 2: 11.8cm x 5.5cm (4 ½” x 2″)
- Colour cardstock inner panel: 12.8cm x 7cm (5″ x 2 ¾”)
- Basic White cardstock panel: 12.3cm x 6.5cm (4 ¾” x 2 ½”)
- Scraps of Basic White for images and front sentiment
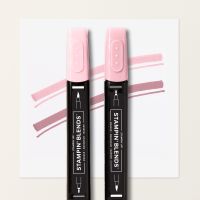
- Stamping Blends for colouring
Instructions:
Score the base cardstock on the long edge at 4.5cm and 15cm (2″ and 6 ¼”). Fold each side in and burnish well.
Stick the DSP panels 1 and 2 to their respective cardstock panels 1 and 2.
Add the completed panel 1 to the front left hand side of the fun fold card, being careful only to put glue where it will stick to the card.
Add panel 2 to the right-hand side of the card, so that it is central compared to the left-hand panel – see the video if you are not sure. Only put glue where you need to.
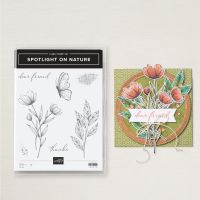
Stamp the Basic White panel with whatever sentiment and/or image you want. I used the butterfly from the Spotlight on Nature stamp set. Colour using Stampin Blends. Adhere this completed panel to the cardstock inner panel then stick centrally inside the card.
Stamp your chosen images onto Basic White and colour using Stampin Blends. I used the flower and butterfly stamps. I coloured them using Stampin Blends then fussy cut each image and added them to the right-hand card front using dimensionals. When fussy cutting, try to leave a small 1-2mm white border around your images. They look better and it is easier to cut too!
Stamp your chosen sentiment in Memento or a coordinating colour ink onto a scrap of Basic White and trim, angling each end. Add to the card using dimensionals.
Add some gems if you wish and don’t forget to decorate your envelope – I used the butterfly again.
Here is the video of how to make this side fun fold card:
I hope you have a go at making this side fun fold card. Let me know how you get on!
Thank you for taking the time to read my post.

Don’t forget – you get a FREE tutorial of eight cards when you place an order with me. There’s a different set every month. And, if your order is over £40, you will also get to choose stuff from my online shop to the value of your order!
Product List
