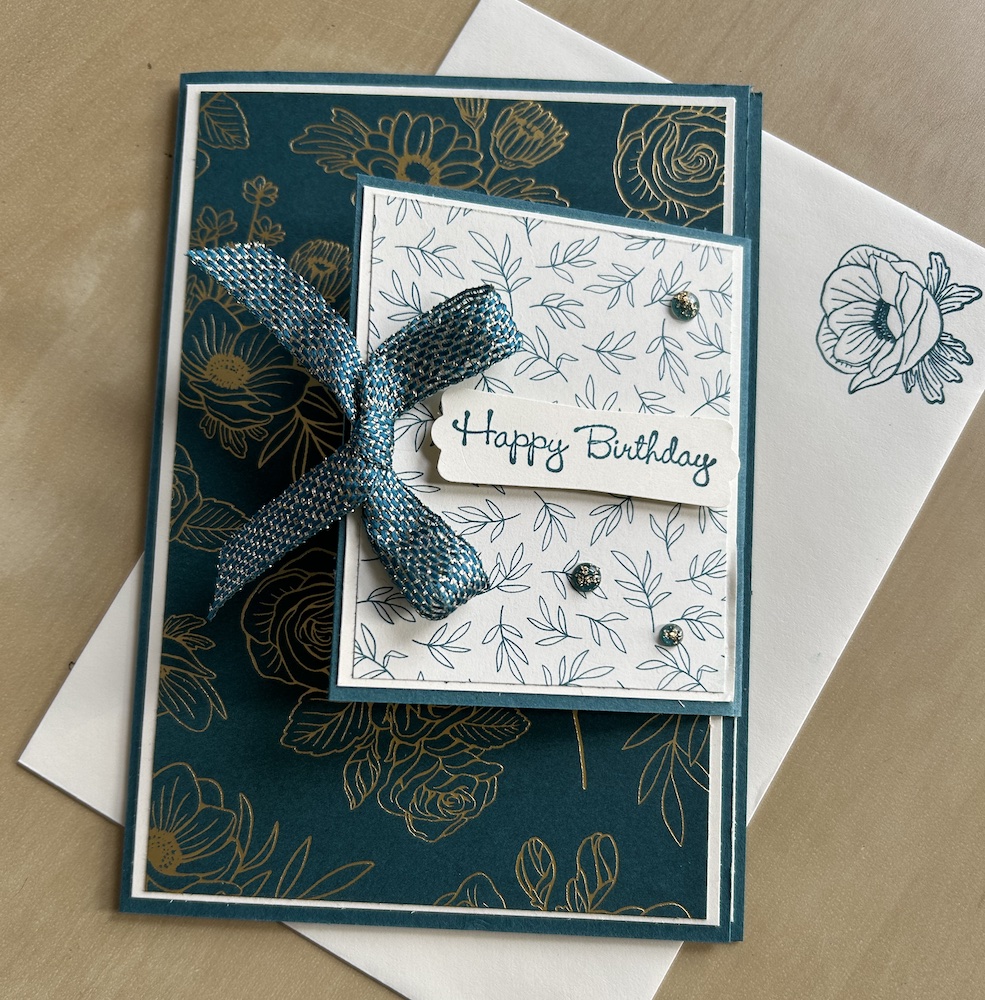
I love fun folds but I haven’t made one for a while. Then last Monday we had a get-together of demos from the UK and Ireland and our new Development Manager Helen showed us this card and I love it!
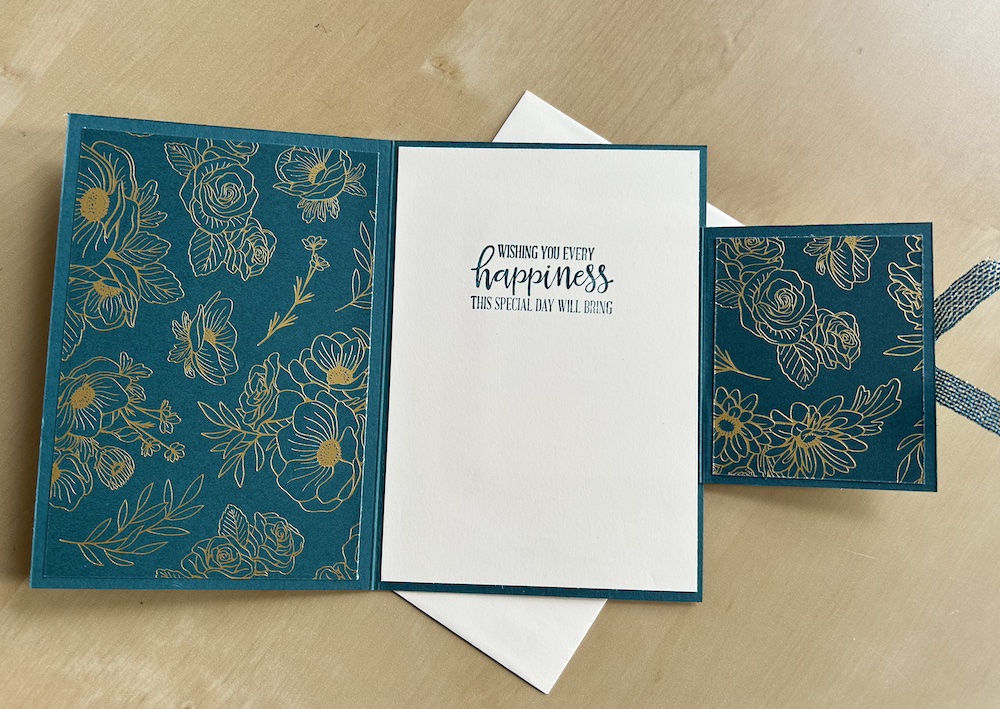
The card has a fun small card fixed to a normal-sized base card. Helen showed it with the flap card to the left, but I prefer it on the right-hand side. You can of course make it whichever way you want!
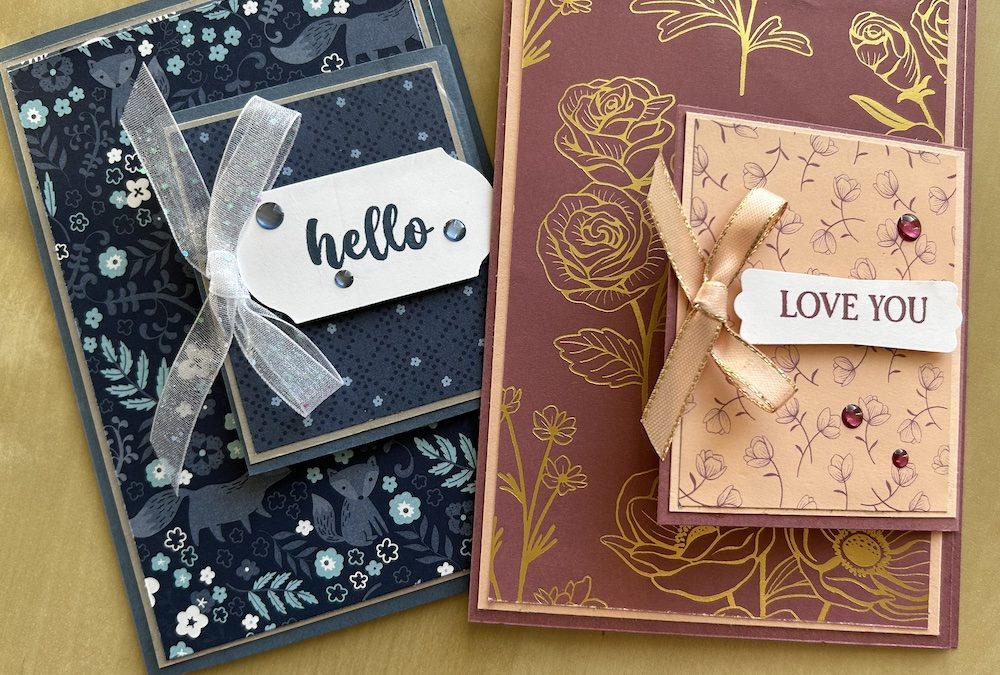
I made the first one using Countryside Inn DSP then I’ve made a further two using the gorgeous Forever Love DSP and the Lifetime of Love stamp set and embellishments from that fabulous Suite. (Don’t forget that you earn FREE stuff for each £45 you spend this month.)
To make the card you need:
- Base cardstock 1: 20.8cm x 14.8cm (8 1/8″ x 5 3/4″)
- Base cardstock 2: 14cm x 8.3cm (5 1/2″ x 3 1/4″)
- Contrast cardstock 1: 14.3cm x 10cm (5 1/2″ x 4″)
- Contrast cardstock 2: 14.3cm x 9.8cm (5 1/2″ x 3 3/4″)
- Contrast cardstock 3: 7.9cm x 6.6cm (3″ x 2 3/4″)
- DSP 1: 14cm x 9.3cm (5 1/4″ x 3 1/2″) (cut a second piece if you wish)
- DSP 2: 7.6cm x 6.2cm (2 3/4″ x 2 1/2″) (cut a second piece if you wish)
- Basic White scraps for sentiment
- Ribbon and gems for embellishments
You can see how I made the card in the video below. Instructions are under the video.
Score base cardstock 1 at 10.5cm (4 1/4″), fold and burnish. You will find one side is slightly shorter than the other, this is the from of the card.
Score base cardstock 2 in half at 7cm (2 3/4″), fold and burnish.
Stick the base cardstock 2 to wrap around the centre of the side of contrast cardstock 1 (the slightly bigger piece), so that it folds around the side of that piece. This completed card inner can now be stuck inside your base card. The small flap card will fold to the front of the base card. See the video if you are unsure about this!
Now stick contrast cardstock 2 to the front of your base card and add the piece of DSP 1 on top. (The optional second piece of DSP 1 is to stick inside the card front inside the card – your choice.)
Glue contrast cardstock 3 to the front of the flap card and add DSP 2 on top. (The optional second piece of DSP 2 is to stick on the inside the flap card if you want.)
Stamp your sentiment in Memento or coloured ink to match your project. Punch, trim or die cut and add to the front of the flap card. Tie a matching ribbon in a bow and stick to the edge of the flap card using glue dots. Add gems as you wish to complete the card.
Here is the card I made during our live Craftalong yesterday.

You can also stamp whatever sentiment you wish inside. Here I’ve used a sentiment from the Peaceful Moments (now retired) stamp set.

I’ve made three of these cards now and I love them!
Don’t forget to decorate your envelope and send it to a lucky recipient.
Do you like fun fold cards? Let me know in the comments!
Product List


