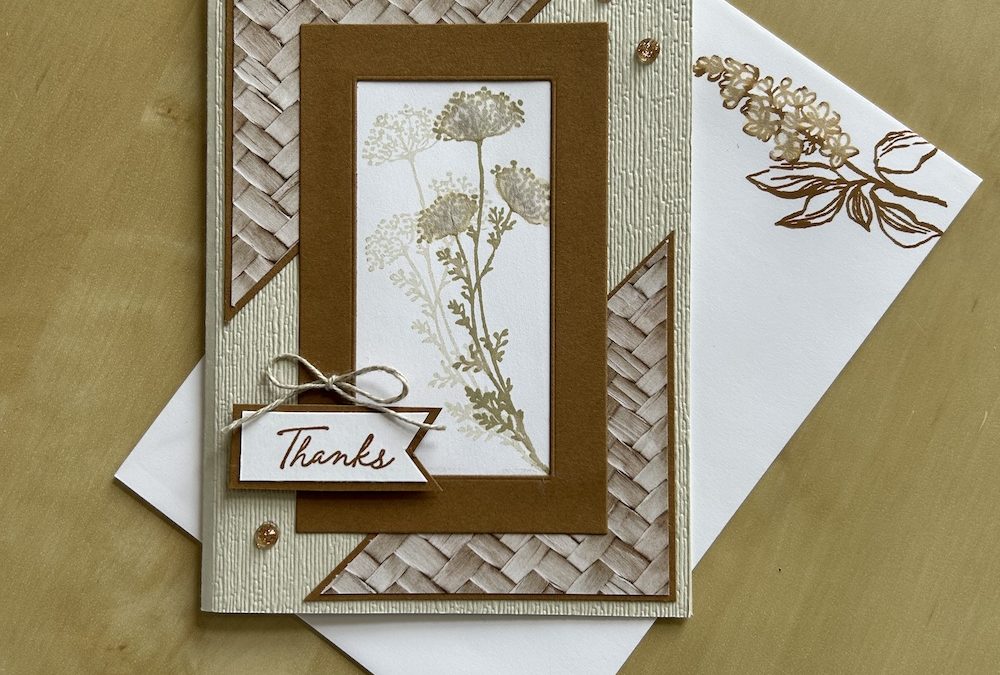
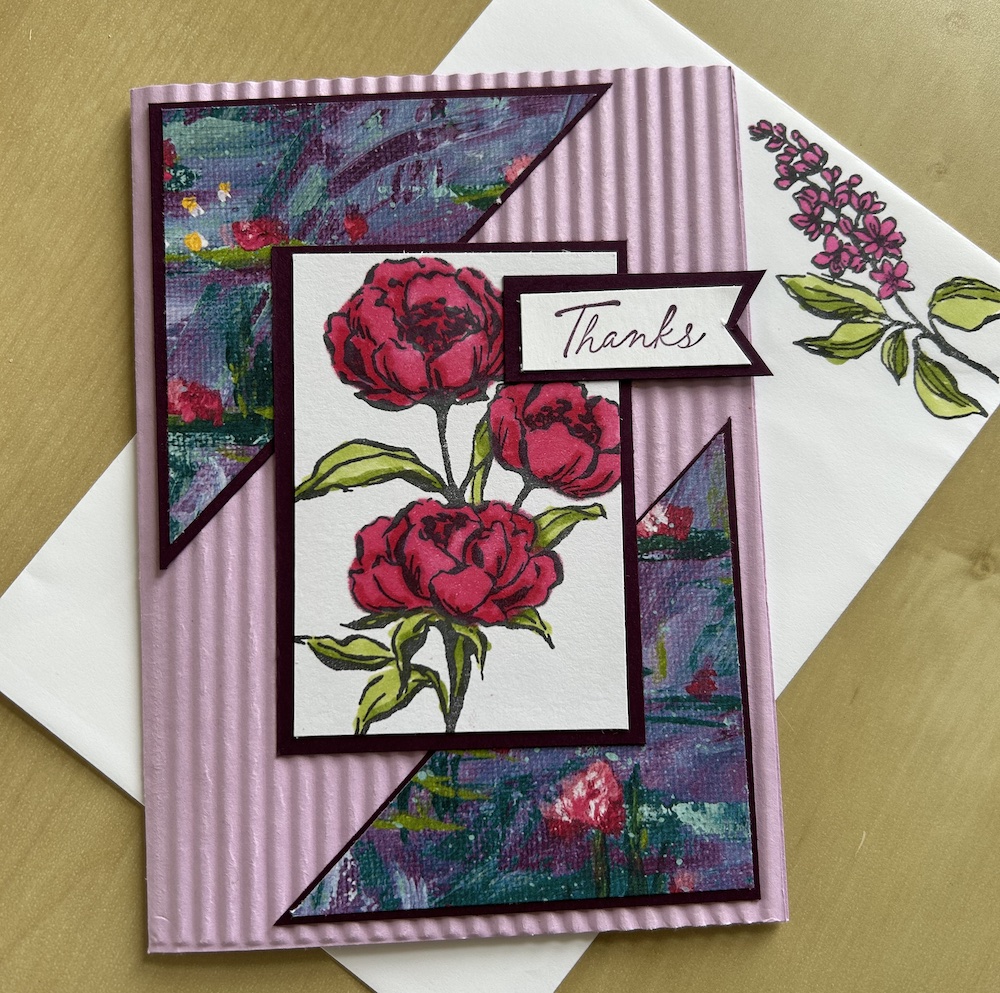
For today’s Live, I made a shaped layer card. I love to use layers in card-making, but normally I just use square or rectangular shapes. So I designed this card to show ways to use a different shaped layer which is simple to make. I’ve made it in two very different colour schemes to show how this design can be made for any occasion. It is also a good way to use up smallr scraps of DSP!
To add interest, I embossed the base card front. The sentiment can be added wherever you want. If you don’t have the Gallery Bloom bundle for the frame dies, you could use a trimmed rectangle layer as I did in this coloured card.
The measurements and instructions are given below, or watch the video at the end of this post if you prefer.
You will need:
- Neutral colour card base 21cm x 14.8cm (8½” x 5½”)
- Contrast colour cardstock 8.5cm x 8.5cm (3¼”x 3¼”)
- DSP 8cm x 8cm (3″ x 3″)
- Contrast colour cardstock (for die-cutting frame) 7cm x 11.5cm (2¾” x 4½”)
- Basic White 5cm x 9cm (2″ x 3½”)
- Scraps of Basic White and colour cardstock for the sentiment
- Embossing folder of your choice
Score the card base on the long side at 10.5cm (4¼”). Place the card front in your choice of embossing folder and run it through your Cut & Emboss machine. (I used the corrugated folder for my coloured card and the Subtle folder (retired) for my neutral card.)
Place your contrast colour square so that two opposite points lie in your trimmer channel and cut it in half diagonally.
Cut your piece of DSP diagonally in the same way. NB: Cut any directional design pattern from top right to bottom left.
Adhere the DSP triangles to the coloured cardstock triangles.
Stick one shaped layer at the top left of the card front and the other shaped layer at the bottom right, leaving a small border above and to the side of them.
Die-cut the smaller frame from the colour cardstock piece. If you do not have these gorgeous dies (why not?!), cut a rectangle 6.5cm x 11cm (4¼” x 2½”).
Stamp your chosen image on the Basic White piece in a colour you used for your shaped layer or Memento. I used images from the Gallery Blooms stamp set. Colour as you wish.
I used Pecan Pie to stamp my image. I stamped it once then stamped it a second time without re-inking the stamp. I coloured the flower heads using a water painter (see video and photo below). I used Memento and coloured with Stampin’ Blends for the coloured shaped layer card.
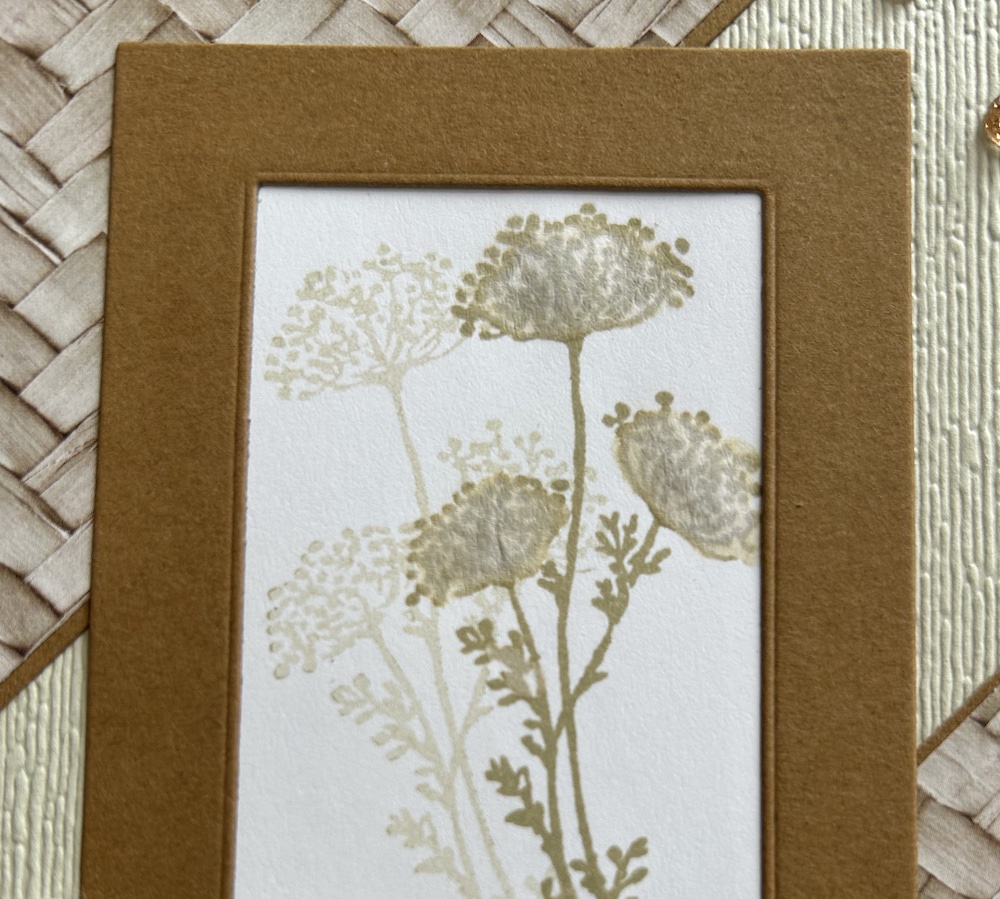
Stick the completed coloured image behind your frame (or on top of your trimmed rectangle). Adhere it to the card centre.
Stamp your chosen sentiment in a coordinating colour ink on a scrap of Basic White. I used the Thanks sentiment from the Thoughtful Wishes stamp set.
Stick this to a scrap of coloured cardstock and trim as you wish – I flagged one end.
Add to your shaped layer card wherever it looks best!
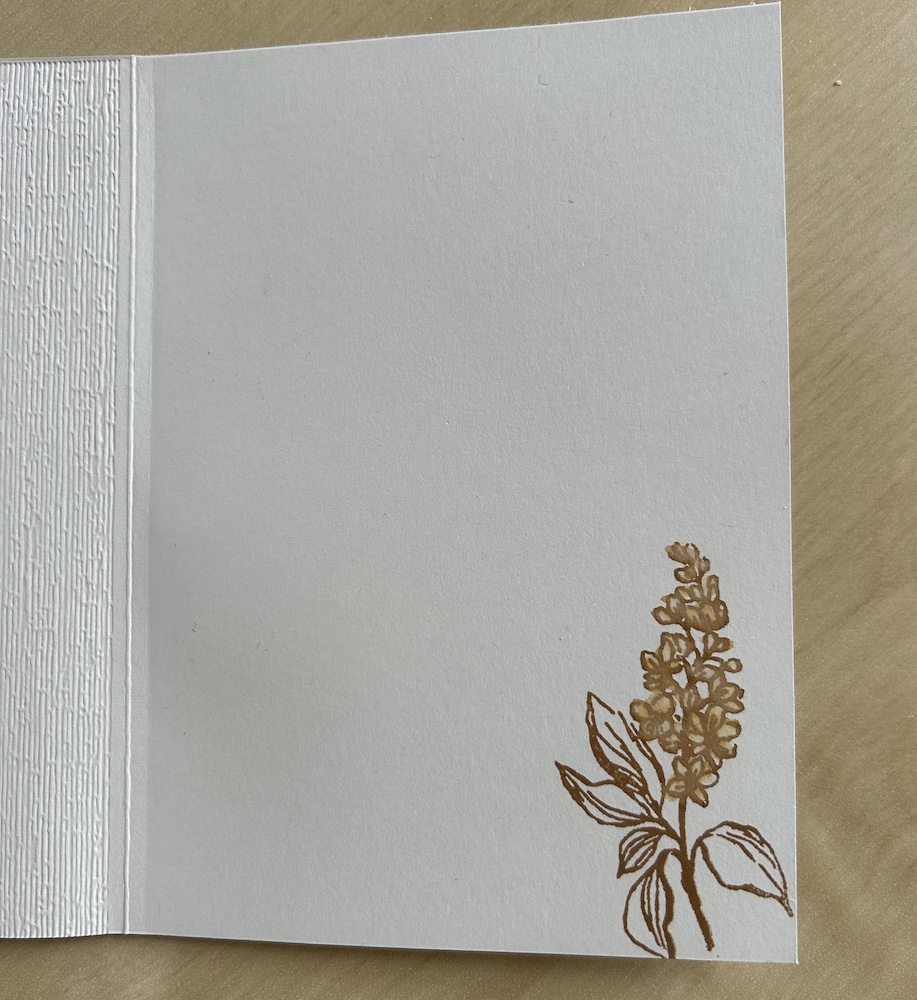
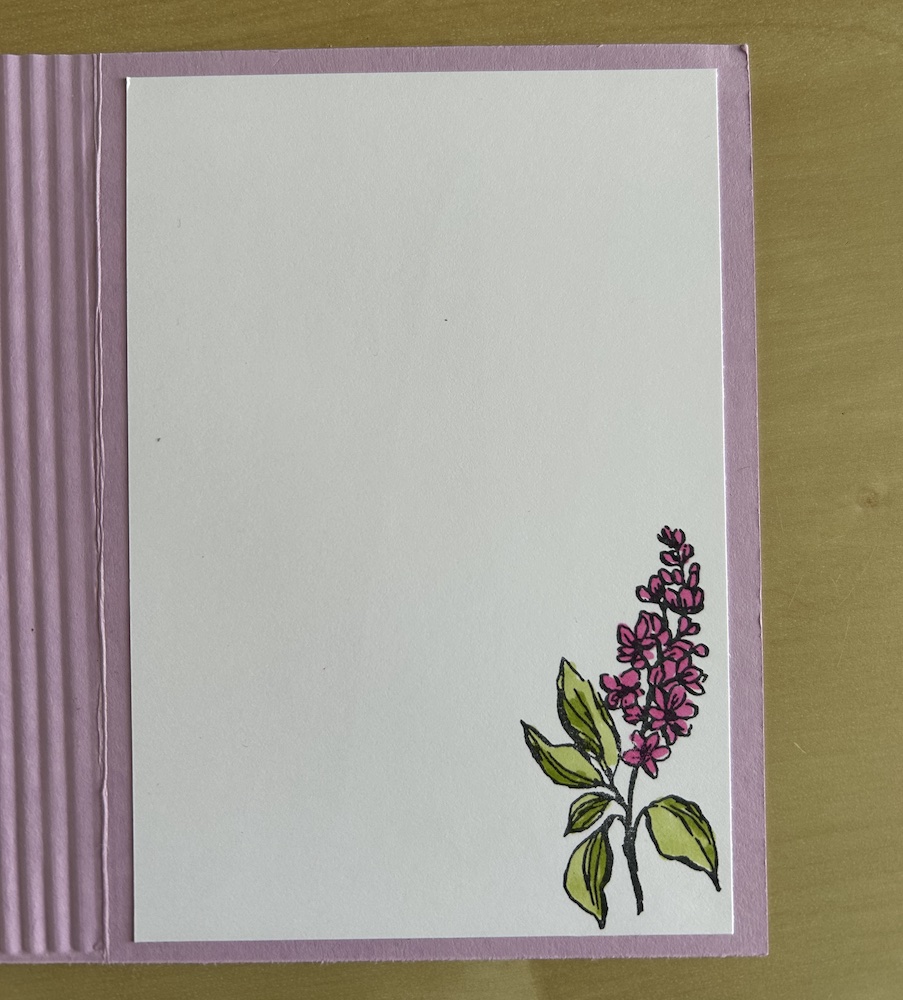
I stamped an image directly on the inside of my neutral shaped layer card then used the water painter to fill in the flower heads. I added a Basic White stamped panel to the inside of my coloured card.
I stamped the same image, coloured in the same way, on the envelopes.
Here is the video of me making the neutral colour shaped layer card:
Why not make a shaped layer card for a birthday, anniversary, thinking of you card or any other occasion?
I hope you like this card and will have a go at making one – please show me what you come up with.
Thank you for taking the time to read my post.

Don’t forget – you get a FREE pdf when you place any order with me as your demonstrator. And, if your order is over £40, you will also get to choose stuff from my online shop to the value of your order!
Product List ![Gallery Blooms Bundle [ 165213 ]](https://assets1.tamsnetwork.com/images/EC042017NF/165213s.jpg "Gallery Blooms Bundle [ 165213 ]") | ![Basic Beige A4 Cardstock [ 164512 ]](https://assets1.tamsnetwork.com/images/EC042017NF/164512s.jpg "Basic Beige A4 Cardstock [ 164512 ]") | ![Pecan Pie A4 Cardstock [ 161726 ]](https://assets1.tamsnetwork.com/images/EC042017NF/161726s.jpg "Pecan Pie A4 Cardstock [ 161726 ]") | ![Basic White A4 Cardstock [ 166781 ]](https://assets1.tamsnetwork.com/images/EC042017NF/166781s.jpg "Basic White A4 Cardstock [ 166781 ]") | |
![Pecan Pie Classic Stampin' Pad [ 161665 ]](https://assets1.tamsnetwork.com/images/EC042017NF/161665s.jpg "Pecan Pie Classic Stampin' Pad [ 161665 ]") | ![Water Painters [ 151298 ]](https://assets1.tamsnetwork.com/images/EC042017NF/151298s.jpg "Water Painters [ 151298 ]") |
![Woven Textures 12" X 12" (30.5 X 30.5 Cm) Designer Series Paper [ 165560 ]](https://assets1.tamsnetwork.com/images/EC042017NF/165560s.jpg "Woven Textures 12\" X 12\" (30.5 X 30.5 Cm) Designer Series Paper [ 165560 ]")
![Basic Beige Classic Stampin Pad [ 163806 ]](https://assets1.tamsnetwork.com/images/EC042017NF/163806s.jpg "Basic Beige Classic Stampin Pad [ 163806 ]")

