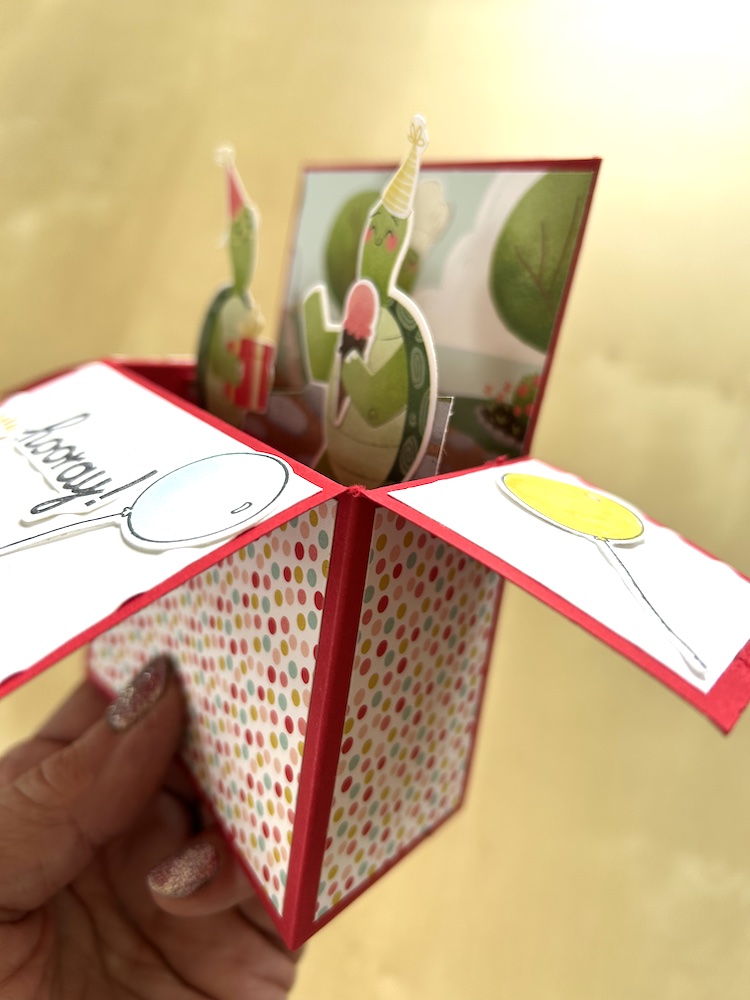
My upline and friend Gillian makes many different pop-up box cards and sells them on Ebay. She shared the measurements for these cards at our recent team get-together. A pop-up box card is an unusual shaped card that folds flat to post but sits up like a box when opened. They have three flaps that fold downwards when the card is opened.
The pop-up box card measurements I have given below make a card that is around 6″ x 5 1/2″ so fit into a 6″ x 6″ envelope. (I have given measurements at the end of this post for a pop-up box card to fit a normal C6 envelope.) The measurements for US cardstock (in brackets) will produce a card that is slightly narrower.
I have given the measurements all in inches as centimetres are rather fiddly!
You will need:
- Colour cardstock length of A4 x 5″ (11″ x 5″)
- Colour cardstock 1½” x 4¾” (1½” x 4¾”)
- Basic White back panel 3½” x 4¾” (3½” x 4¾”)
- DSP for front bottom panel 3½” x 2¾” (3½” x 2¾”)
- DSP for side bottom panels (x2): 1¾” x 2¾” (1½” x 2¾”)
- Cardstock front fold-down panel 3½” x 1¾” (3½” x 1¾”)
- Cardstock side fold-down panels (x2): 1¾” x 1¾” (1½” x 1¾”)
- DSP or cardstock back panel approx 3½” x 3¾” (3½” x 3¾”)
- Stamp set and dies to decorate – your choice!
Score the base colour cardstock on the long side at 2″, 5¾”, 7¾” and 11½” (1¾” , 5½”, 7¼” and 10½”)
Rotate through 90 degrees and score at 2″ (2″).
Cut down each score line (on the shorter half) to the 2″ score line. Remove the narrow tab at the end. Mitre the tab on the bottom part.
Add tear & tape to the back of this tab and stick the pop-up box card together, lining up the folds carefully. It will fold flat to allow you to decorate it!
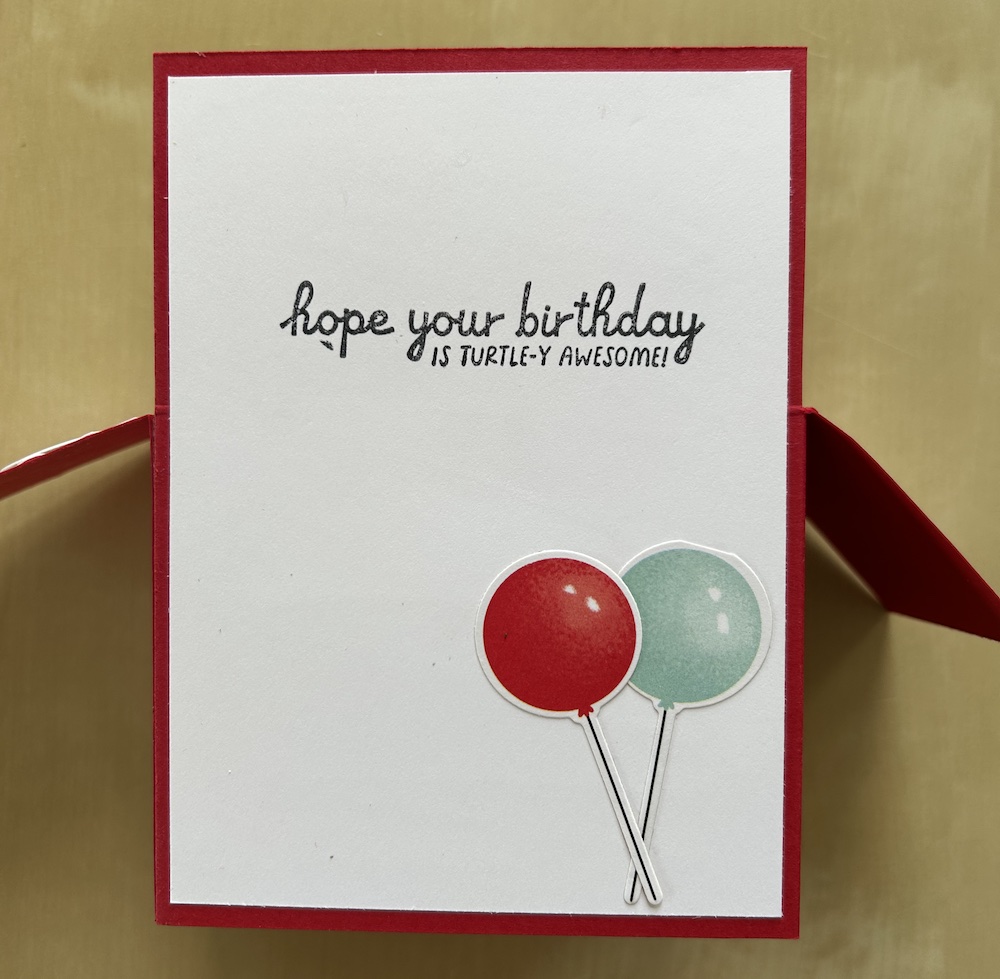
The section next to the tab forms the back of the pop-up box card. Stamp a chosen sentiment onto the Basic White panel, decorate as you wish, then stick this to the back of this section.
Stick the DSP panels to the front and sides of the lower half of your pop-up box card.
Emboss the panels for the side and front flaps if you wish. I used one of the Basic Embossing folders. Stick to the fold down flaps on your card.
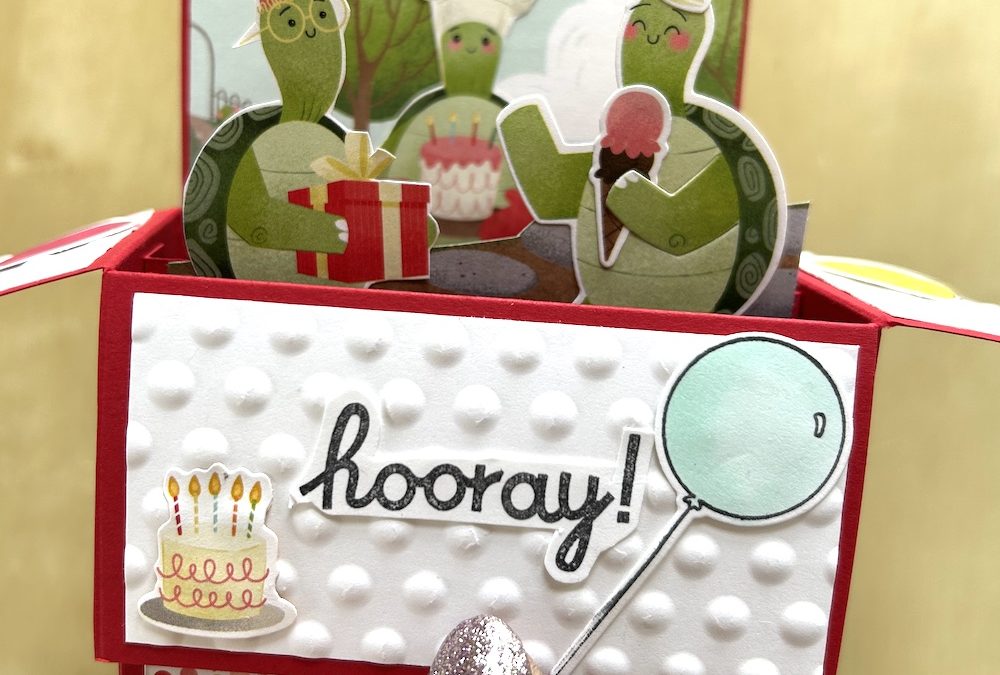
Alternatively you could stamp and colour some images on these panels, or use pieces of DSP. I added a fussy cut greeting to the front panel and added a cake and balloons as additional decoration.
Score the small colour cardstock support piece at ½” at each end. Form into a Z shape. Add tear & tape to the front of one tab and the back of the other and stick inside the box in the centre, lined up with the top folds. This support piece is for you to stick your images onto.

I decorated this card using the Turtle-y Awesome bundle and the coordinating Turtle-y Cute DSP. I used one of the scenes from the DSP and stuck it on as the back panel.
You can use whatever stamp set, bundle or DSP you wish to decorate your pop-up box card. I die-cut most of the images from the DSP and I also stamped, coloured and die-cut some balloons for my Turtle-y birthday card. I added some fussy cut DSP images too.
Stick these to the inside back panel and to the support panel on your card. I also added a strip of a stone path to the centre support piece.
Choose your stamp set or bundle and use your imagination!
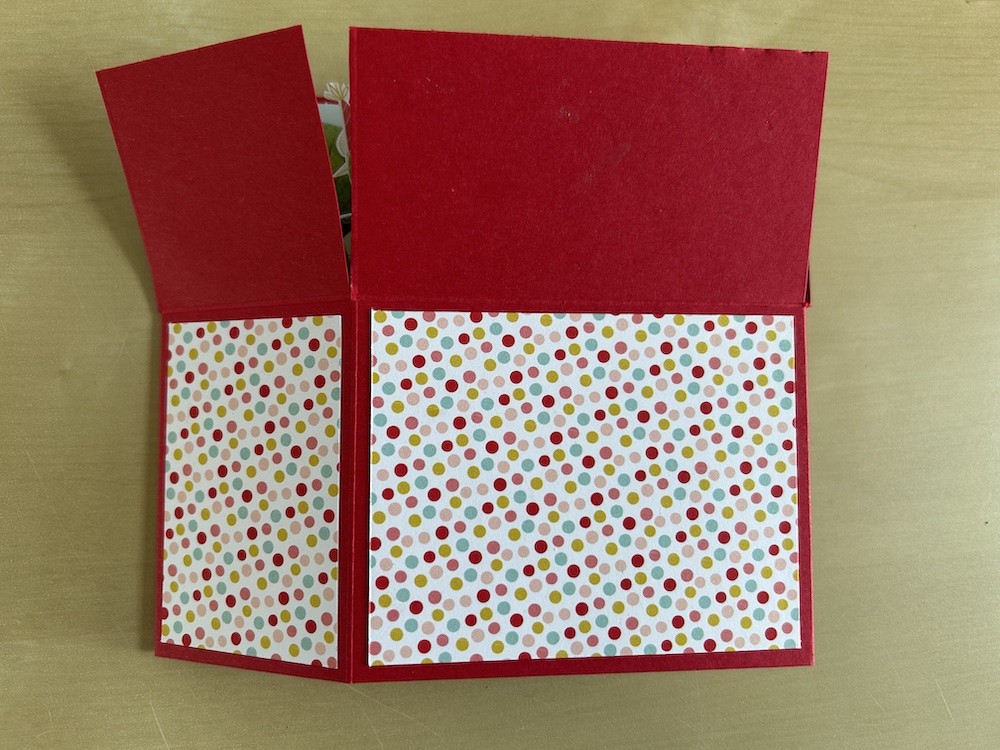
The pop-up box card folds flat for posting.
Here is the video of my making a second Turtle-y Awesome pop-up box card in my Live (every Tuesday on Facebook and YouTube – sign up to my emails for details!):
NOTE: To make a card that fits into our usual C6 envelopes, you would need to cut the base colour cardstock to 4 1/4″ deep and the horizontal score line should be made at 1 3/4″. All other panel measurements need adjusting for the vertical height – the fold down panels by 1/4″ and the bottom panels by 1/2″.
I hope you like this card and will have a go at making one – please show me what you come up with.
Thank you for taking the time to read my post.

Don’t forget – you get a FREE pdf when you place any order with me as your demonstrator. And, if your order is over £40, you will also get to choose stuff from my online shop to the value of your order!
Product List ![Turtle Y Awesome Bundle (English) [ 165229 ]](https://assets1.tamsnetwork.com/images/EC042017NF/165229s.jpg "Turtle Y Awesome Bundle (English) [ 165229 ]") | ![Basic White A4 Cardstock [ 166781 ]](https://assets1.tamsnetwork.com/images/EC042017NF/166781s.jpg "Basic White A4 Cardstock [ 166781 ]") | ![Paper Trimmer [ 152392 ]](https://assets1.tamsnetwork.com/images/EC042017NF/152392s.jpg "Paper Trimmer [ 152392 ]") |
![Turtle Y Cute Designer Series Paper & Sticker Sheet (English) [ 166644 ]](https://assets1.tamsnetwork.com/images/EC042017NF/166644s.jpg "Turtle Y Cute Designer Series Paper & Sticker Sheet (English) [ 166644 ]")
![Real Red 12" X 12" (30.5 X 30.5 Cm) Two Tone Cardstock [ 166696 ]](https://assets1.tamsnetwork.com/images/EC042017NF/166696s.jpg "Real Red 12\" X 12\" (30.5 X 30.5 Cm) Two Tone Cardstock [ 166696 ]")

