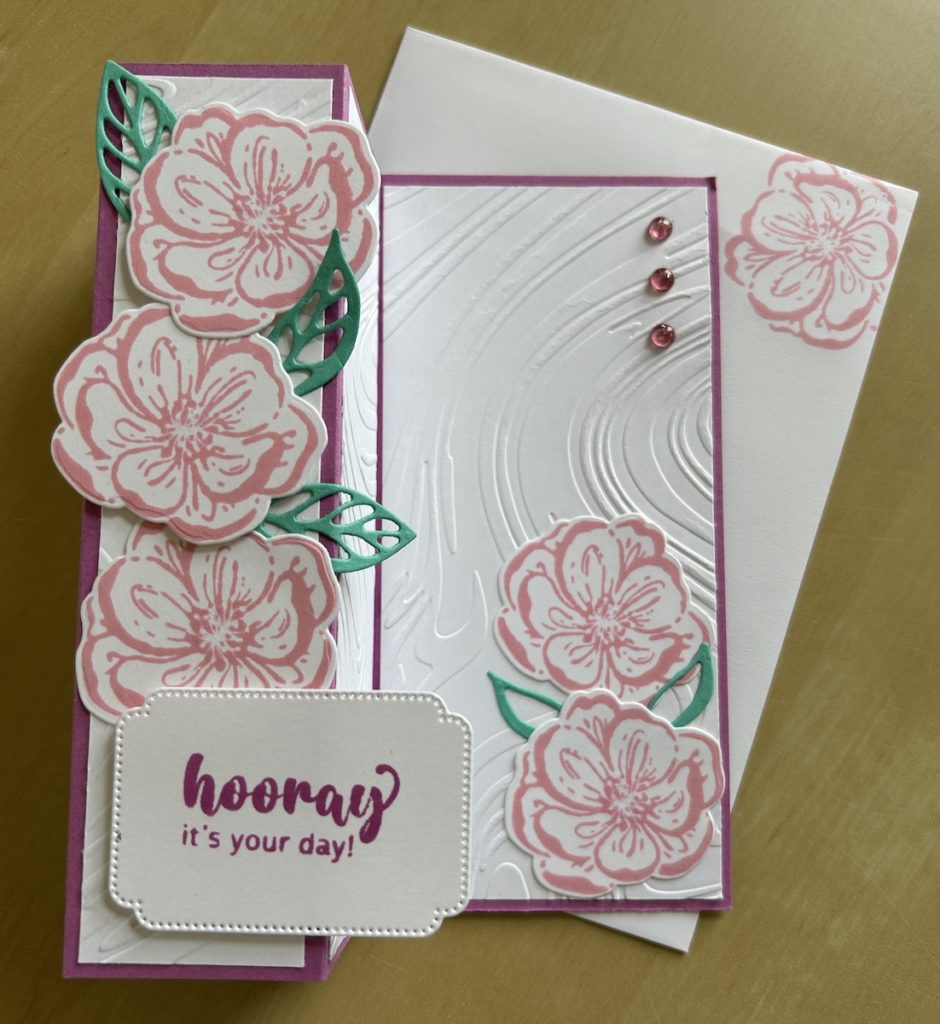
In this blog post I show you how to make a pillar fun fold card based on a card my fellow demonstrator Ann Scott brought to our team meeting get-together last month. It folds flat for posting and stands up when open as I hope you can see in the picture below.
Ann gave us the sizes in inches but I have worked out the centimetres as I prefer to work in them!
Here are the supplies you’ll need:
- Petunia Pop base 14.8cm x 26.5cm (5 1/2″ x 10 1/8″)
- Basic White card for panels 14.3cm x 17cm (6 3/4″ x 5 3/8″)
- Basic White rear panel 13.3 x 9.5cm (3 3/4″ x 5″)
- Basic White for stamping and sentiment approx. 8cm x 18cm (3 1/2″ x 7″)
- Summer Splash scraps for die cutting leaves
- Petunia Pop and Pretty in Pink ink pads
- So Swirly or other embossing folder of your choice
Here is the video of how I made the pillar fun fold card or the written instructions are below if you prefer. After I’d finished the video I decided to add three gems to the top right of the card as you can see in the picture – your choice!
Instructions:
Score the base cardstock on the long side at 11cm, 15cm, 19cm and 23cm (4 1/4″, 5 3/4″, 7 1/4″ and 8 3/4″). Mountain fold and burnish all folds making sure the card is straight as you do so.
Emboss the panel cardstock using the So Swirly embossing folder. Then cut (with the long side uppermost) THREE panels 3.5cm (1 3/8″) wide, leaving one panel 6.5cm (2 5/8″) wide.
Stick the three small panels to the three same-size base cardstock panels, leaving the remaining smaller edge panel which will form the pillar fun fold. See the video if you are not sure about this.
Add glue or tape to the edge panel. Fold in and then fold the card over at the second fold so that this panel will stick to the back part of the base card – again, see the video if you are unsure. This forms the pillar fun fold.
Stick the final embossed panel to the remaining back panel of the card.
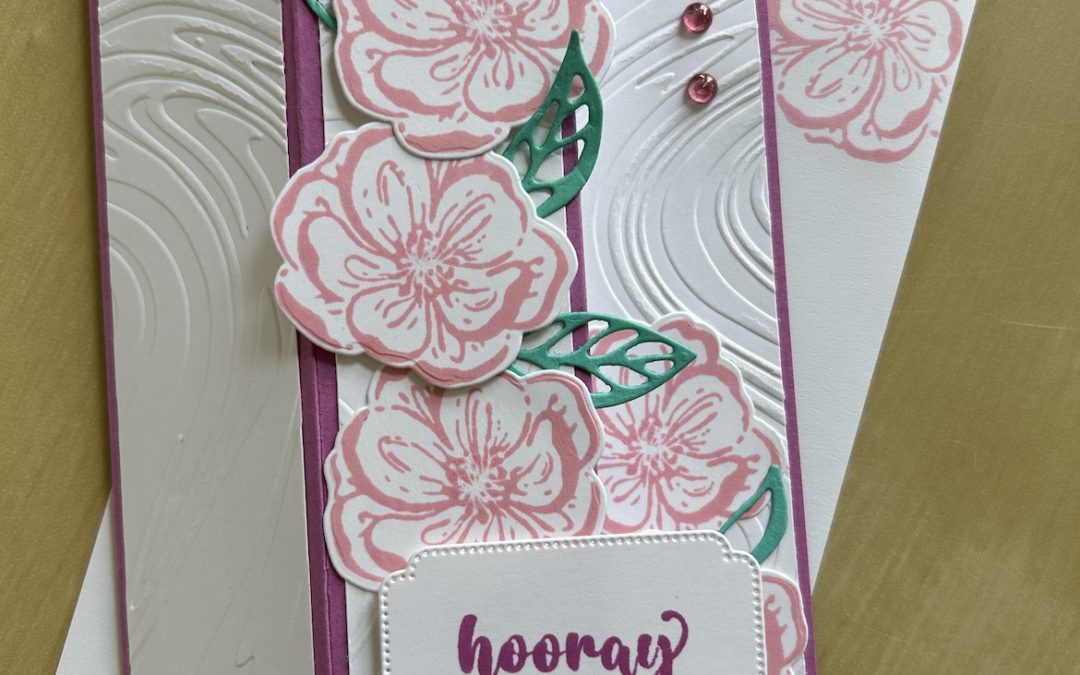
Stamp your sentiment and flower (if wanted) in Pretty in Pink to the Basic White rear panel piece then stick this panel to the back of the card.
Stamp five of the smaller Irresistible Blooms flowers in Pretty in Pink onto Basic White card then die-cut. Die-cut several leaves in Summer Splash.
Use the same flower to decorate your envelope by stamping it in the bottom right corner.
Stamp your sentiment onto Basic White using Petunia Pop ink. Die cut using the stitched rectangular frame from the Unbounded Love die set, or use a similar die or suitable punch.
Add the flowers to the front panel of the pillar, some flat and some on dimensionals. Add the sentiment to the bottom of the panel, overlapping the back of the card as shown in the picture and the video.
I also stuck two flowers and leaves on the back panel of the card. Make sure only to use glue – no dimensionals there, or the pillar fun fold card will not close to fit in the envelope.
I also added three Pretty in Pink gems to the top right corner as I felt it needed something after I finished making the video! And I added some Wink of Stella to the flower centres too.
I hope you like this card and will have a go at making one – please show me what you come up with.
Thank you for taking the time to read my post.

Don’t forget – you get a FREE pdf when you place any order with me as your demonstrator. And, if your order is over £40, you will also get to choose stuff from my online shop to the value of your order!
Product List  |  |  |  | |
 |  |
")


