
For today’s Live, I used the gorgeous Extraordinary Flora bundle to make two panel flora cards using the products in different ways. These cards are entirely flexible and can be made for any occasion. I used the stamp for the background, then die-cut the washi tape for the decoration for both cards.
The Extraordinary Flora washi tape is currently on offer. It is incredibly long, so you can make innumerable cards using it! The pattern repeats are in purple and red respectively, but the variety of colour in each “set” means they will match with most of our coloured cardstock.
Each pattern repeat fits on a piece of cardstock 8.5cm x 14cm (3¼” x 5¼”). (TIP: I’ve written these measurements on a scrap of paper and keep it in the cello bag I keep the washi tape in.)
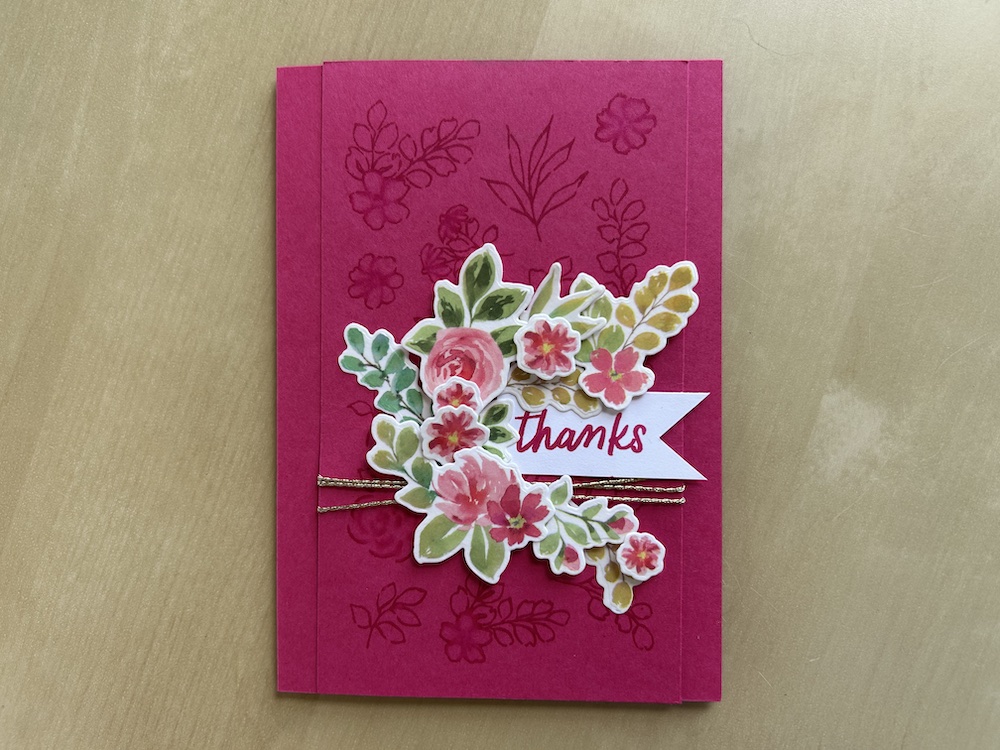
Here is my first panel flora card. I used Melon Mambo:
You will need:
- Colour cardstock base 21cm x 14.8cm scored at 10.5cm (8½” x 5½” scored at 4¼”)
- Colour cardstock front panel 8.5cm x 14.8cm (3½” x 5½”)
- Basic White panel 8.5cm x 14cm (3¼” x 5¼”) for washi tape strip
- Basic White panel 9.5cm x 13.8cm (3¾” x 5”) for inside the card
- Scrap of Basic White for sentiment
- Gold threaded trim
- Colour ink pad
Stamp the large flora stamp on the colour panel in the same colour ink. If you wish, use a water painter or blender pen to fill in some of the images – see how I used a water painter in the video.
Wrap around some gold threaded trim three times around 2/3 way down the strip, attacheding with a length of tear & tape at the back. Stick the completed panel centrally to the card front.
Stamp your sentiment in colour ink on a scrap of Basic White. Flag one end.
Die-cut one strip of washi tape foliage. Stick the sentiment just above your thread and add the flowers and leaves around it, however you wish.
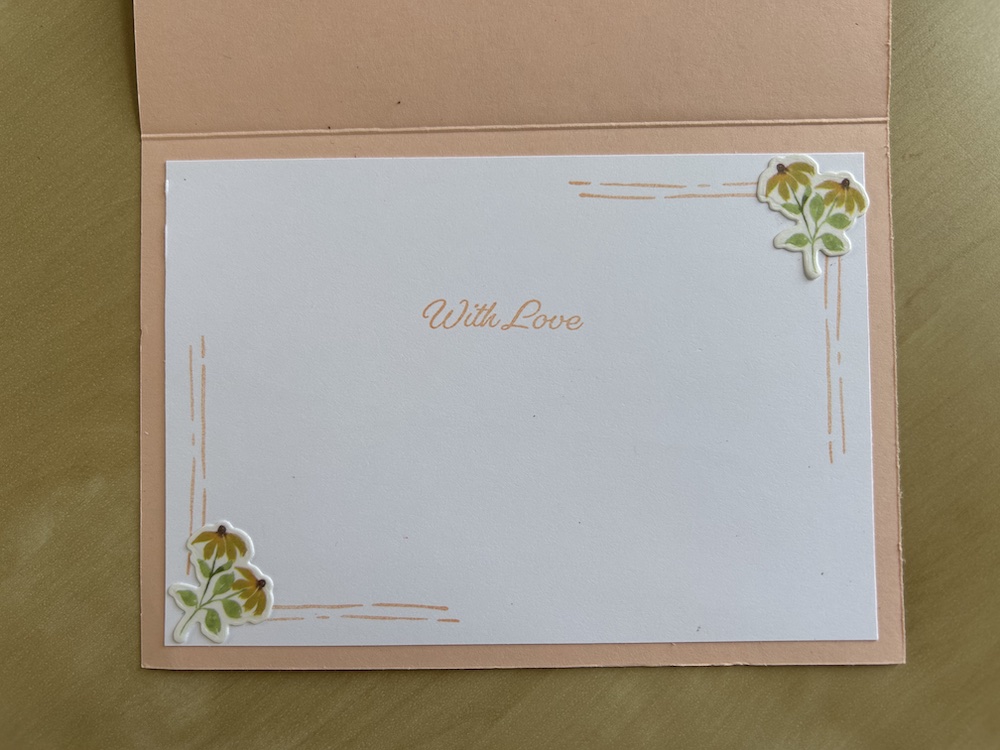
Stamp the line stamp in Memento on the inside piece of cardstock. Add two more die-cut flowers as corner accents and your first panel flora card is complete.

I used Petal Pink cardstock for the second card.

You will need:
- Colour cardstock base 21cm x 14.8cm scored at 10.5cm (8½” x 5½” scored at 4¼”)
- Basic White panel 8.5cm x 14cm (3¼” x 5¼”) for washi tape strip
- Basic White panel 9.5cm x 13.8cm (3¾” x 5”) for inside the card
- Scrap of Basic White for sentiment
- Colour ink pad
- Two pieces of copy paper
Lay the card down in landscape format. Use low tack tape or washi tape to stick down the two pieces of copy paper above and below a central strip – this can eb as wide or as narrow as you wish.
Ink up the large flora stamp in the same colour ink and stamp repeatedly across the strip – see how I did it in the video. It looks messy at first, but the aim is to fill the area using the stamp.
Stamp your sentiment in colour ink on a scrap of Basic White. Flag one end.
Die-cut one strip of washi tape foliage. Stick the sentiment on the right-hand side of the stamped strip, then add the flowers and leaves around it, however you wish.
I stamped the inside of the card using the lines and die-cut flowers as before.
Don’t forget to decorate your envelopes!
Here is the video of how to make these cards:
I hope you like this card and will have a go at making one – please show me what you come up with.
Thank you for taking the time to read my post.

Don’t forget – you get a FREE pdf when you place any order with me as your demonstrator. And, if your order is over £40, you will also get to choose stuff from my online shop to the value of your order!
Product List ![Extraordinary Flora Washi Tape [ 165269 ]](https://assets1.tamsnetwork.com/images/EC042017NF/165269s.jpg "Extraordinary Flora Washi Tape [ 165269 ]") | ![Basic White A4 Cardstock [ 166781 ]](https://assets1.tamsnetwork.com/images/EC042017NF/166781s.jpg "Basic White A4 Cardstock [ 166781 ]") | ![Blender Pens [ 102845 ]](https://assets1.tamsnetwork.com/images/EC042017NF/102845s.jpg "Blender Pens [ 102845 ]") | ![Water Painters [ 151298 ]](https://assets1.tamsnetwork.com/images/EC042017NF/151298s.jpg "Water Painters [ 151298 ]") |
![Extraordinary Flora Bundle (English) [ 165245 ]](https://assets1.tamsnetwork.com/images/EC042017NF/165245s.jpg "Extraordinary Flora Bundle (English) [ 165245 ]")

