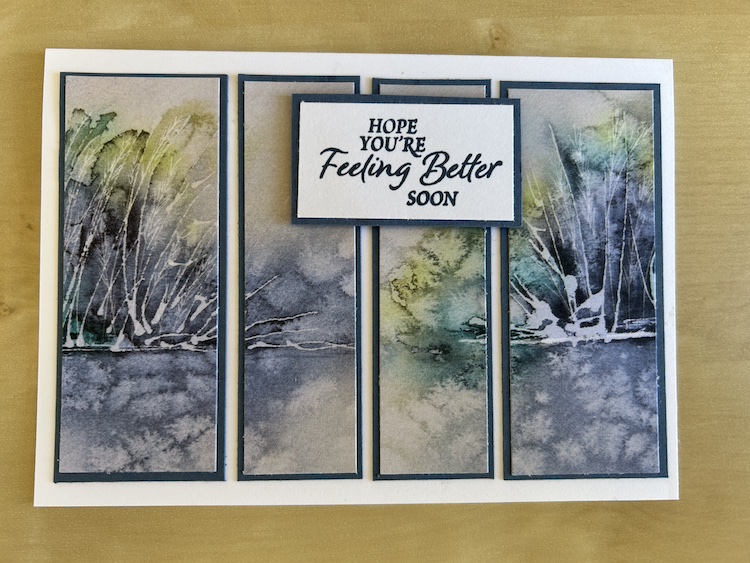
A panel card is great for any occasion so it’s a good technique to have in your armoury. We had great fun making panel cards in my Craft with Carol LIVE today. It was based on a project I had made for our team craft evening last week. Here is that card:
Once you understand the basics you can make these using different size panels, use them as vertical or horizontal panels or as a mix – the possibilities are endless!
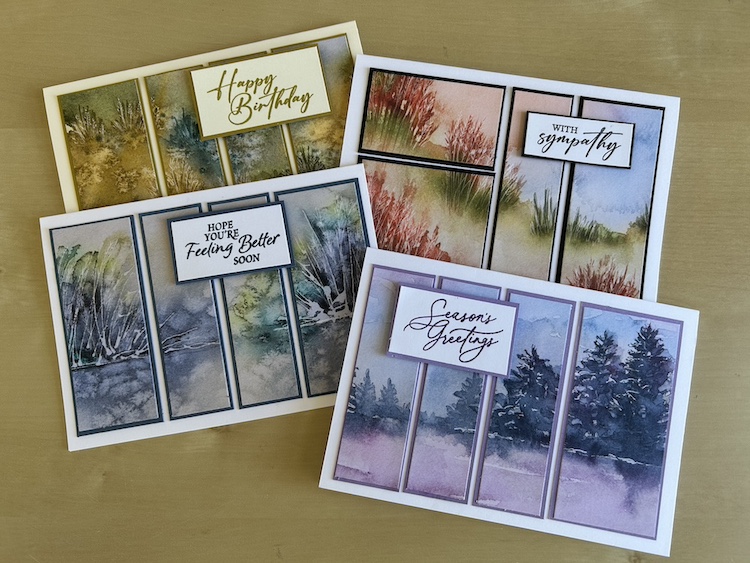
Some of our gorgeous scenic DSP works really well for a panel card. I’ve used Thoughtful Journey DSP for these cards but any DSP with a scene-type pattern will work well – and a panel card can look really good with any pattern. I even made my fist Christmas card today!
I used metric sizes for my cards. I have given the inch measurements below, but please note I have not tested these. If you try a panel card using inches please let me know if they are correct!
Measurements and instructions are given below, but I think it explains it best if you watch the video. Here it is:
For the basic panel card you will need:
- Card base 21cm x 14.8cm (8 ½” x 5 ½”)
- Colour contrasting or coordinating cardstock 9.3cm x 13.2cm (4″ x 4¾”)
- DSP 9cm x 12cm (3¾” x 4¼”)
- Scrap of colour cardstock and Basic White for the sentiment and border
Score the base cardstock at 10.5cm (4¼” ), fold and burnish. Use in landscape format.
Take your sheet of DSP. With the long edge at the top of your trimmer, cut strips in turn (to keep the pattern correct). These can be any width you wish – it will depend on the pattern. (As an example, for the featured card, I cut strips of 3.5cm, 2.5cm, 2.5cm and 3.5cm.)
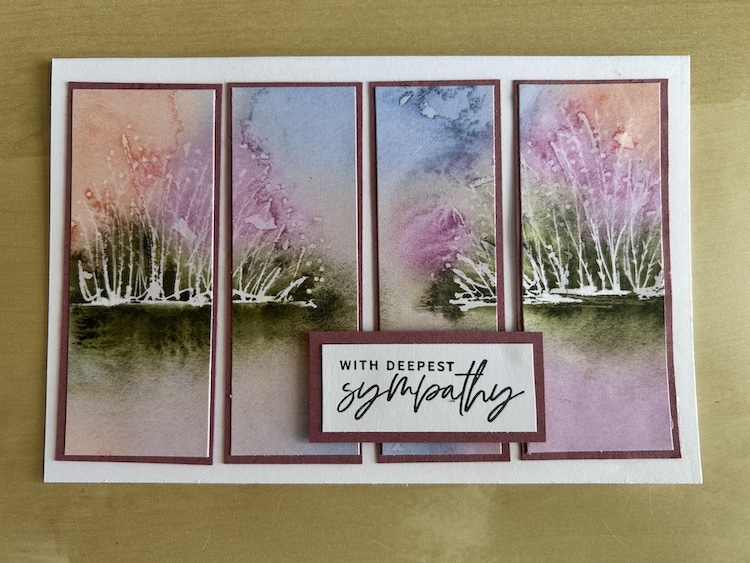
You can also cut your DSP horizontally to make your panel card – watch the video to see how I made the sympathy card by cutting horizontally instead of vertically. NOTE: When you do that you will need to trim around 0.3-0.5cm off the height to get two horizontal panels the same depth as the vertical panels.
Now, in turn, measure the width of each cut strip. Cut your cardstock 0.3cm (1/8″) wider for each strip to give a small (0.15cm, 1/16″) border all around each strip. So, if your cut strip is 2.7cm (1″), your cardstock needs to be cut at 3cm (1 1/8″), for example. (For the featured card, I cut four strips as follows: 2 x 3.8cm strips and 2 x 2.8cm strips.)
Stick each piece of DSP in turn to the appropriate cardstock layer.
Add the completed panels to the base card. Take your time to ensure the edges of the panels line up straight on the top and bottom of the card and that there is the same gap between each panel. I suggest laying them out, then sticking them in turn, starting with an outside panel, but do whatever you feel best for you.
Stamp your chosen sentiment in Memento or a coordinating ink onto a scrap of base cardstock. Trim if necessary. Stick to your scrap of colour cardstock and trim again to give the same border depth as around your panels..
Add your sentiment to your card using dimensionals wherever it fits best against the pattern. i found that it looked best when the sentiment edges were not aligned with the panel edges.
Decorate inside your panel card and your envelope as you see fit!
Here are the panel cards I made during the LIVE:
I hope you like this card and will have a go at making one – please show me what you come up with.
Thank you for taking the time to read my post.

Don’t forget – you get a FREE pdf when you place any order with me as your demonstrator. And, if your order is over £40, you will also get to choose stuff from my online shop to the value of your order!
Product List  |  |  | ||
 |  |
 Designer Series Paper")
")

