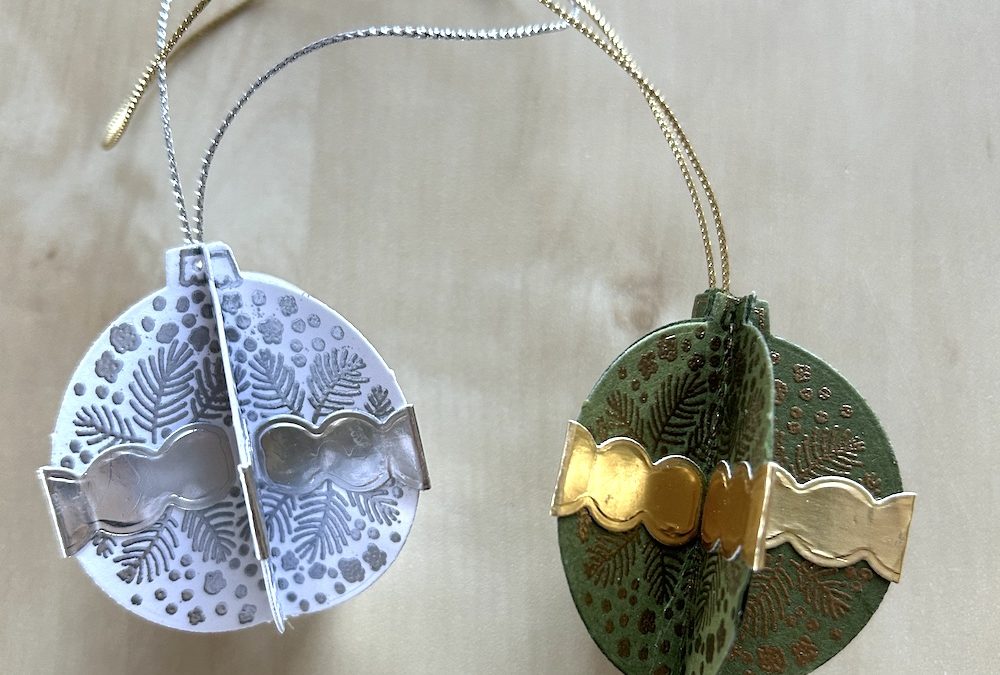
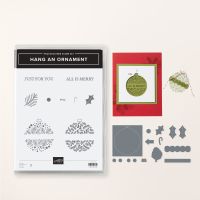
Why not make your own Christmas baubles for your tree or for table decorations? The Hang an Ornament bundle of stamp set and dies is perfect! In my Live today I also made a matching card if you want to give some as a gift!
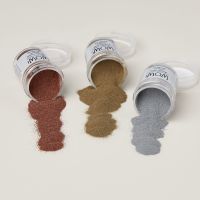
The ornament stamps from the set emboss beautifully with the metallics embossing powders. Either five or six ornaments complete one bauble. I generally use odd numbers so I prefer five but today, in my Live, I used six. Which do you prefer?
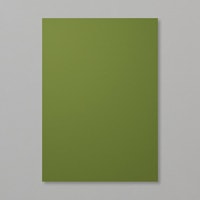
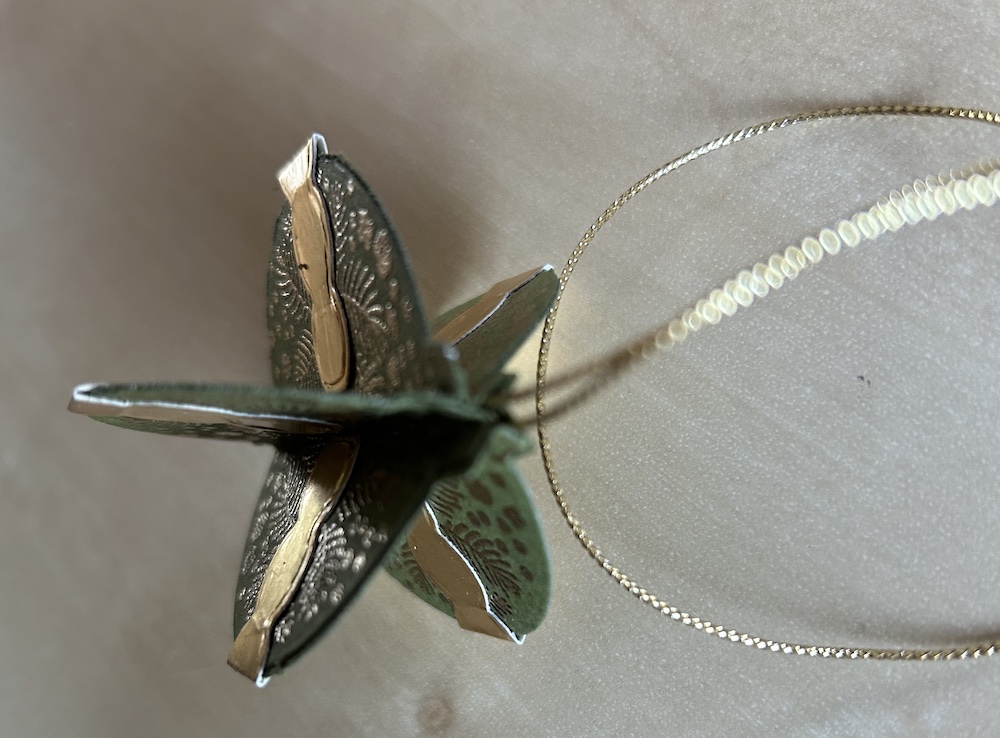
You can get five or six baubles from 1/2 a sheet of cardstock. I made my prototype from Basic White and the one from the Live in Garden Green. You can use any colour you want! Measurements and instructions are given below or watch the video.
You will need:
- 1/2 sheet of cardstock
- Hang an Ornament stamp set and dies
- Versamark ink pad
- Metallics embossing powders
- 16″ (30cm) Gold or silver trim or thread
- Gold or silver foil (plus self-adhesive sheet if you have it)
- Multipurpose glue
- Tear & tape
Stamp five or six ornaments in Versamark and heat emboss in your chosen metallic embossing powder.
Die-cut out all the ornaments.
Fold each ornament carefully in half.
Add glue to half an ornament and stick the next ornament to it. Repeat until one ornament is left.
Fold the thread in half and tie the ends.
Use two or three small strips of tear & tape across both sides of the back of the ornaments. Stick the tied end of the folded thread across these. (See the video if you are not sure).
Stick the final ornament across both sides to complete.
Add some adhesive sheet to the back of a small piece of golf foil.
Die cut five or six strips of the rounded die from the piece of gold foil.
Fold these in half and stick on the centre of each edge of your ornament.
And your ornament is ready to hang from your tree!
How many are you going to make?
In the Live, I also showed a card I made from this lovely set. Brief instructions below or watch the video!
You need:
- Thick Basic White Card base 21cm x 14.8cm scored at 10.5cm (8½” x 5½” scored at 4¼”)
- Cherry Cobbler Layer 1: 10cm x 14.3cm (4” x 5¼”)
- Basic White Layer 2: 9.5cm x 13.8cm (3¾” x 5”)
- Red and gold ribbon
- Cherry Cobbler and Old Olive ink pads
- Banner from Peaceful Season dies
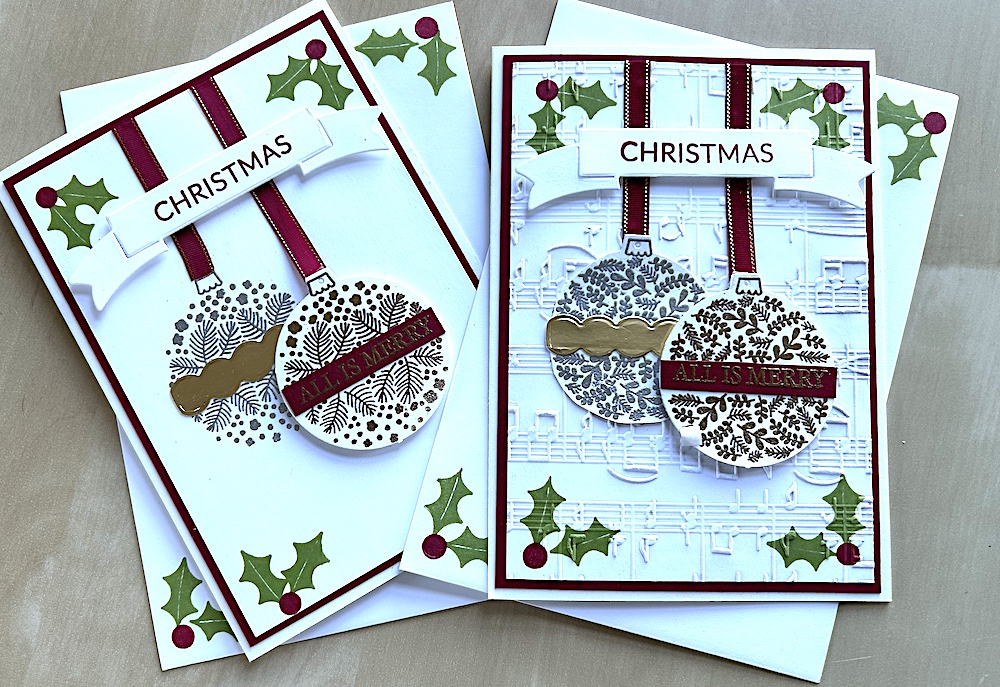
The first card I made I thought looked a little plain with just the Basic White background. For the second card, I stamped the holly leaves and berries then embossed a silver bauble before I dry embossed it using the musical notes embossing folder. But then I could not see the embossed bauble, so I made another one and stuck it flat to the card before adding the ribbon (using tear & tape), and the second gold embossed bauble and the banner using dimensionals.
Don’t forget to decorate your envelope!
I hope you like this card and will have a go at making one – please show me what you come up with.
Thank you for taking the time to read my post.

Don’t forget – you get a FREE pdf when you place any order with me as your demonstrator. And, if your order is over £40, you will also get to choose stuff from my online shop to the value of your order!
Product List
