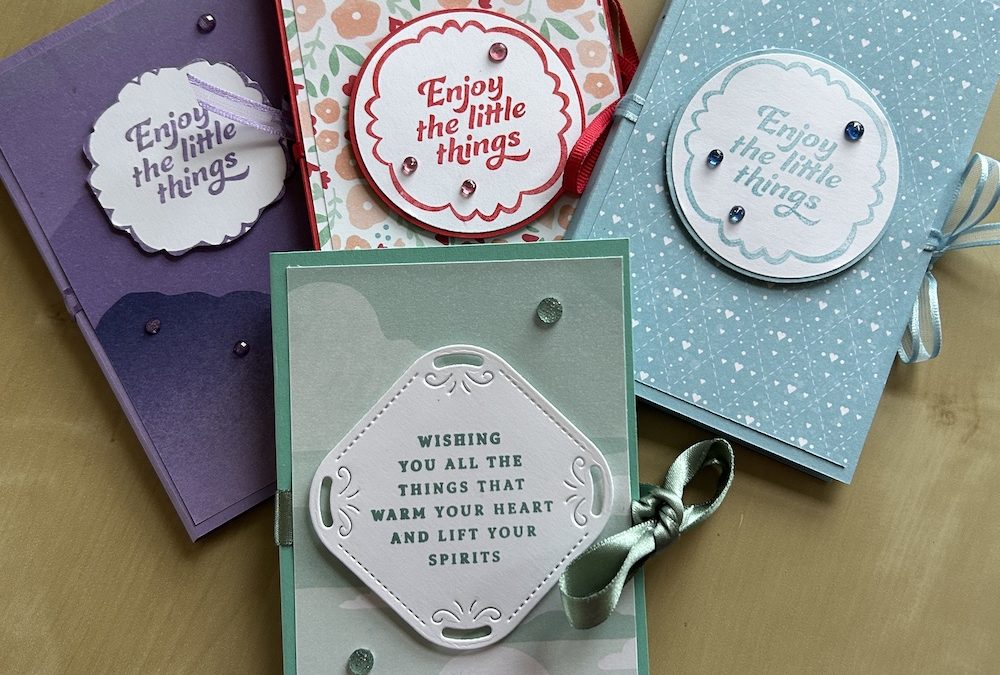
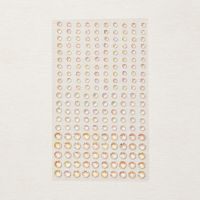
For the second project in week 9 of my Christmas Countdown, I’ve made a beautiful reuseable notebook holder. I saw this idea on Facebook but I can’t remember who it was made by, sorry.
We made this project at last week’s Craft’n’Chat. I had thought it would make a great gift for a friend, but my ladies all wanted to keep the ones they had made for themselves!
I bought the notebooks as a set of 10 from Amazon. They were 3” x 5” so I worked out the measurements to allow a 1/2” margin. You could use any Designer Series Paper (DSP) and any colour combination for these. I’ve made several for our extended family as an extra gift at Christmas.
Here is the inside:
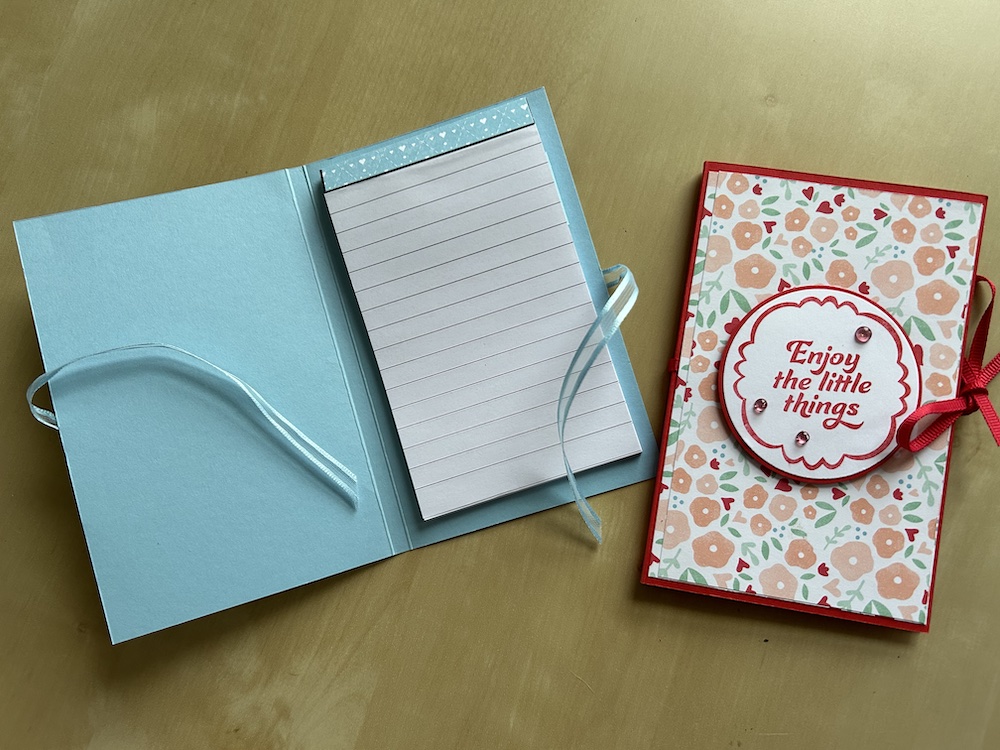
I describe how I measured the cardstock I needed in the video (below), so if your notepads are a different size to mine, watch the video to see how to calculate the size. (Mine were 3″ x 5″ so my measurements today are in inches.)
Choose the colour cardstock to match whatever DSP you use. I used a retired DSP in the video with Poppy Parade cardstock.
You will need:
- Colour cardstock base 5½” x 7¼”
- Colour cardstock piece 5″ x 1″
- DSP x 2: 5¼” x 3¼”
- DSP strip 3″ x approx 1¼”
- DSP strip 3″ x 15/16″
- Coordinating ribbon approx 16″ – 18″
- Scraps of Basic White and colour cardstock for the sentiment
Score the base on the long side at 3½” and 3¾”. Fold carefully and burnish along the score lines.
Score the colour cardstock piece at just under 1″ at each end.
Fold each 1″ score back to form tabs and cover the area between the scores with the thinner strip of DSP. Use strips of tear & tape and stick this into the back of your holder around ¾” from the top, making sure it lies centrally on the base.
Use the wider 3″ strip of DSP to decorate the top of the notepad. I found tear & tape worked best for this. Slide the notepad into your holder.
Stick a small strip of tear & tape to the centre front of your notebook holder. Cut a length of ribbon approx 16″ to 18″. Fold in half and stick one side to the front of your notebook holder.
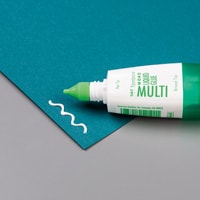
Use multipurpose glue to stick one sheet of DSP on top, making sure the ribbon lies flat. Turn the notebook holder over and stick the second pice of DSP on the back, again covering the ribbon.
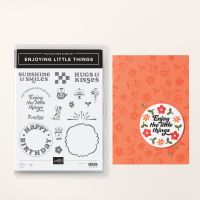
Stamp your sentiment onto the scrap of Basic White in a colour ink to match your project. I used a sentiment and frame from the X stamp set stamped in Poppy Parade. (Note: In the video, I show you how to attach the frame stamp to your block without any skewing.)
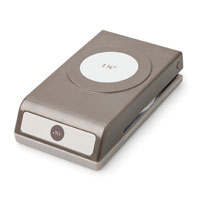
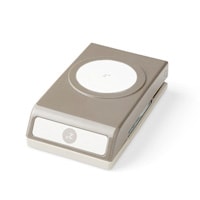
Punch or die-cut out your sentiment. Punch or die-cut the next size up from the colour cardstock to add a border if you wish – I did, as I prefer the look of a small border.
Tie your ribbon in a neat bow and voila, your notebook gift is complete!
Here is the video of how to make this notebook holder:
Thank you for taking the time to read my post.

Don’t forget – you get a FREE tutorial of eight cards when you place an order with me. There’s a different set every month. And, if your order is over £40, you will also get to choose stuff from my online shop to the value of your order!
Product List
