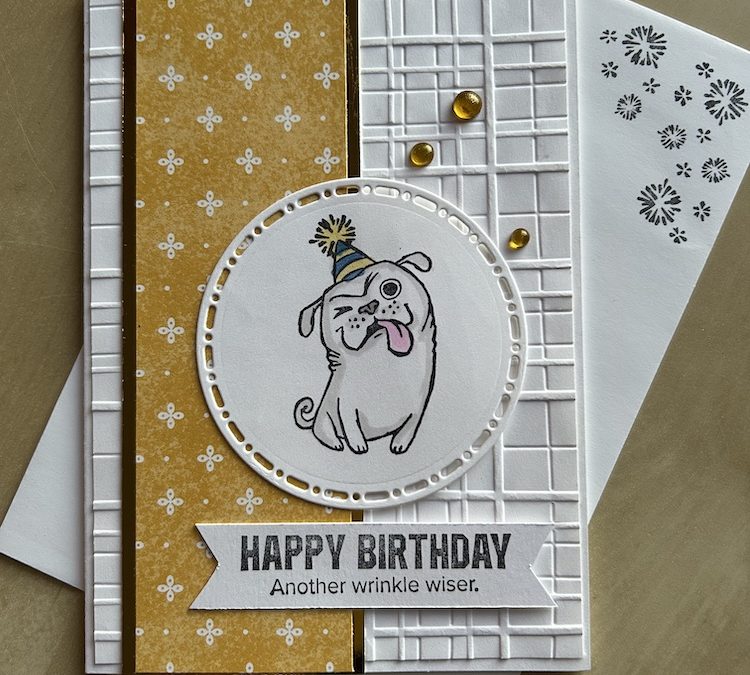
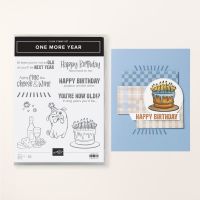
Here is the final male card for this series. This one uses current and new products, including my favourite new stamp set, One More Year. You can find a full list of products used at the end of this post.
This is a simple card layout which can be used time and time again with different colours, different stamp sets, different DSP, different die-cut shapes and so on – it is a useful basic layout for any card you might want to make, not just for a male card.
I will be showing more simple layouts for cards in a new series very soon….
You will need:
- Thick Basic White card base 21cm x 14.8cm scored at 10.5cm (8½” x 5½” scored at 4¼”)
- Thick Basic White layer 10cm x 14.3cm (4” x 5¼”)
- Basic White piece for die-cutting and sentiment 9cm x 10cm (3½” x 4″)
- Gold foil piece 5cm x 14.8cm (2″ x 5½”)
- Crushed Curry DSP (pattern of your choice) 4.5cm x 14.8cm (1¾” x 5½”)
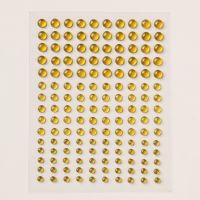
- Gold textured dots
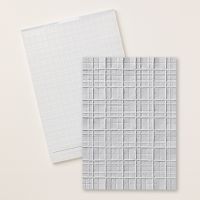
- Forever Plaid embossing folder
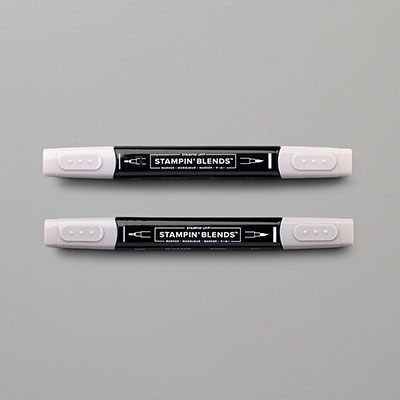
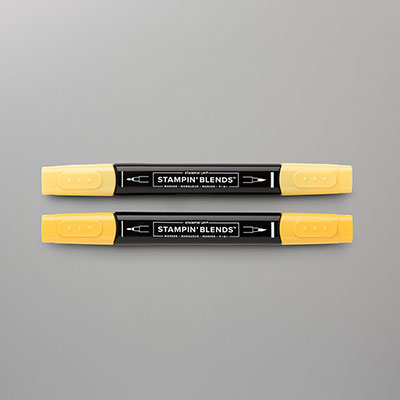
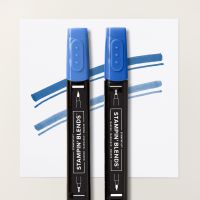
- Stampin’ Blends or Stampin Write markers for colouring
- Wink of Stella pen (optional)
Instructions
Fold and burnish your male card base.
Emboss the Thick Basic White layer with the Forever Plaid embossing folder (or one of your choice). Adhere the completed layer flat to your card front.
Stick the gold foil panel towards the left hand side of the front and add the DSP layer on top.
Die-cut a Basic White circle using the Spotlight on Nature dies. I used the third largest, but choose the size that fits your image best. Which pattern you use is up to you – I chose this one because I think it fits a male card best. You could also used a Stylish Shapes circle if you want
Stamp your chosen image in Memento. I have fallen in love with the dog from One More Year – I love his wink! Colour the image using Stampin Blends or Stampin Write markers. (Note: you can get two FREE packs of Stampin’ Write markers with Option 1 of the current joining offer during Saleabration!) I used Gray Granite for the dog and Blueberry Bushel and Daffodil Delight for his hat. I added some Wink of Stella to the hat for a bit of sparkle.
Stamp the sentiment on Memento on the remaining piece of Basoc White and trim as you wish. I flagged each end by marking the centre of each end, cutting into the piece for around half a centimetre, then cutting from each corner to the top of the centre cut made.
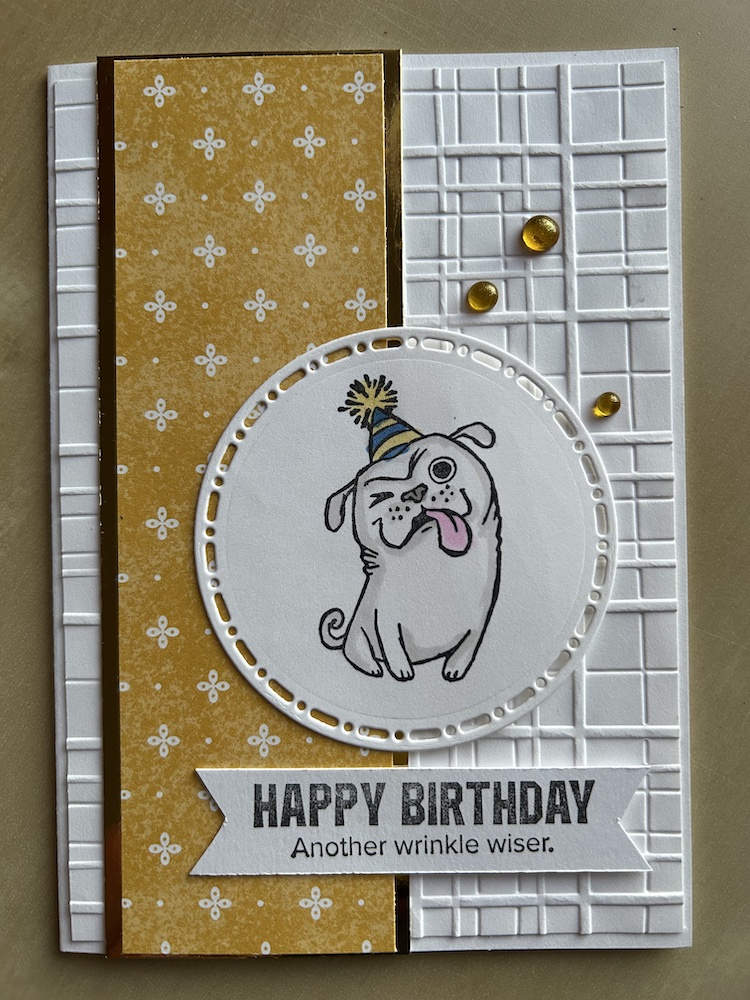
Add the completed die-cut circle and sentiment to the card as shown in the picture. I used dimensionals on the right-hand side of each piece and multipurpose glue on the left-hand sides to allow for the depth of the gold foil and DSP pieces.
Finish this male card by adding a few Gold Dots.
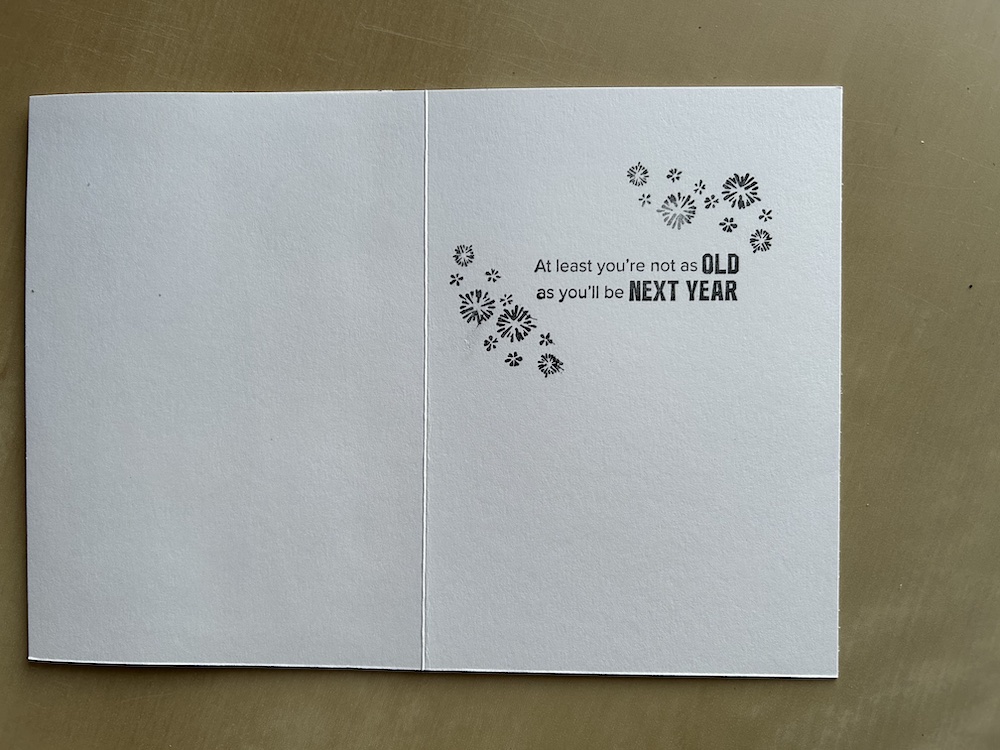
I stamped one of the amusing sentiments from the set inside the card and added some starbursts as shown as I think they suit a male card. (I was going to use Crushed Curry but I inked the stamp up in Memento and decided not to bother cleaning it and starting again!!) I also stamped starbursts on the envelope.
I hope you like this card and will have a go at making one – please show me what you come up with.
Thank you for taking the time to read my post.

Don’t forget – you get a FREE pdf when you place any order with me as your demonstrator. And, if your order is over £40, you will also get to choose stuff from my online shop to the value of your order!
Product ListDuring Saleabration (7 January to 28 February 2025) there are two fabulous joining options:
– Option 1: Get £130 products for £99 PLUS a bonus stamp set and TWO Stampin’ Write marker packs of your choice (value £220!)
– Option 2: Get £130 products for £99 PLUS an additional £30 of products (value £160!).


