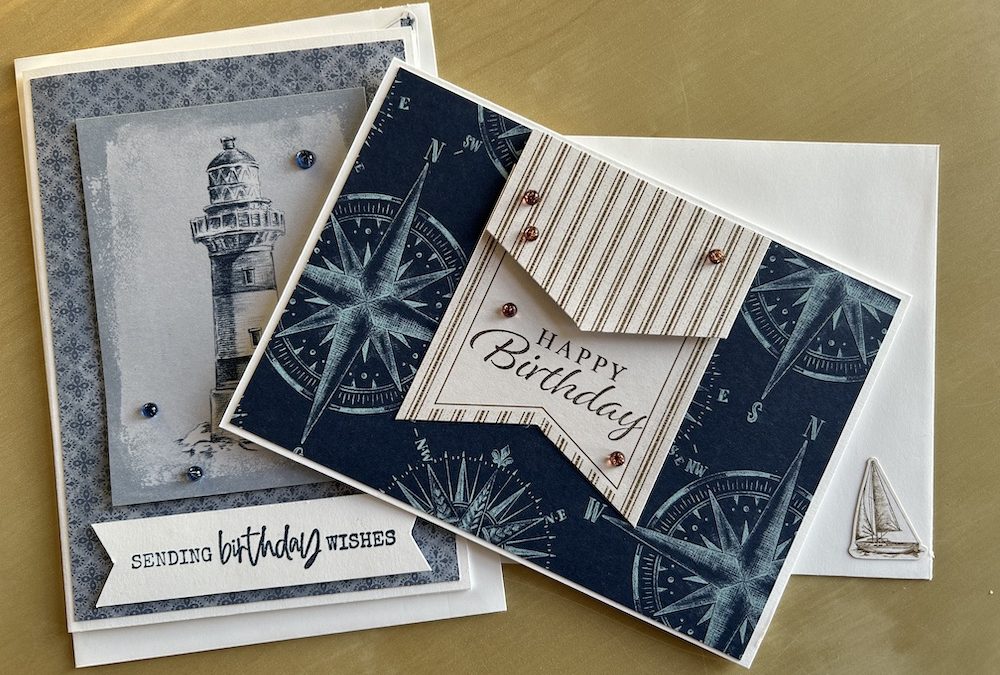
I’m off on holiday for the next two weeks, so no Lives or videos, but I will be sharing some short posts showing cards I made for our Craft’n’Chat class this month. It was a bumper class with four different styles of cards for men. I hope they give you some good ideas. Most use some retired products, but you can use anything similar you have in your stash. The other three cards will be shared soon!
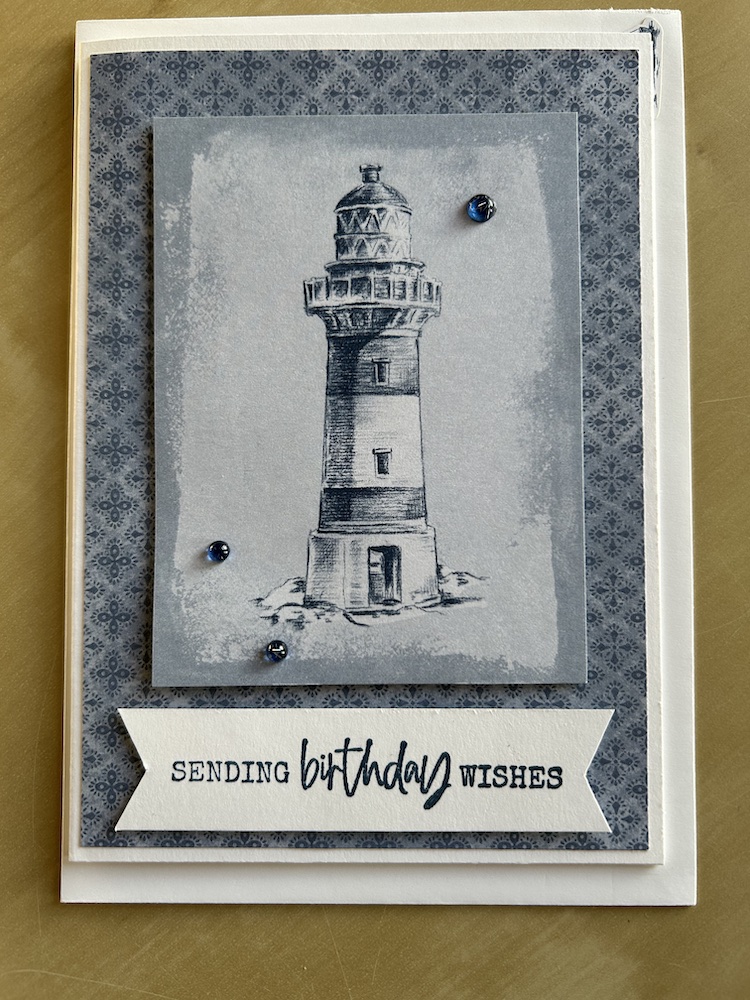
Male cards can be difficult, but in fact you can adapt almost any card design and “male-ify” it. The basic idea for this male card was to use a male colour (blue), add a patterned layer, then add a suitable image and sentiment on top.
These cards use an old retired Memories and More card set and some retired DSP, however you can make this card using any of the sea and sand, lighthouse, sailing, Wildlife Wonder, or similar stamp sets and DSP you might have. Find a suitable patterned paper for the background, then choose a suitable image to stamp on a panel and set it on top. Add a simple stamped sentiment and your male card is ready!
The measurements I used are:
- Card base 21cm x 14.8cm scored at 10.5cm (8½” x 5½” scored at 4¼”)
- DSP layer: 10cm x 14.3cm (4” x 5¼”)
- Image/centrepiece layer: Size to suit your image, approx 7.5cm x 10.5cm (3″ x 4″)
- Coordinating ink pad
- Gems or embellishments as required (optional)
Adhere the DSP layer to the front of your card base.

Stamp or choose a centrepiece image. Colour if required. You can get a similar effect to the card I have used by sponging a coordinating ink colour around the edge of the same colour cardstock panel. Add to the front of the card using dimensionals.
Stamp a sentiment in a coordinating ink on a scarp of Basic White, trim, and add below your image panel using dimensionals. I shaped mine by trimming the ends into a pennant shape as you can see. (This sentiment was from Wildlife Wonder.)
Add some coordinating gems to finish.
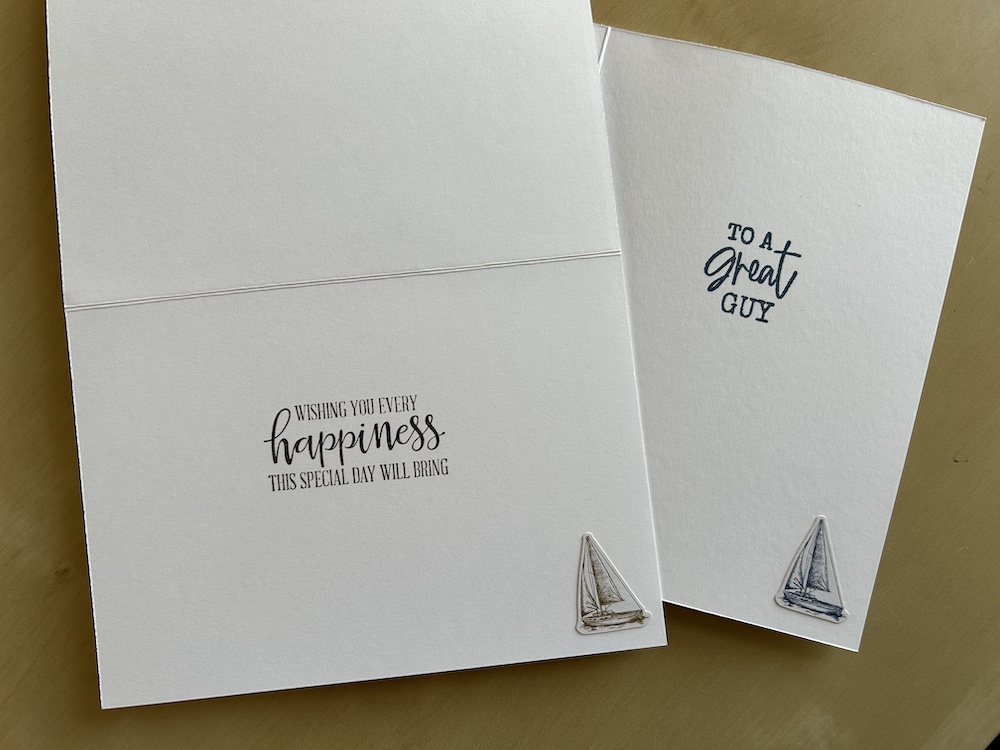
I completed the cards by stamping a sentiment inside and added a sticker from the Memories and More set – you could stamp another small image instead if you wish.

The second card used a cut-up pre-printed rectangular tag card from the Memories and More set. I trimmed off the bottom of the card, stamped the sentiment on the bottom of the tag, stuck this to the card then added the cut-off shaped part of the card on top using dimensionals. You could make a similar piece from striped DSP and a tag die.
Watch out for more male card ideas next week!
I hope you like this card and will have a go at making one – please show me what you come up with.
Thank you for taking the time to read my post.

Don’t forget – you get a FREE pdf when you place any order with me as your demonstrator. And, if your order is over £40, you will also get to choose stuff from my online shop to the value of your order!

Fabulous joining offer now available. More details on the Join Me page. You will find the new catalogues in the sidebar here or on the home page. Please use my hostess code if shopping.


