My Live this week was packed full of stuff! I showed the card I’d made for the Stampin’ Up! event we had here in Belfast last Saturday which used the Labeled with Love stamp set and punch or dies. I had made several prototypes until I hit on the one I preferred and used for the event. My first time presenting and I enjoyed it.
I also showed the swap I made to share at the event, a Christmas card using the fantastic Greenery suite products – there will be more from that suite in future Lives and posts!
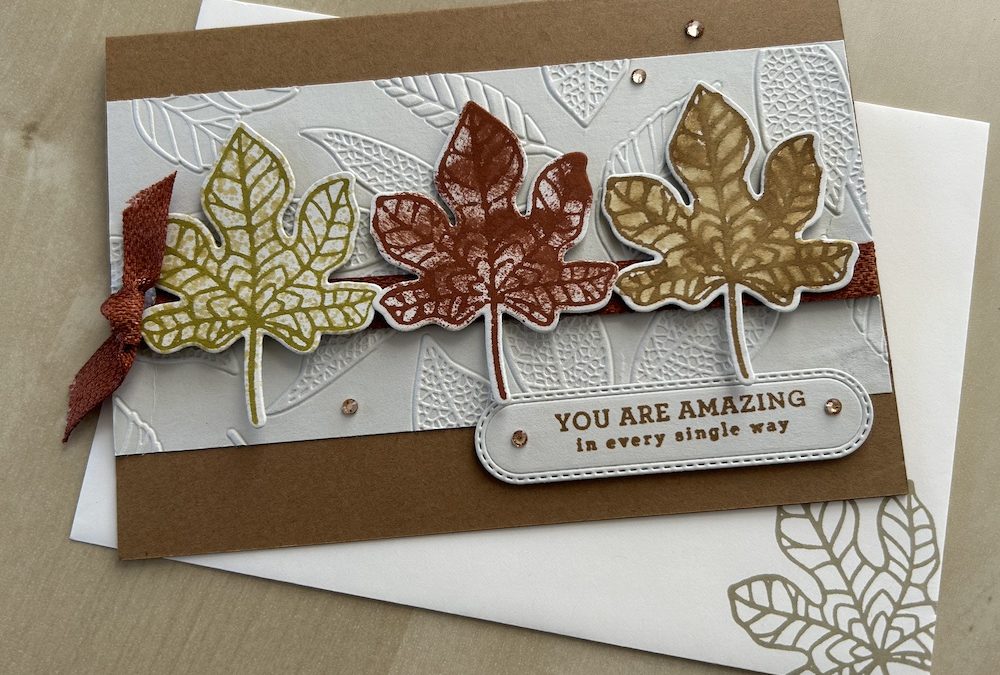
The card I made in the Live was one we had made last week in my in-person class and I wanted to show it because I had used different methods to colour the leaves three ways.
I’ve used autumn colours of Pecan Pie, Wild Wheat and Copper Clay on a Basic Beige base for my leaves three ways. Each colour used a different colouring technique.
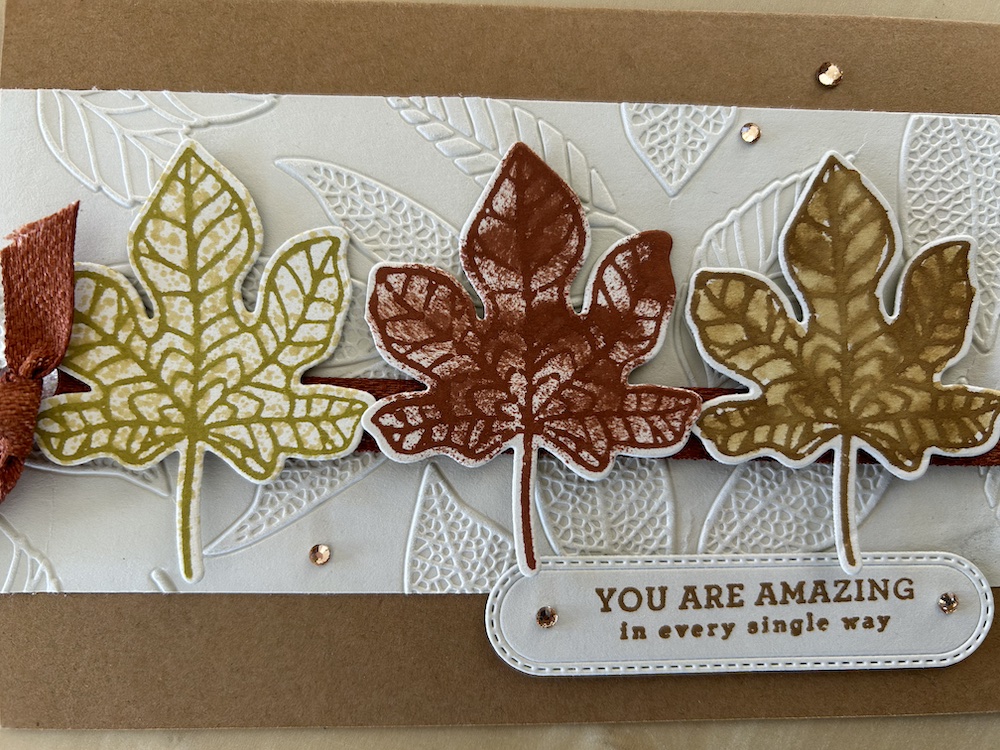
For the Wild Wheat leaf, I used a splatter technique – warning, this can be messy! The Pecan Pie leaf was water-coloured and the Copper Clay leaf was sponged. Watch the video below to see all these techniques in action! Here is a close-up:
The measurements you will need are:
- Pecan Pie base cardstock 21cm x 14.8cm scored at 10.5cm (8½” x 5½” scored at 4¼”)
- Basic Beige (or Crumb Cake) front piece 14.8cm x 7cm (5½” x 2¾”)
- Basic Beige piece approx 7cm x 18cm to stamp the leaves and the sentiment
- Basic Beige for inside 10.5cm x 7cm (4¼” x 2¾”)
- Wild Wheat, Pecan Pie and Copper Clay ink pads (or three clours of your choice)
- Copper Clay ribbon approx 30cm (12″)
- Wild Wheat Stampin Blend
Emboss the Basic Beige front piece using the Changing Leaves embossing folder.
Wrap a piece of Copper Clay ribbon around the piece, using tear & tape to stick it at the back. Adhere to the card front across the centre. Tie a knot in a short piece of ribbon and add to the left-hand side using a glue dot as shown.
Stamp the first leaf in Wild Wheat on Basic Beige cardstock and die-cut out using the die from the bundle (or fussy cut). Technique 1 is to colour using splatters. Take the Wild Wheat Stampin Blend and use your pointy tool or similar to tap across the tip so the colour splatters over the stamped image. This creates dots of colour across your image but can be messy as you can see in the video – use a sheet of copy paper beneath your leaf for this technique! Add as many or as few splatters as you want.
Another way to do this technique is to press a stamping block lightly onto your ink pad then use a water painter to pick up the ink before tapping to splatter colour on your image.
Stamp a second leaf in Pecan Pie and die or fussy cut. Technique 2 is to use a sponge dauber. Dab the dauber onto the Pecan Pie ink pad then dab colour lightly all over your leaf. Use as much or as little colour as you want. The leaf on the card I made in the video is lighter coloured than on my demonstration card as you can see.
For my third technique, have your water painter ready. Stamp a third leaf in Copper Clay then pick up your water painter and gently paint all over the leaf. It will pick up the colour from the not-yet-dry ink and spread it across the leaf. The alternative way to watercolour an image is to pick up ink on a stamping block, add some drops of water, then use this to paint your image. Die-cut or fussy cut your leaf once dry.
Add the leaves three ways to your card front as shown using dimensionals.
Stamp your sentiment in Pecan Pie onto a scrap of Basic Beige and die-cut out. Add to the bottom right of the card front using dimensionals,
Finish the card with some gems to add a bit of bling.
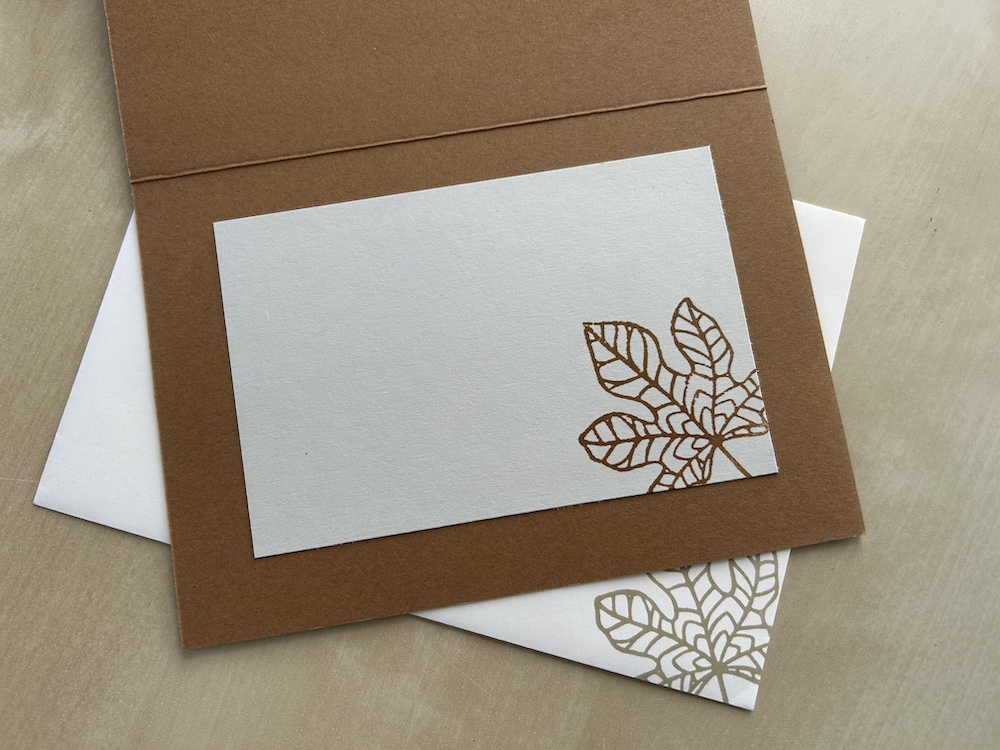
I used the leaf stamp to decorate the inside of my card and the envelope as well. I used Pecan Pie inside and Basic Beige on the Very Vanilla envelope, but you can use the same ink on both.
Here’s the video of my leaves three ways techniques:
I hope you can join me next Tuesday at 2pm on my YouTube channel (@craftycarolscards) or my Facebook page (same name!) for my next LIVE session.
Please sign up for my emails so you can get all the info about my craft classes, including my live online classes via Zoom 11am on the first Thursday of each month – details of the products you need to prepare for that class come out the week before in my email.
I hope you like this card and will have a go at making one – please show me what you come up with.
Thank you for taking the time to read my post.

Don’t forget – you get a FREE pdf when you place any order with me as your demonstrator. And, if your order is over £40, you will also get to choose stuff from my online shop to the value of your order!
Product List ") |  | |||
 |  | |||
 |  |  |
")


 Textured Ribbon")


