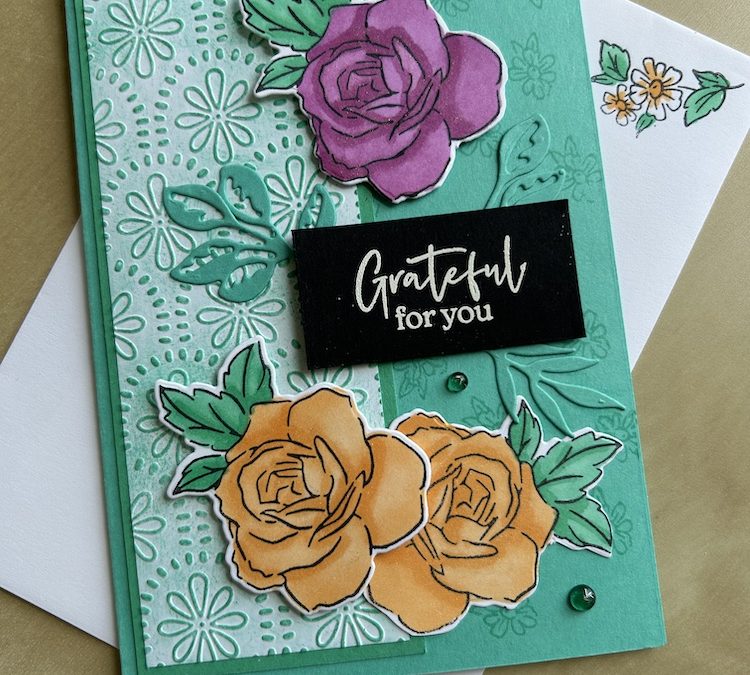
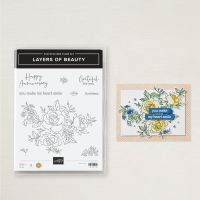
I love the Layers of Beauty stamp set and matching dies and masks. The set centres on one (very) large image of roses and leaves. I got the idea for this card from a wonderful colouring masterclass run by Jay Soriano – if you want to know about colouring, he’s the man!
Today I wanted to show that you don’t always have to use the whole stamp. I stamped just the centre rose image (which has a matching die) from the Layers of Beauty large stamp three times and used these to make a card.
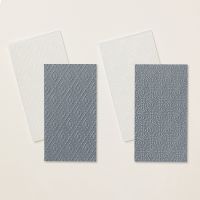
I also used one of the new Online exclusive Fun Patterns embossing folders to emboss the side panel – read on or watch the video to find out how I coloured it!
To make this card you will need:
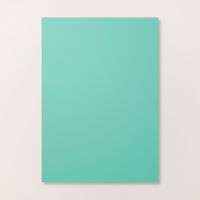
- Summer Splash card base 21cm x 14.8cm (8 ½” x 5 ½”)
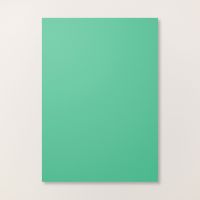
- Shy Shamrock panel 5.5cm x 14cm (2 ¼” X 5 ¼”)
- Basic White panel 5cm x 13.5cm (2″ x 5″)
- Basic White pieces (x3): 5cm x 7.5cm (2″ x 3″)
- Basic White inside layer 9.5cm x 13.8cm (3 ¾” x 5”)
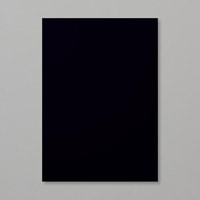
- Scrap of Basic Black for sentiment approx 5cm x 3cm (1″ x 1 ¾”)
- Scrap of Summer Splash for die-cutting the leaves
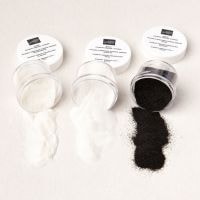
- White embossing powder
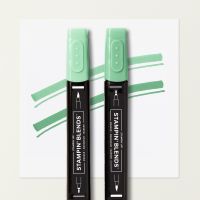
- Stampin Blends to colour images
The instructions are given below or/and you can watch the video here:
Score the card base at 10.5cm (4 ¼” ), fold and burnish.
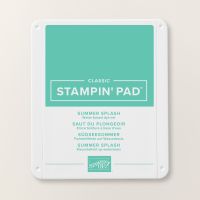
Stamp the tiny flower from the set randomly over the right hand side of the front of the card using Sumer Splash ink.
Emboss the Basic White panel with the flowery Fun Patterns embossing folder – this is an Online Exclusive product. Once embossed, use a small piece of sponge to add Summer Splash ink by rubbing the inked sponge gently over the panel. You can make this as light of dark as you want – your choice.
Stick this completed panel to the Shy Shamrock panel and adhere to the left-hand side of the card front.
Ink up the large rose and three leaves from the middle of the large Layers of Beauty stamp and stamp onto one of the pieces of Basic White. Repeat for the other two pieces so that you have three rose images.
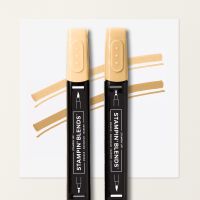
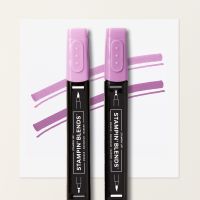
Colour these images using Stampin Blends. I coloured two in Peach Pie and one in Petunia Pop but they can be any colour you want. I coloured the leaves in Shy Shamrock. First I coloured the whole area in the light blend then I added the dark blend where any shadows would lie – see the video for details. Cut out all three images using the die from the set.
Die cut three leaves using the dies from the set. I used three different dies but you can use whichever you want.
Rub the Basic Black piece with your embossing buddy then stamp your “Grateful for you” sentiment in Versamark ink. Add white embossing powder and set with your heat tool. Trim the completed piece if necessary.
Place the flowers on the card front as shown in the picture. I added two with dimensionals and stuck the third one flat to the card. Add the sentiment using dimensionals then stick the three die-cut leaves under and around it.
I finished the card with a few gems and I added some Wink of Stella to the darker areas on each flower.
I stamped the “you make my heart smile” sentiment on the inside panel of the card using Memento ink. Then I stamped the smaller flower in the corner of the panel and coloured it with my Stampin Blends. (I had stamped the flower erroneously in Summer Splash for the video, but thanks to the clear stamps I was able to add a Memento outline afterwards!)
I also stamped this flower on my envelope and coloured with my Stampin Write markers – blends tend to go through and show underneath the envelope unless you are very careful!
I hope you like this card and will have a go at making one – please show me what you come up with.
Thank you for taking the time to read my post.

Don’t forget – you get a FREE pdf when you place any order with me as your demonstrator. And, if your order is over £40, you will also get to choose stuff from my online shop to the value of your order!
Product List
