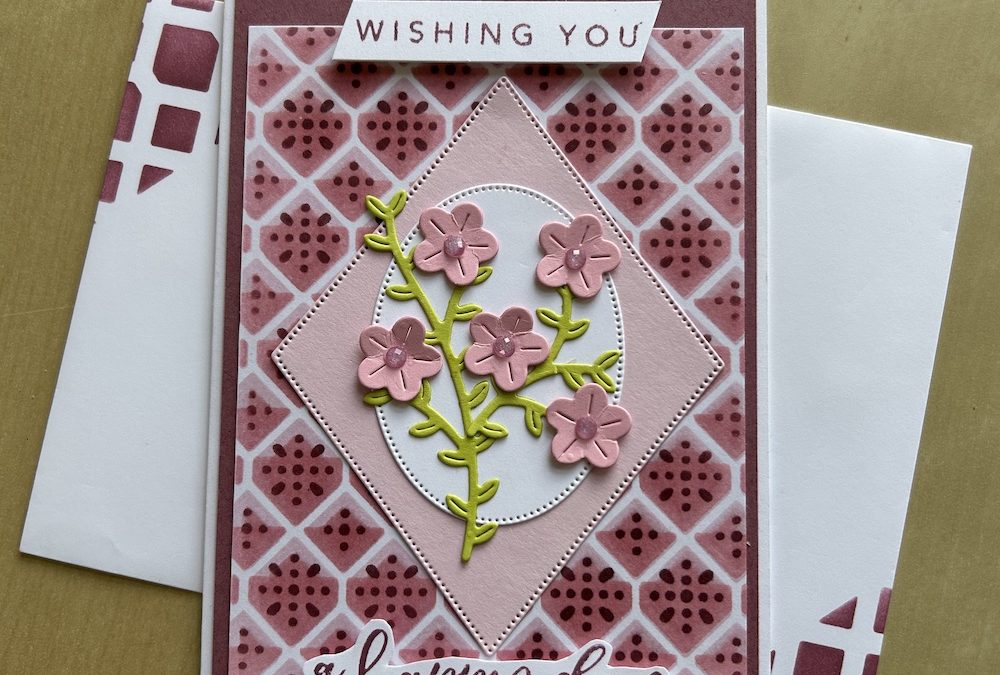
In today’s Craft with Carol Live I used the gorgeous Linked Together bundle to make a lattice card which can be used for any occasion. This fabulous bundle has a stamp set with a range of beautiful sentiments, a set of matching dies with additional flowers and leaves, and a set of five lattice pattern masks.
The lattice masks are totally versatile. You can use them all together, just use one, or mix and match two, three or four together. They can be used as a background or make a focal pattern for a card or scrapbook page.
My personal choice is to use similar colours together but you could use a set of contrasting colours if you prefer – the set really is versatile. My only gripe is that the masks are made for the American market, so use a smaller size of card than our usual layer for an A6 card. However, they provide a lovely background for the diamond and oval die-cuts!
The instructions are below and/or you can watch the video at the end of the post.
To make the lattice card you will need:
- Basic White base card 21cm x 14.8cm (8½” x 5½”)
- Moody Mauve layer 10cm x 14.3cm (4” x 5¼”)
- Basic White panel 9.5cm x 12.7cm (3¾” x 5”)
- Bubble Bath piece 9cm x 11cm (3½” x 4½”) for die-cutting
- Basic White piece 5.5cm x 7cm (2¼” x 2¾”) for die-cutting
- Scraps of Basic White, Pretty in Pink and Lemon Lime Twist for sentiments and decoration
- Bubble Bath, Pretty in Pink and Moody Mauve ink pads
Score the base card at 10.5cm (4¼”), fold and burnish well.
Adhere the Moody Mauve panel on top.
Lay your Basic White lattice panel on a sheet of copy paper. Adhere using temporary adhesive or a couple of tiny dots of Tombow. Place mask 1 on top and use tape to hold it in place. Mark the notch at the top and mark at the corners so you can place the next masks in the correct position.
Use a blending brush to add Bubble Bath over the whole mask area.
Remove mask 1 and replace with mask 2. Add Bubble Bath again over the whole mask.
Remove mask 2 and replace with mask 3. Add Pretty in Pink over the whole mask using the same blending brush.
Remove mask 3 and replace with mask 4. Add Pretty in Pink again over the whole mask.
Remove mask 4 and replace with mask 5. Add Moody Mauve over the whole mask using the same blending brush.
Remove the mask.
The masks are easily cleaned in a bowl of warm soapy water and left to dry. Clean the blending brush in the same way.
Trim the Basic White panel if required then stick centrally over the Moody Mauve layer.
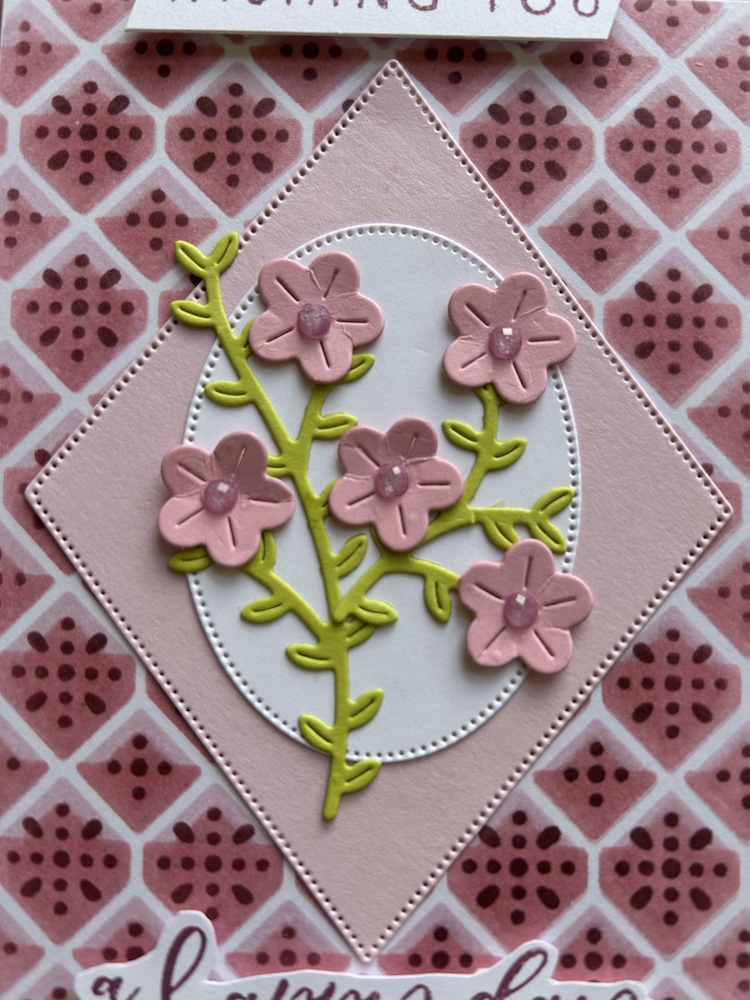
Die-cut the diamond from Bubble Bath and the oval from Basic White.
Adhere both to the centre of the lattice card front.
Die-cut five flowers from Pretty in Pink and both leaf sprigs from Lemon Lime Twist. Use your finger joint or em embossing tool to give some shape to the flowers. Arrange all the die-cuts over the front oval and stick down.
Add some gems to the flower centres.
Stamp your sentiments in Moody Mauve on scraps of Basic White. Trim as shown and add to the top and bottom of your lattice card using dimensionals.
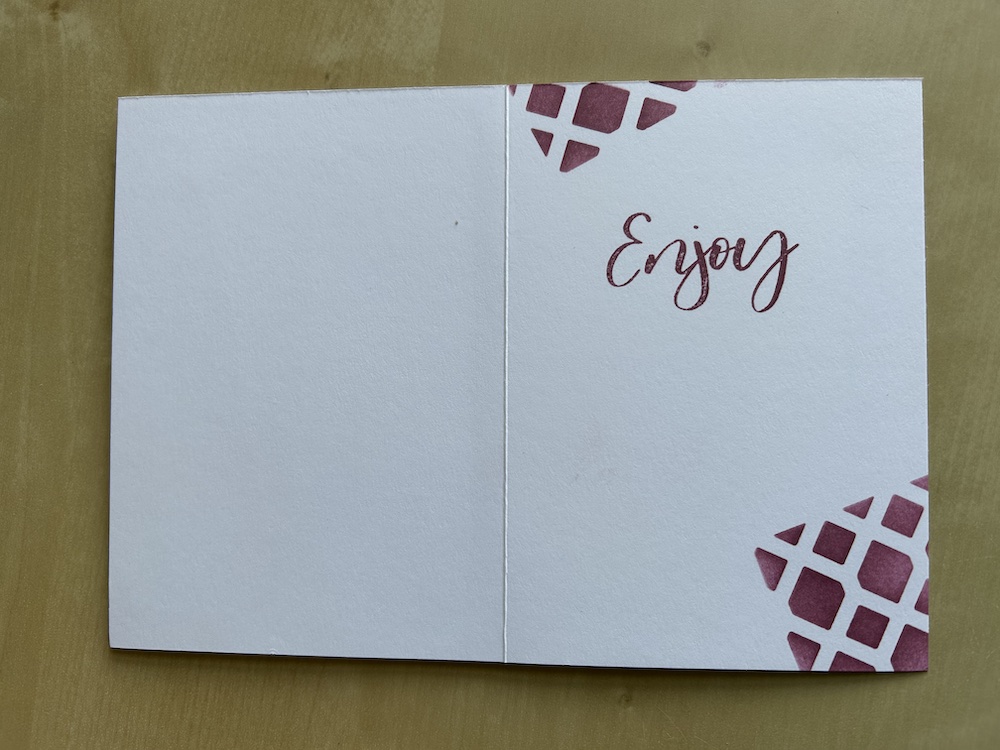
Your lattice card is complete, but don’t forget to decorate your envelope! I suggest using one or more of the masks to add a lattice pattern to the envelope corner. You can also add this pattern inside the card if you wish – see below and the video:
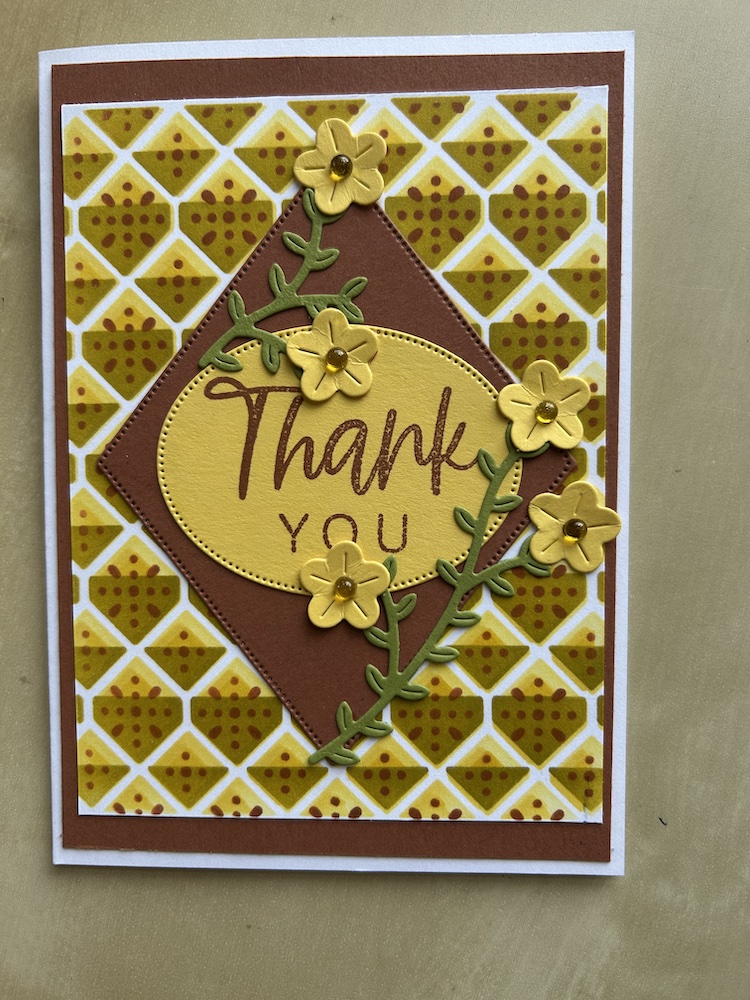
Here’s another card I made using this bundle and a completely different colour scheme – as you can see, the centre oval can go either way:
Here is the video of making this card:
I hope you like this card and will have a go at making one – please show me what you come up with.
Thank you for taking the time to read my post.

Don’t forget – you get a FREE pdf when you place any order with me as your demonstrator. And, if your order is over £40, you will also get to choose stuff from my online shop to the value of your order!
Product List  |  |  | ||
 |  |  | ||
 |  |  |
")


