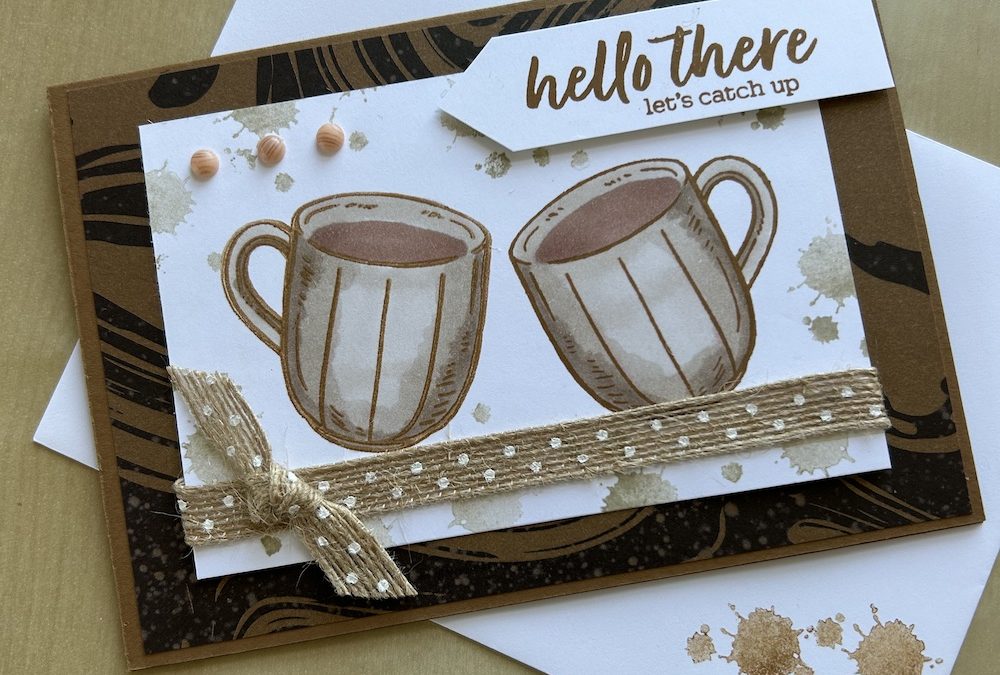
For my Craft with Carol LIVE today I made a card using the gorgeous new Latte Love suite which is available as an Online Exclusive suite or set of products. There is the Latte Love stamp set, matching dies that also cut out various other coffee-related items, a set of 12 x 12 Designer Series Paper, some of which also cuts out using the dies, a set of adhesive-backed swirl dots and some jute natural ribbon with white spots.
The stamp set includes a lovely mug, but of course, when normally stamped, the handles face only one way. For this card I wanted them to face each other. So I demonstrated how to do this using a silicone mat – you can see how in the video below. Basically, you stamp your image onto the silicone mat, then place your card over the top and press down firmly all over the image.
For this card you need:
- Pecan Pie cardstock base 21cm x 14.8cm scored in half at 10.5cm (8 ½” x 5 ½”, scored at 4 ¼”)
- A Little Latte DSP x 2: 14.3cm x 10cm (5 ¼” x 4″)
- Basic White card x 2: 12cm x 8cm (4 3/4″ x 3 1/8″)
- Scrap of Basic White for sentiment
- Latte Love stamp set and dies plus embellishments
You can watch the video below to see how to make the card or instructions are written out below.
Fold the card base in half. It is used in landscape orientation for this card.
Stick one piece of DSP on the card front and the other inside the card.
Stamp the mug in Pecan Pie onto the silicone mat. Place a 12x8cm piece of cardstock over it and press down. This prints a reverse image of the mug on the cardstock. Then stamp the mug as normal so that the two mugs are facing/mirroring each other. Colour using Stampin Blends. I used Crumb Cake and I explain in the video how to add depth to your colouring.
I then stamped a background using the coffee spill stamp and Crumb Cake ink stamped off (that is, stamped first on a scrap of paper then stamped onto the project).
Then I wrapped a short piece of ribbon around the bottom of this card and stuck it down using tear & tape. I added a knot of ribbon using glue dots. I tried a bow, but it was too bulky and deep to allow this card to be posted without spending a fortune.
Stick the completed front piece to the front of the card. Stamp your sentiment in Pecan Pie and shape into an arrowhead using your mat for guidance. Add to your card using dimensionals.
For the inside of the card, I stamped-off the splatter again on each corner of the second Basic White piece then added a sentiment in the middle stamped in Pecan Pie. I stuck this piece inside the card, then added two die-cut cups from the DSP in the bottom corner. I also decorated the envelope using the splatter stamp.

I hope you like this card and will have a go at making one – please show me what you come up with.
Thank you for taking the time to read my post.

Don’t forget – you get a FREE pdf when you place any order with me as your demonstrator. And, if your order is over £40, you will also get to choose stuff from my online shop to the value of your order!
Product List


