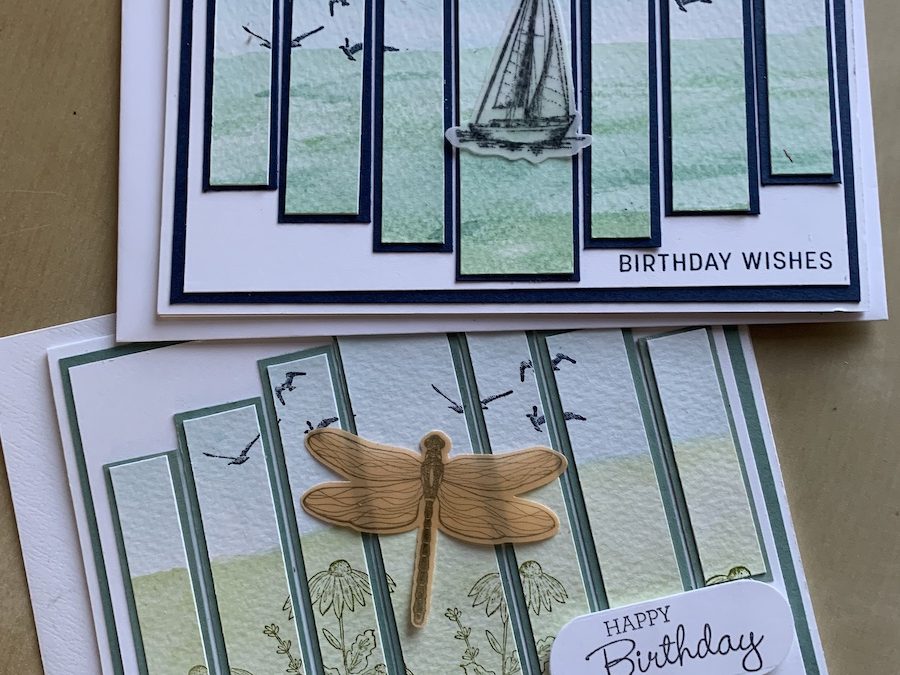
We had fun at my last Craftalong making a watercolour panel card. It is still watercolour month – just – so enjoy having a play with this technique. The panel card itself looks complicated, but is fairly straightforward – you just need to be careful with the panel and layer measurements, which I’ve written in full below. (They also appear as subtitles on the video.)
I used two different stamp sets in my example. The sailing one (Coming Home) is now retired, but I wanted to use it as it is for my husband’s birthday. You could use any stamp set that has a small image. I discovered it is best to stamp the image in Stazon onto vellum. For the dragonfly I used the gorgeous shimmer vellum, for the boat, plain vellum.
Here are the details and measurements for a panel card if you want to have a go. There is a mixture of inches and centimetres, but I’m sure you’ll manage!:
Supplies:
Watercolour paper approx 4 x 4 1/2″
Card base 21cm x 14.8cm, scored and folded at 10.5cm and used tent-wise
Colour card layer (x2) 10cm x 14.3cm
Basic White layer (x2) 9.5cm x 13.8cm
Coloured card strips for panel layers
Measurements:
Once coloured, cut watercolour sheet to 3 1/2″ x 4 1/8″
Then cut into seven panels as follows:
- Panels 1 and 7: 1/2″ wide
- Panels 2 and 6: 5/8″ wide
- Panels 3 and 5: 1/2″ wide
- This leaves a centre panel 1″ wide
- (See the video for more information on how to cut the panels)
Then trim each panel strip as follows:
- Take panels 1 and 7 and cut off 3/4″ from the top AND from the bottom
- Take panels 2 and 6 and cut 1/2″ off top and bottom
- Take panels 3 and 5 and cut 1/4″ off top and bottom
- Do not trim the centre panel
Cut coloured card layers as follows:
- Layers 1 and 7: 2 1/8″ x 5/8″
- Layers 3 and 6: 2 5/8″ x 3/4″
- Layers 3 and 5: 3 1/8″ x 5/8″
- Layer 4 (centre panel): 3 5/8″ x 1 1/8″
Stick main card layers together then assemble panel card by making a small pencil mark in the centre of the long edge top and bottom which will help you centre the main centre panel. Then add the other panels to each side, leaving a small gap between each.
Add a sentiment and your stamped vellum image. Don’t forget to decorate your envelope!
I’d love to see what you come up with!
Carol x
Product List
|
|
|
|||
|
|
|
|
|
|


