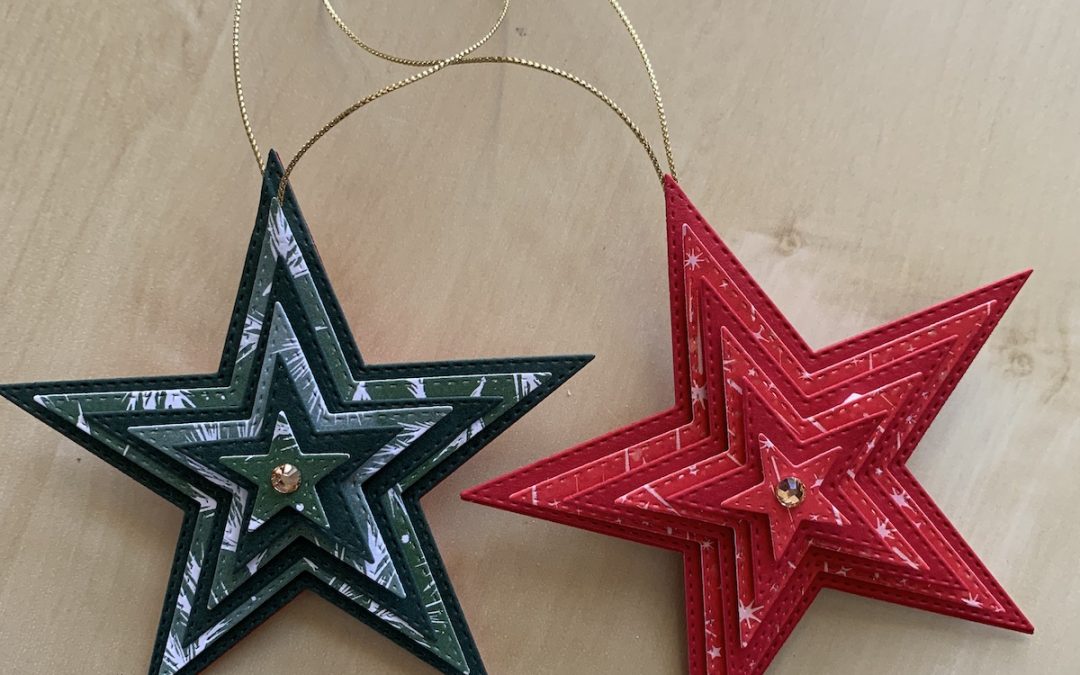
The beautiful Stitched Star dies have seven different sizes of stars which makes it easy to create these pretty star decorations you can use to adorn your house or tree at Christmas. There are seven sizes of stars in the set and I have used six of these, leaving out only the very tiny one, to make these decorations. You can see how to make these in the video or the detailed instructions are given below.
You will need:
- Your chosen colour cardstock 10.5cm x A4 length
- Your chosen DSP of 9cm x 30cm (12″)
- Length of trim or twine approximately 22cm (8″)
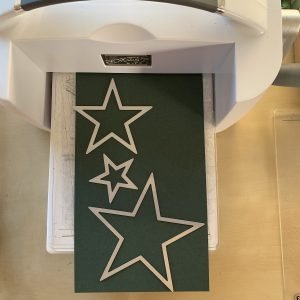 Use the larger set of stars for the cardstock and the smaller set of dies for the DSP.
Cut TWO of each size of star.
You can cut all the stars you need from the suggested cardstock and DSP sizes given above.
Use red tape to stick your twine to the back of one largest cardstock star. Cover with more red tape then use mutipurpose glue to stick the other largest cardstock star to it – see the video for details.
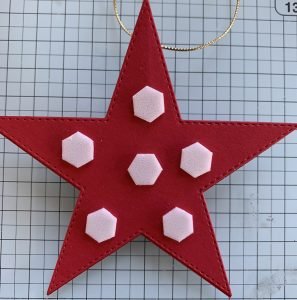 Use dimensionals to stick the largest DSP star on top of your base star using the pattern as shown in the picture.
I used a mixture of normal and mini dimensionals for this project.
Repeat for each layer alternating cardstock and DSP.
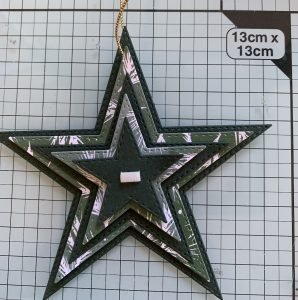
The final two layers need only one central dimensional each.
Repeat all layers on the other side of the decoration.
Finish by adding a gem in the centre star on each side.
This project can be made with any cardstock and DSP you want. You can have both sides of your star in the same colour, or use different colours, Have a play!
I’d love to see what you make.
Product List
|
|
|
|
|
 Designer Series Paper")


