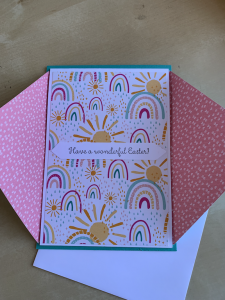
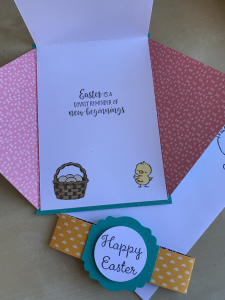
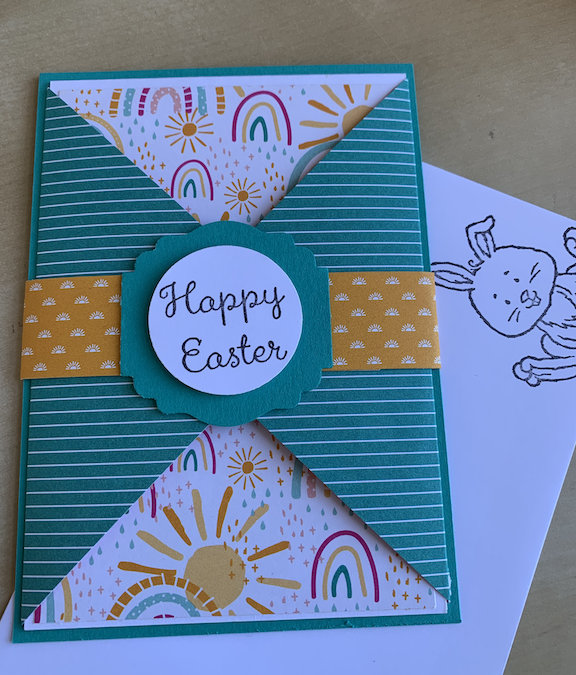
This is a far simpler card than it first looks! The card uses a removable belly band to hold two flaps together which, when opened, reveal the card and greeting. The instructions are given below and in the video.
Instructions
- Basic White card base 9.9cm x 28.4cm, scored at 14.2cm
- Back coloured card piece 10.5 x 14.8cm
- DSP 1: 9.4 x 13.7cm
- DSP 2: (2 pieces) 9.8 x 9.8cm scored diagonally (be careful with directional patterns)
- DSP 3: strip for band 2.5cm x 25.5cm
- Scraps for sentiments
Fold and burnish the DSP squares, making sure the pattern is how you want it, as shown in the video.
Stamp and colour the inside of your Basic White card base ( see picture below).
Stick the DSP squares to either side of the back of the Basic White card base and fold forward round the card. Stick the completed card to the coloured back piece.
Adhere DSP 1 to the front of the card base.
Stamp a suitable sentiment on a scrap of Basic White and stick to centre of the front of your card base (see picture below).
To form the band, wrap the long piece of DSP around the card (or two short pieces – see the video), not too tight, and stick together at the front overlap (and back if required).
Punch out your required sentiment layer from the same coloured card you used for your base.
Stamp your sentiment onto basic white and die cut out with layered circle dies. Adhere to the colour punch out with dimensionals, then adhere to the belly band.
Don’t forget to stamp your envelope!


