Well, my second week of streaming live did not go according to plan! I set up as usual – but then my streaming service decided I did not have a paid plan (even though I had had the confirmation of the payment one week ago!) and would not let me link to Zoom and Facebook.
I did eventually go live on YouTube, but I had a dismal fail with Facebook this week. Sorry. Hopefully all will be sorted for next week.
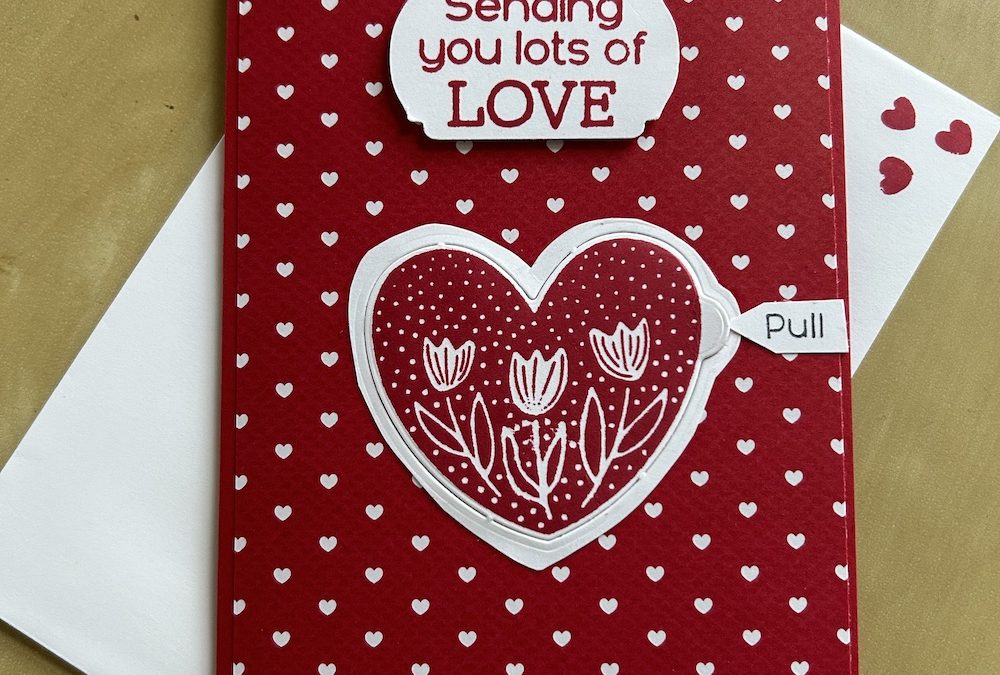
But I still made this card!
I used the Hooray for Surprises bundle and the Most Adored speciality paper (free during SAB) for my card. This bundle has some wonderful dies that cut a shape with a tab you can pull up to reveal a hidden message or picture underneath.
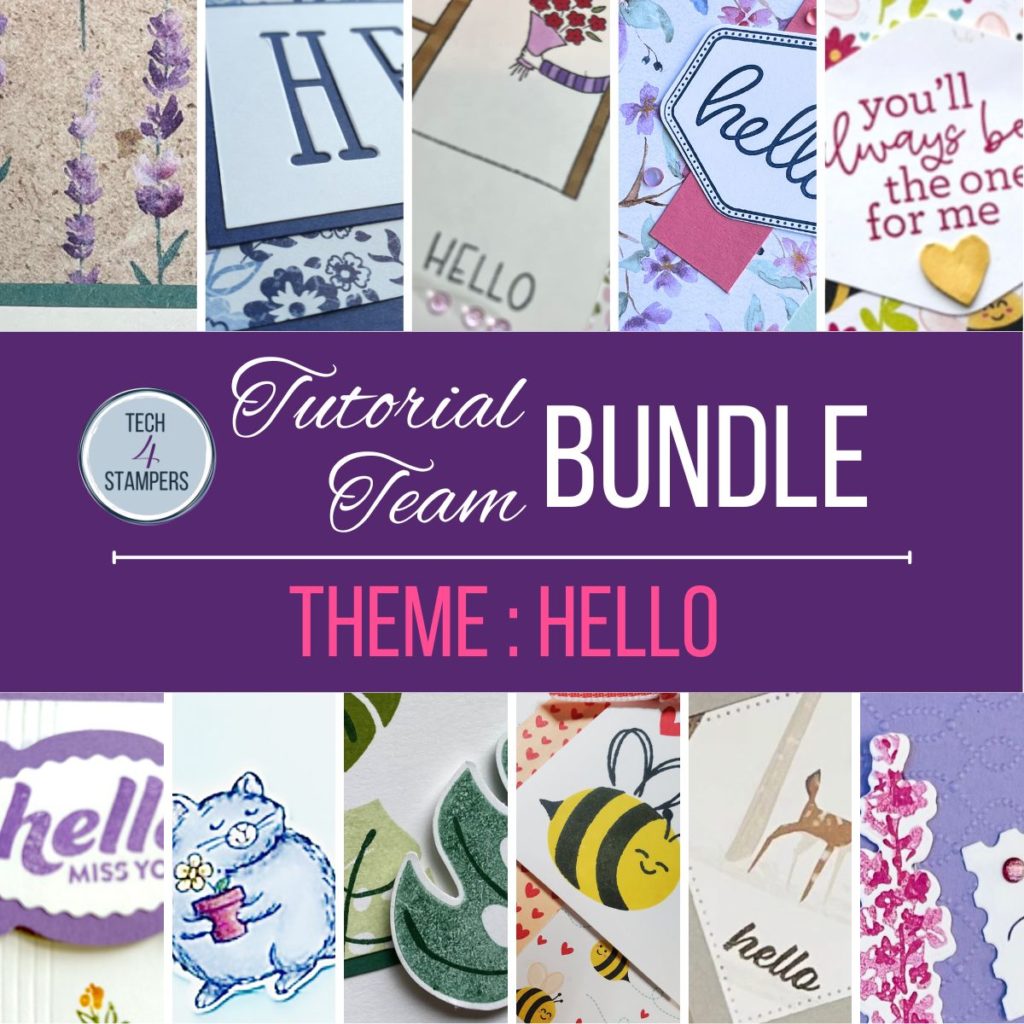
By the way, the Hooray for Surprises bundle is £44 so you only need one more small item to get the Most Adored DSP for FREE. Make the most of Sale-a-Bration! AND as an extra surprise for ordering from me, you’ll also receive a FREE tutorial of eleven (yes eleven!) cards to make. Here’s a sneak peek of this months FREE tutorial:

To make the Hooray for Surprises card you need:
- Read Red cardstock 21cm x 14.8cm, scored in half at 10.5cm (8 1/2″ x 5 1/2″ scored at 4 1/4″)
- Most Adored DSP 14.3cm x 10cm (5 1/5″ x 4″)
- Basic White inner piece 13.8cm x 9.5cm (5 x 3 3/4″)
- Basic White piece 1: 7cm x 6.5cm (2 3/4″ x 2 1/2′)
- Basic White piece 2: 6.5cm x 6 cm (2 1/2″ x 2 1/4″)
- Basic White scrap for sentiment approx 6cm x 4cm (2 1/4″ x 1 1/2″)
- Real Red ink pad
Here is how to make the card – you can find the video below if you prefer to watch me make it!
Fold the base card in half and burnish.
Stick the DSP to the front of the card.
Stamp the inside piece of Basic White with the sentiment of your choice. Use the tiny heart stamp to decorate around the sentiment. Stick inside your card.
On Basic White piece 1 stamp the large heart with flowers stamp in Real Red , slightly to the left of the centre of the card piece (to allow for the pull tab on the die). Die cut using the heart perforated tab die. Trim around the edge leaving a 1/4″ (1/2cm) border.
Stamp your sentiment to be revealed on Basic White piece 2. use the heart die to position the sentiment where you want it to be – see the video for details. Die cut out with the heart die.
Place the sentiment reveal piece behind the perforated heart die cut. Put glue around the edge of the tab heart die cut and on the back of the heart die cut. Use tweezers to hold these together and stick to the from of the card.
Stamp the “pull” sentiment on a scrap of Basic White and trim to an arrow shape. Stick by the tab on the front of the card.
Stamp a front sentiment on the third piece of Basic White and punch or die cut out – I used the retired Label Me Fancy punch. Stick to the top of the card using dimensionals.
To finish, I used the tiny heart stamp to decorate my envelope.
You can watch the live video here to see how I made the card:
Let’s hope the technology gremlins don’t strike again next week and that my 2pm live on YouTube and Facebook goes smoothly! I hope you can join me then. You can also join me this Thursday on Zoom for another fun card using this lovely bundle.
Product List


