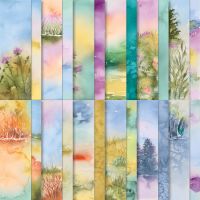
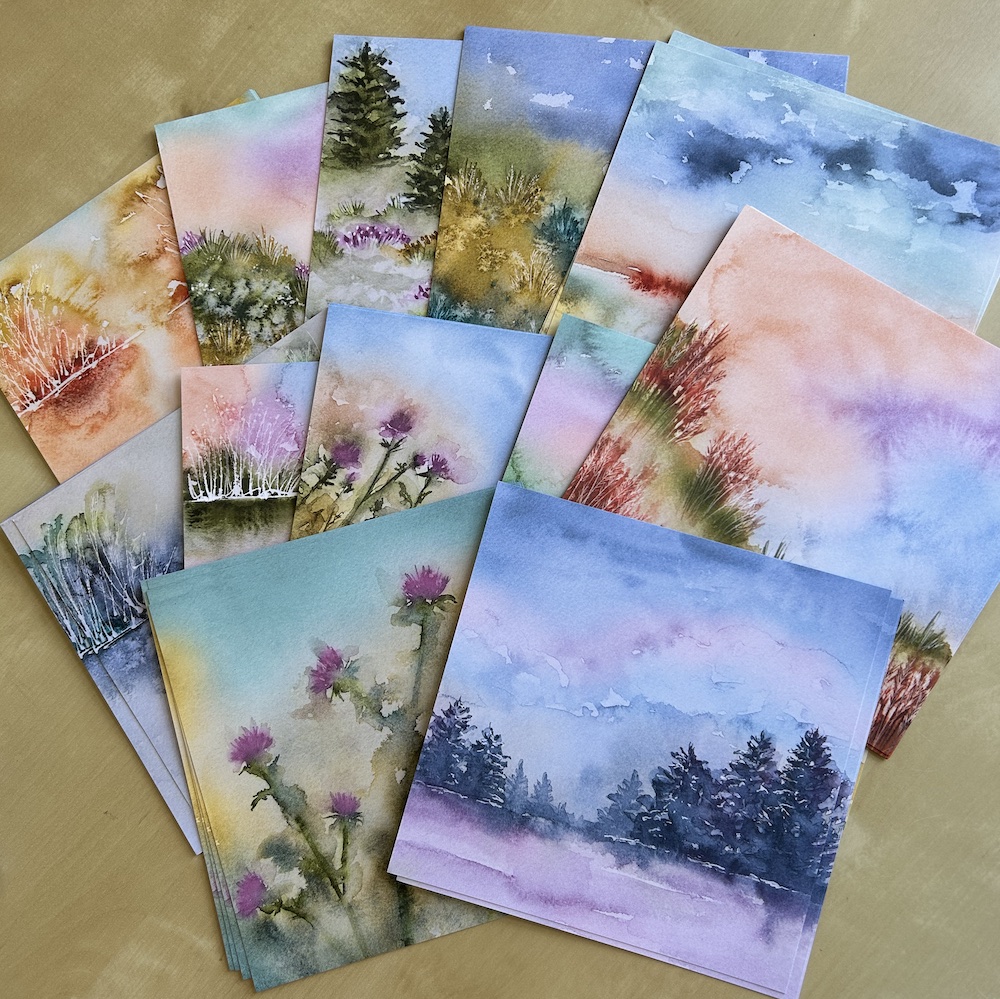
For today’s blog post, I wanted to make a scenic gatefold card using the gorgeous Thoughtful Journey DSP. This is a 6″ x 6″ DSP which has 48 sheets of beautiful, soft scenes and backgrounds with a watercolour vibe. There are four sheets of each scene – here are the main scenes and the reverse sides are equally beautiful as background papers.
It’s part of the Thoughtful Journey Suite which also includes a lovely Thoughtful Wishes foliage stamp set and dies, gems and a five-sheet pack of speciality paper with shiny foliage in five different colours.
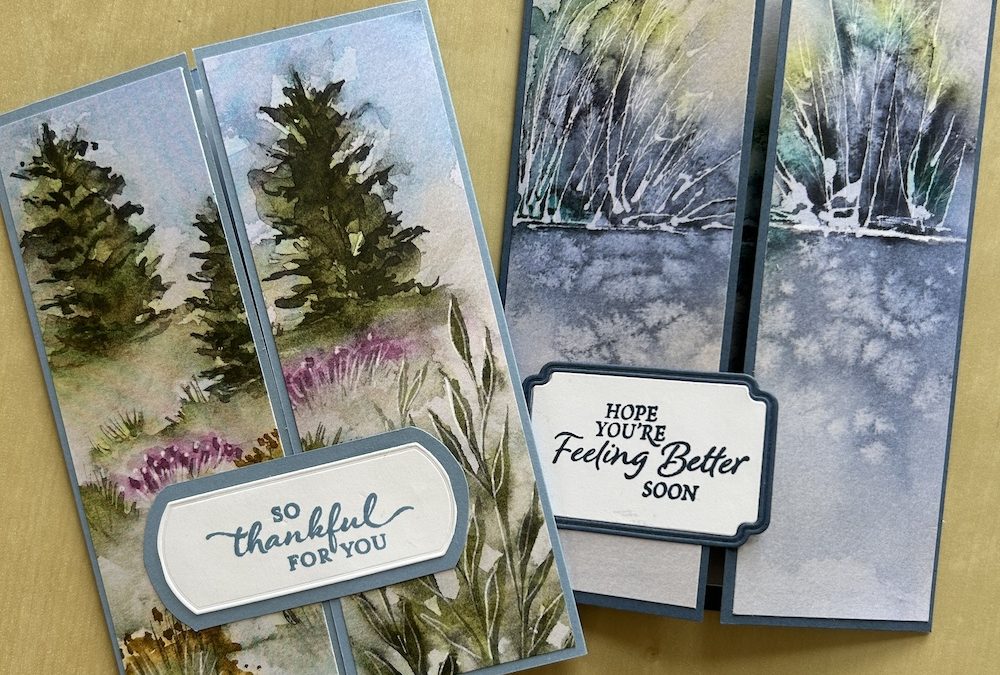
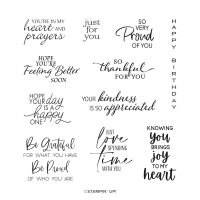
But today I wanted to focus on showcasing the 6″ x 6″ DSP. This card is a simple gatefold card and the DSP does all the work – you only have to add a sentiment. I used the Thoughtful Journey stamp set for the images and the So Sincere stamp set for the sentiments for these cards. I also used the Unbounded Love dies to cut out the sentiments.
This DSP pack coordinates with a range of beautiful colours – Blackberry Bliss, Boho Blue, Cajun Craze, Calypso Coral, Lost Lagoon, Misty Moonlight, Mossy Meadow, Peach Pie, Petunia Pop, Pool party, Pretty Peacock and Wild Wheat. I suggest you choose which scene of DSP you like best, then choose your cardstock base to match.
You will need:
- Card base in your chosen colour 21cm x 14.8cm (8 ½” x 5 ½”)
- 6″ x 6″ Sheet of Thoughtful Journey DSP
- Coordinating ink pad
- Basic White inner panel 9.5cm x 13.8cm (3 ¾” x 5”)
- Scrap of Basic White for sentiment
Instructions:
The video below the instructions shows how to make the gatefold card. NOTE: PLEASE IGNORE THE INCHES MEASUREMENTS GIVEN IN THE VIDEO. I was having a wobbly! The measurements given above and below are correct.
Score the gatefold card base at 5.25cm and 15.75 cm (or 5.25cm each side) – in inches, score at 2 1/8″ and 6 3/8″ or 2 1/8″ each side). Fold towards the centre, making sure each side is exactly level with the card beneath and burnish.
Stamp an image in the same colour ink as your cardstock onto the corner of the Basic White inner panel. Adhere the completed panel inside your card.
Cut two panels from your sheet of DSP. First cut the length of the whole sheet to 14.3cm (5 ¼”). Then cut two panels 4.8cm (1 7/8″) wide, choosing which parts of the sheet you want. Stick these panels to either side of your gatefold card.
Stamp your sentiment in the coordinating ink onto a scrap of Basic White. Die cut using one of the Unbounded Love dies. You can either use the frame from a die or mount the die-cut sentiment onto another piece of your coloured cardstock then trim around it – see the video for details of how I made mine. This avoids any Basic White showing when the gatefold card is opened.
Stick your completed sentiment to the left-hand panel of the gatefold card only – be careful only to add glue to the correct side.
I stamped the foliage stamp to decorate the envelope but did not add anything else to the gatefold card – the DSP does all the work!
This gatefold card can be made to suit almost any occasion. It is good for male cards, sympathy cards, thank you cards and many other types. And gatefold cards are so quick and easy to make.
Here is the video showing how I made the gatefold cards. Again, please ignore the inch measurements given in the video – those given above are correct:
I hope you like this card and will have a go at making one – please show me what you come up with.
Thank you for taking the time to read my post.

Don’t forget – you get a FREE pdf when you place any order with me as your demonstrator. And, if your order is over £40, you will also get to choose stuff from my online shop to the value of your order!
Product List
