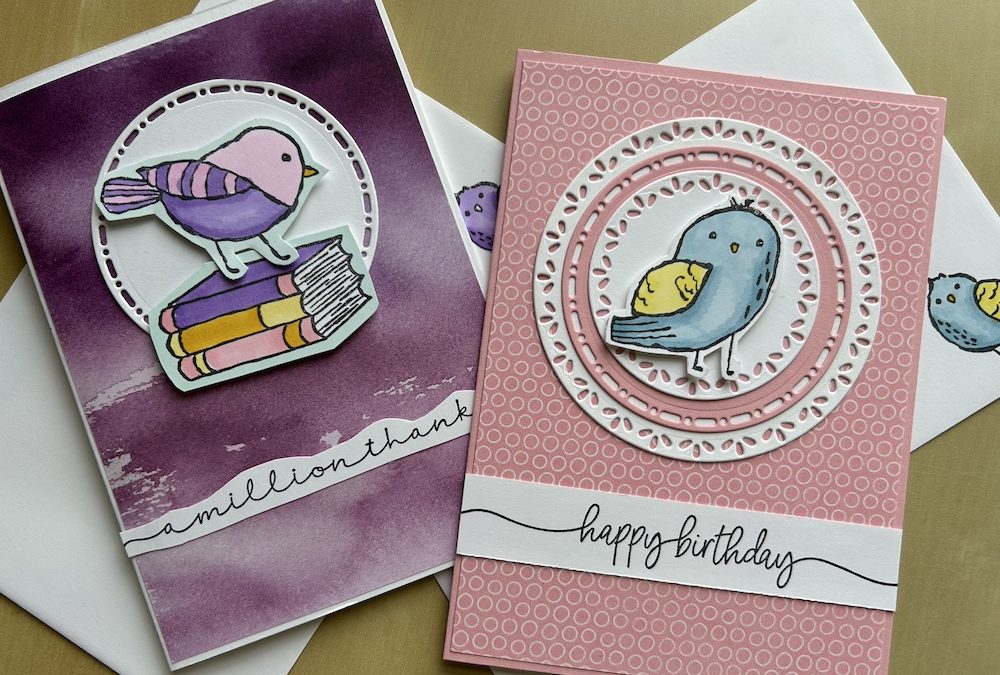
In this week’s Craft with Carol LIVE I did something a bit different. Of course, I made two cards (measurements below), but my focus this week was to give you some tips for fussy cutting.
I know many people hate fussy cutting, so I hope the tips I give in this blog post and video will encourage you to face your fear, have a go and try some fussy cutting!
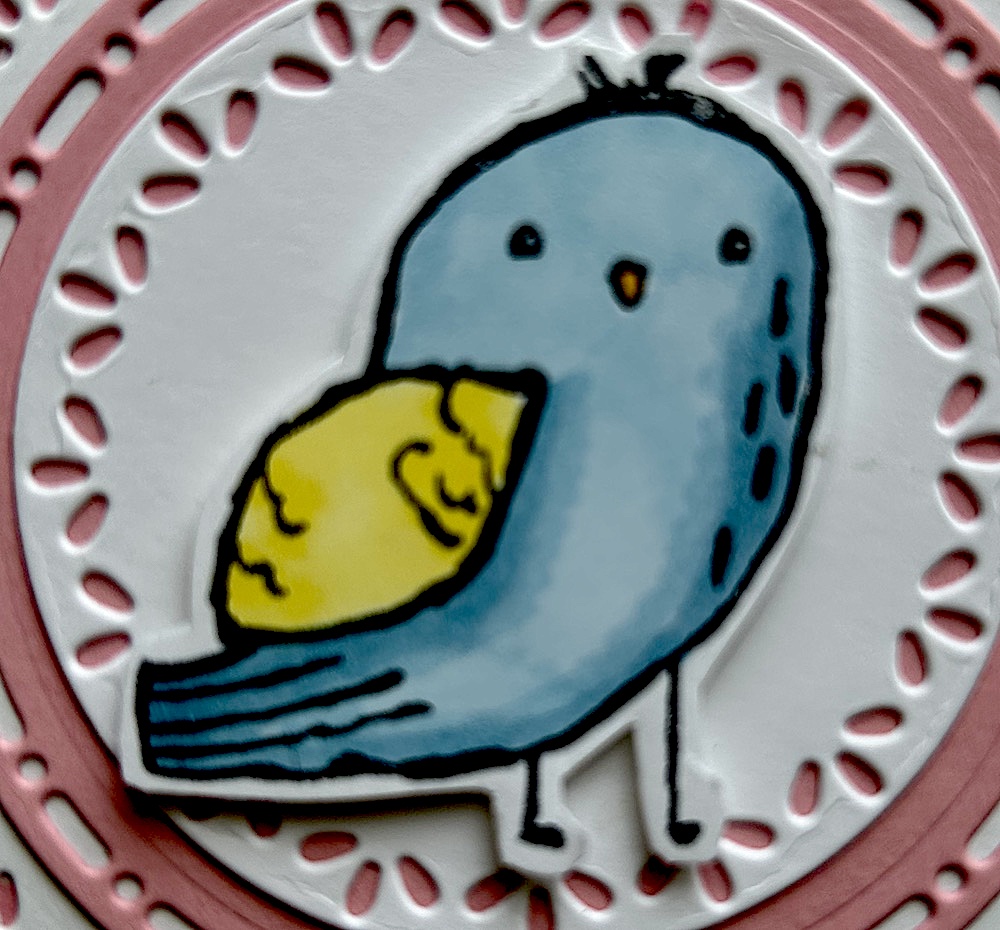
My Number One, most important, fussy cutting tip is: Do NOT try to cut too close to your image.
All images look best with a border around them. This has the great advantage of allowing you to be lenient with yourself about cutting around difficult areas such as butterfly antennae and, as in this case, bird’s feet. Leaving a decent border means that you can cut around these difficult areas without having to try and cut around thin lines. Remember, you craft for fun, after all. (Sorry the images are a bit blurred)
My second fussy cutting tip is: Choose your image.
Choosing a very complex image – such as a flower with loads of petals, or a flower bouquet with lots of white areas around and within it, or a tree branch with loads of tiny leaves – will likely lead to madness. I’m sure there are people out there who love fussy cutting so much they are happy to tackle an image like this, but I’m not one of them – life is too short! Luckily, Stampin Up! tend to offer dies for the most complex images.
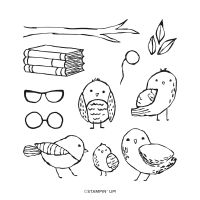
The best images to choose for fussy cutting are those with a good solid outline and not too many sticky-out bits. The Bird’s Eye View stamp set is perfect as you can see here.
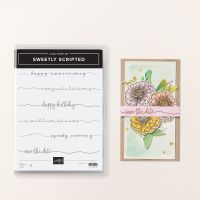
I show you in the video how I fussy cut around the sentiment for the second card in the same way. Fussy cutting sentiments is fun!
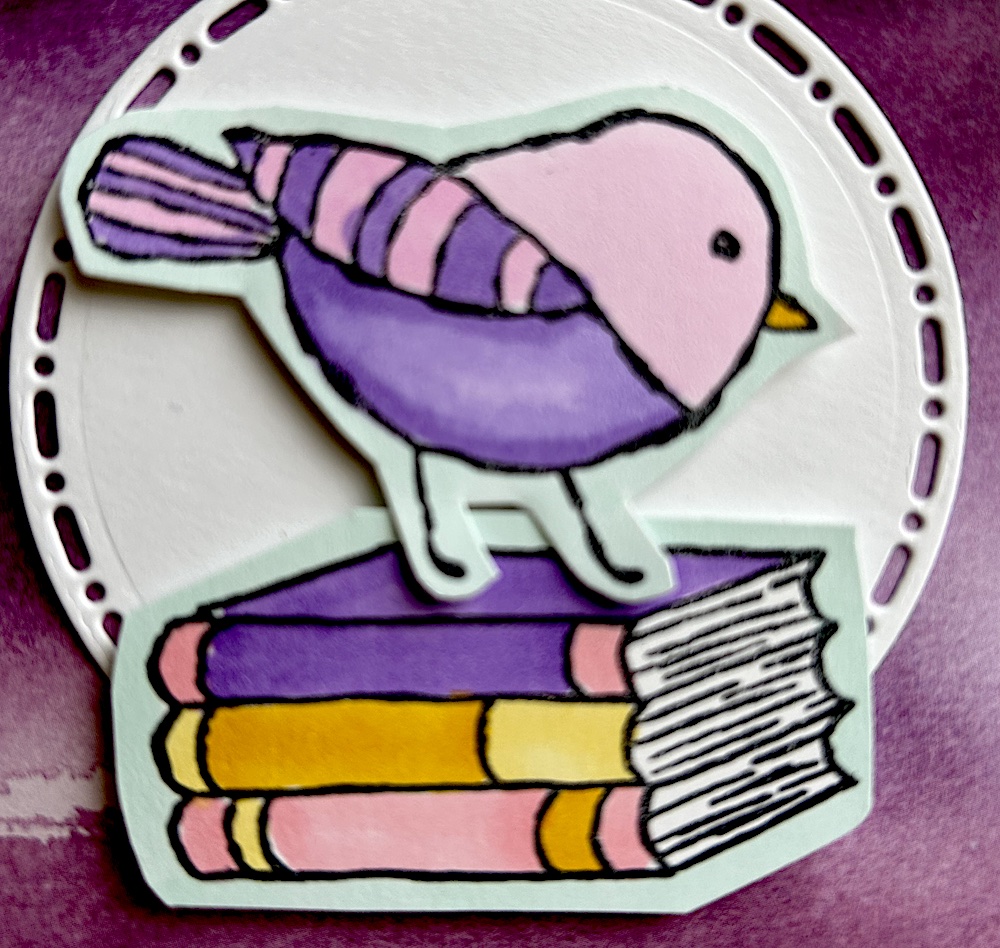
The third fussy cutting tip is: Use a coloured outline.
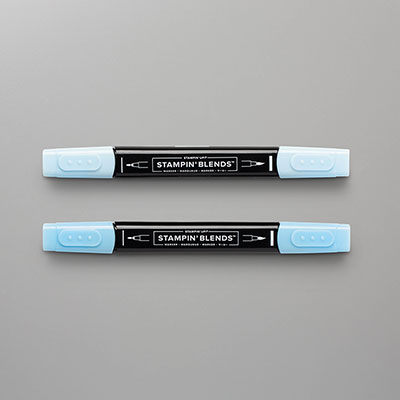
You can make fussy cutting much easier for yourself, especially if your image is quite complicated, by using a neutral-coloured Stampin Blend to colour around the outline of your image. I demonstrated this technique with the second card to avoid having to cut around my bird’s legs or the book edges. You can then fussy cut around the patch of colour, rather than trying to cut around the image lines.
My final fussy cutting tip is: Practice!
Practice makes perfect is the well-known saying and there is a lot of truth in it. You will get better at anything with practice and that includes fussy cutting. So choose your image, colour around it if you want, and have a go.
Here is the video from my Live where you can see these fussy cutting tips in action!
Measurements for the cards:
- Base card 21cm x 14.8cm scored at 10.5cm (8 ½” x 5 ½”scored at 4 ¼” )
- DSP layer 10cm x 14.3cm (4” x 5 ¼”)
- Cardstock squares for die-cut circles: large 9cm (3 ½”), medium 7.5cm (3″), small 6cm (2 ½”)
- Basic White scraps for stamping
- Various Stampin Blends for colouring
- Balmy Blue or Pool Party Stampin Blends are good for outlines
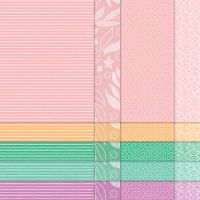
I used the 2024-2026 In Color DSP and Thoughtful Journey DSP for these cards. I die-cut three Spotlight on Nature circles for the first card and one (medium) for the second. I added my fussy-cut images using dimensionals. The video shows you how to put the cards together.
I hope you like this card and will have a go at making one – please show me what you come up with.
Thank you for taking the time to read my post.

Don’t forget – you get a FREE pdf when you place any order with me as your demonstrator. And, if your order is over £40, you will also get to choose stuff from my online shop to the value of your order!
Product List
