
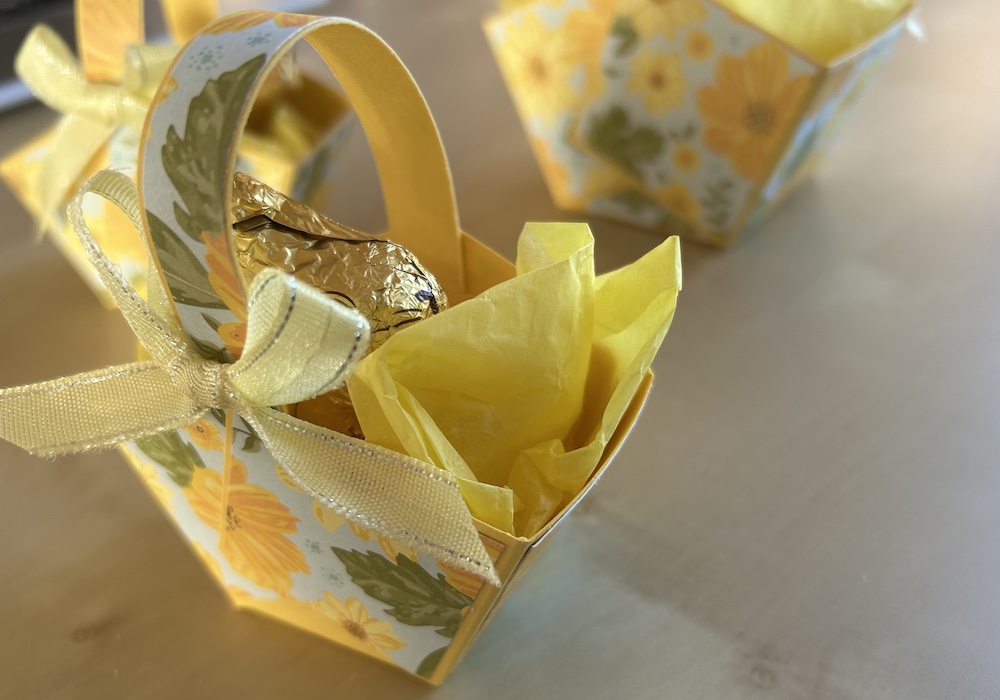
We made this sweet Easter basket in my FREE Craftalong today. They will hold a small egg or other Easter treat and they are simple to make. I’ve made quite a few as gifts for Easter this year.
In the Craftalong, I made two: a larger Easter basket using 6” x 6” cardstock and a smaller one using 12cm x 12cm cardstock. But you can make them any size to fit any gift you want to give – just start with any square of cardstock that is easily divided into three!
Each Easter basket has a handle also covered in the chosen coordinating Designer Series paper (DSP). I used Daffodil Delight cardstock and the gorgeous Floral Delight DSP.
The Easter baskets are all made in the same way. I’ve given the measurements for the larger one below. Becuase of the need to measure I’ve left this one as inches. The mesurements for the smaller Easter basket (in centimetres) are at the end of this blog.
To make the larger basket you will need:
- Daffodil Delight cardstock 6″ x 6″ square
- Daffodil Delight cardstock 6″ x 1″ for the handle
- DSP squares x 6: 1 7/8″ x 1 7/8″
- DSP strip 6″ x 7/8″
- Short length of ribbon for decoration
The instructions are given below, or watch the video at the end of this post to see the two sizes of basket made.
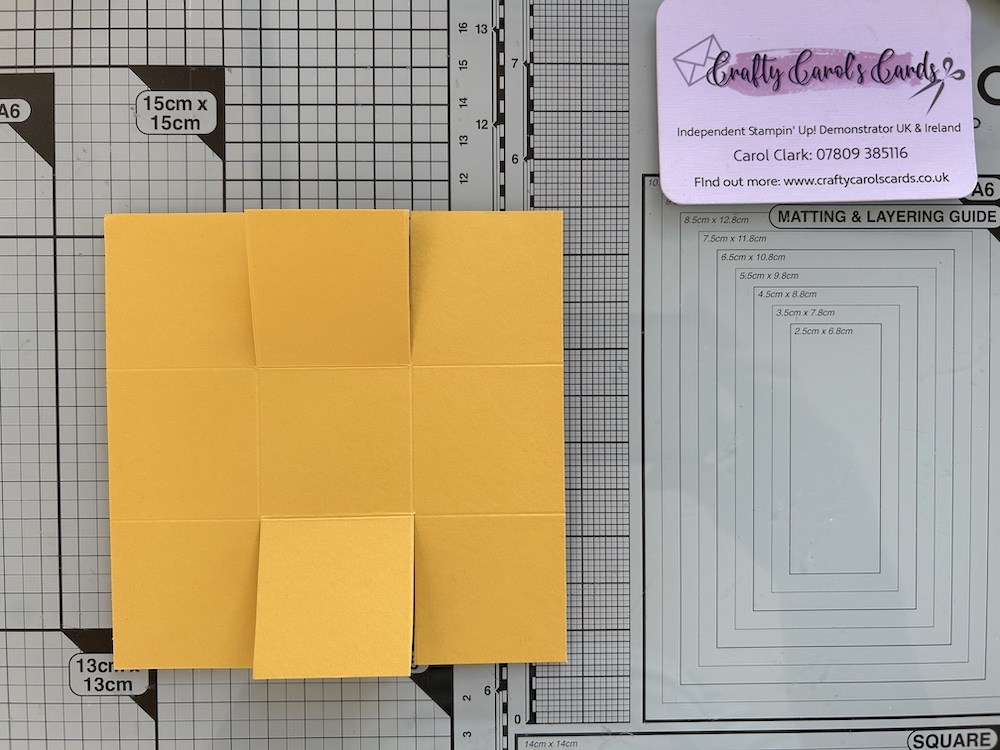
Score the cardstock on two sides at 2″ and 4″ to make nine smaller squares.
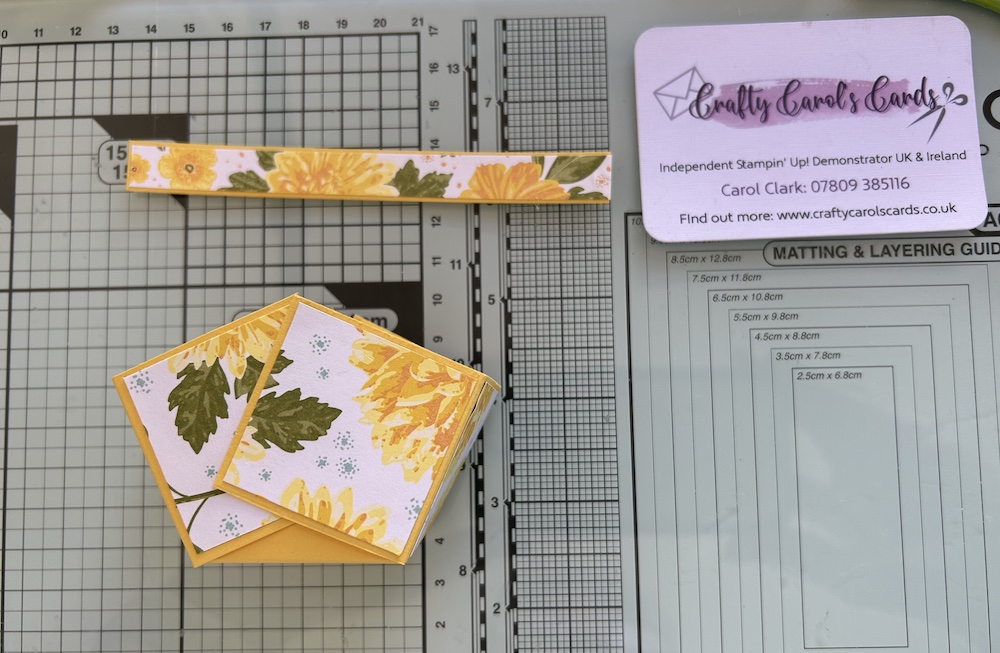
Cut up each side of two opposite squares. It will look like this:
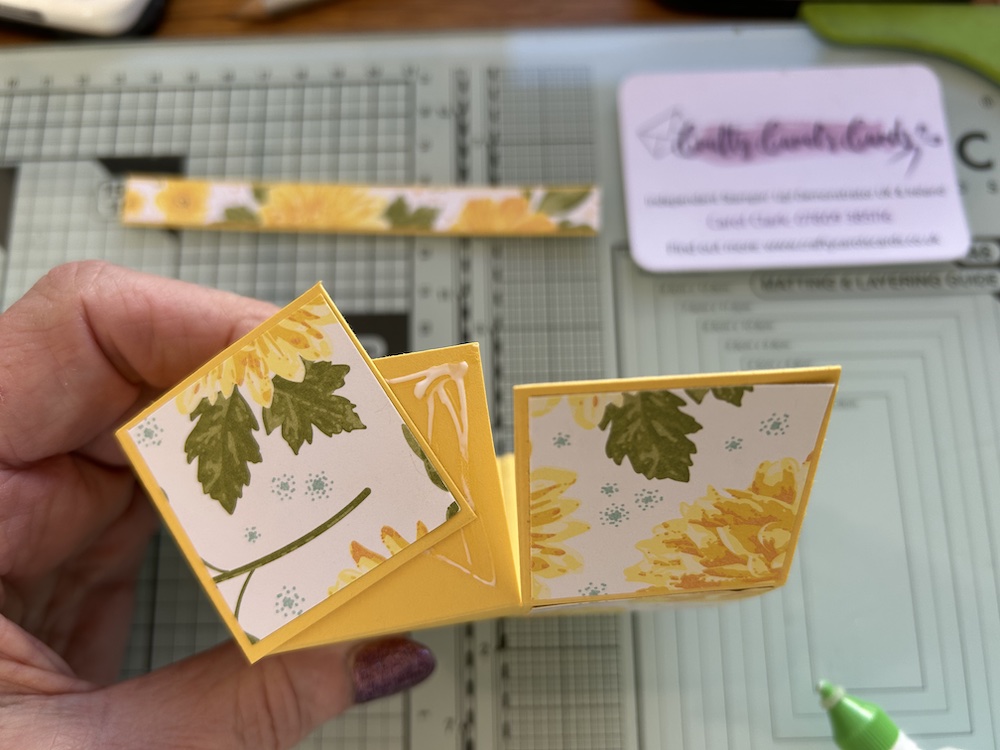
Stick your squares of DSP to the three panels down each side. Adhere the strip of DSP to the handle cardstock strip.
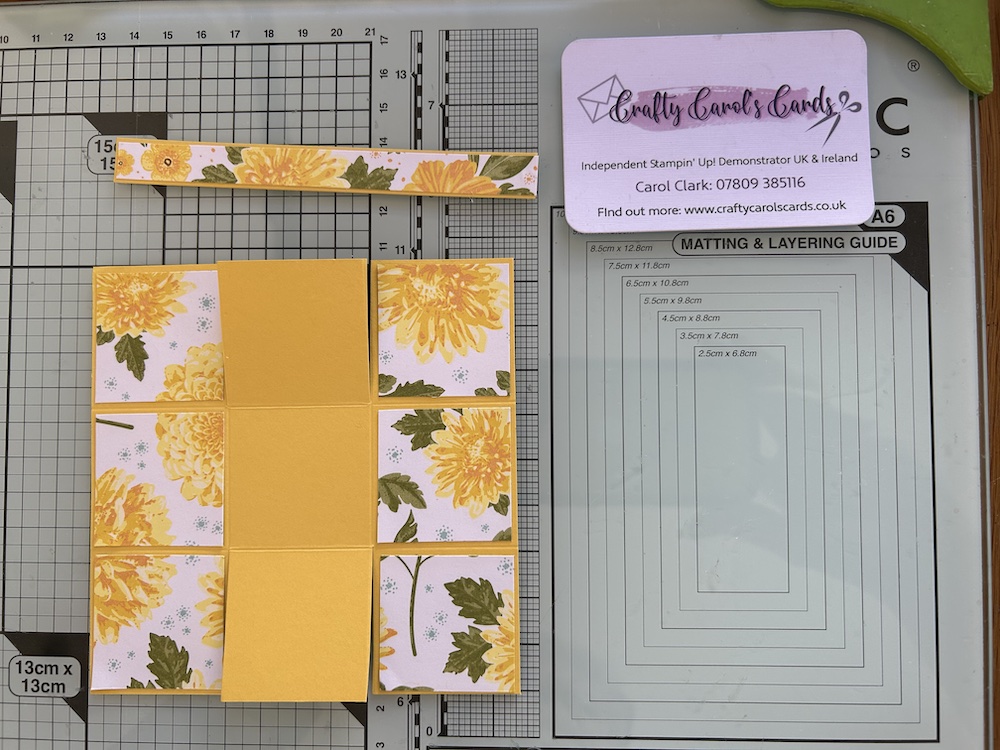
Fold all the score lines.
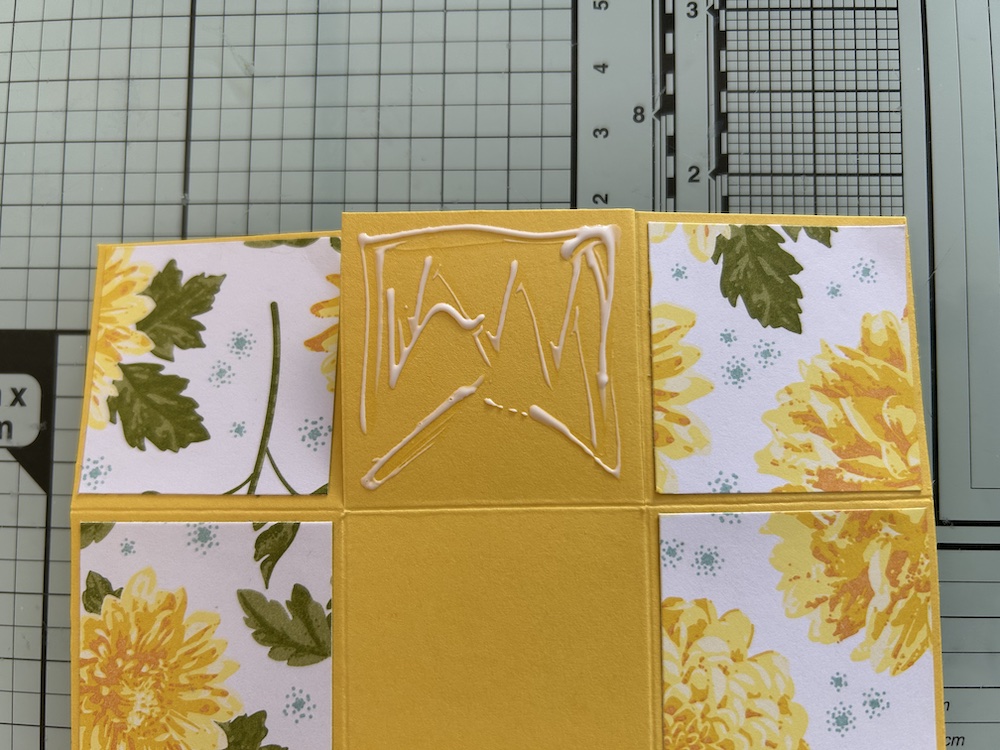
To create the sides, add glue to the centre panel as shown, making sure not to put glue at the centre bottom.
Fold over one side so that the point top is lined up with the centre of the panel.
Add glue to the other side panel just on the outer half as shown.
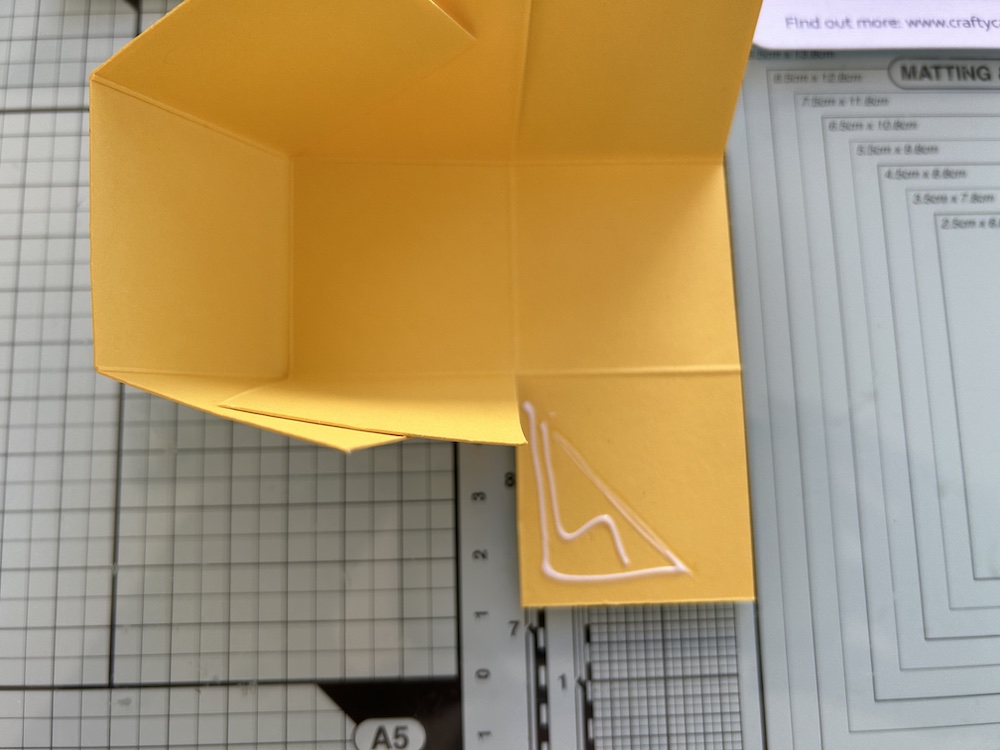
Fold this panel over so that the two points meet. Repeat for the other side of the Easter box
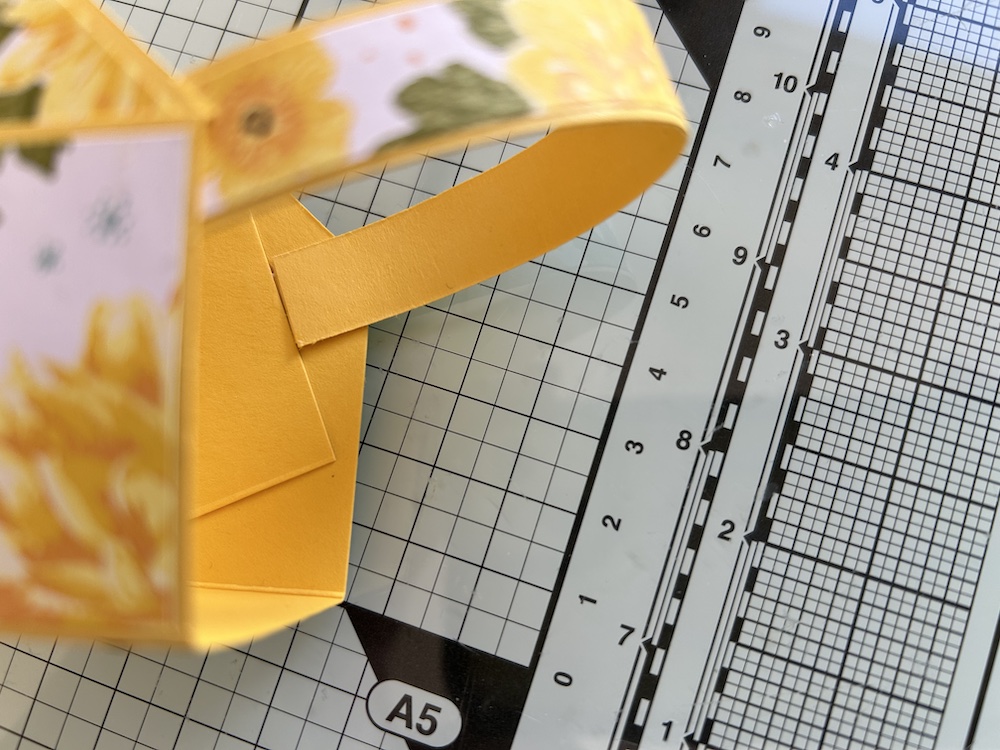
Use your bone folder to shape your handle, by running the bone folder along the back of the handle to loosen the fibres and allow it to bend easily. The handle is fixed to the base of the Easter basket on each side just above the upright tab – the picture below shows glue where the handle will stick.
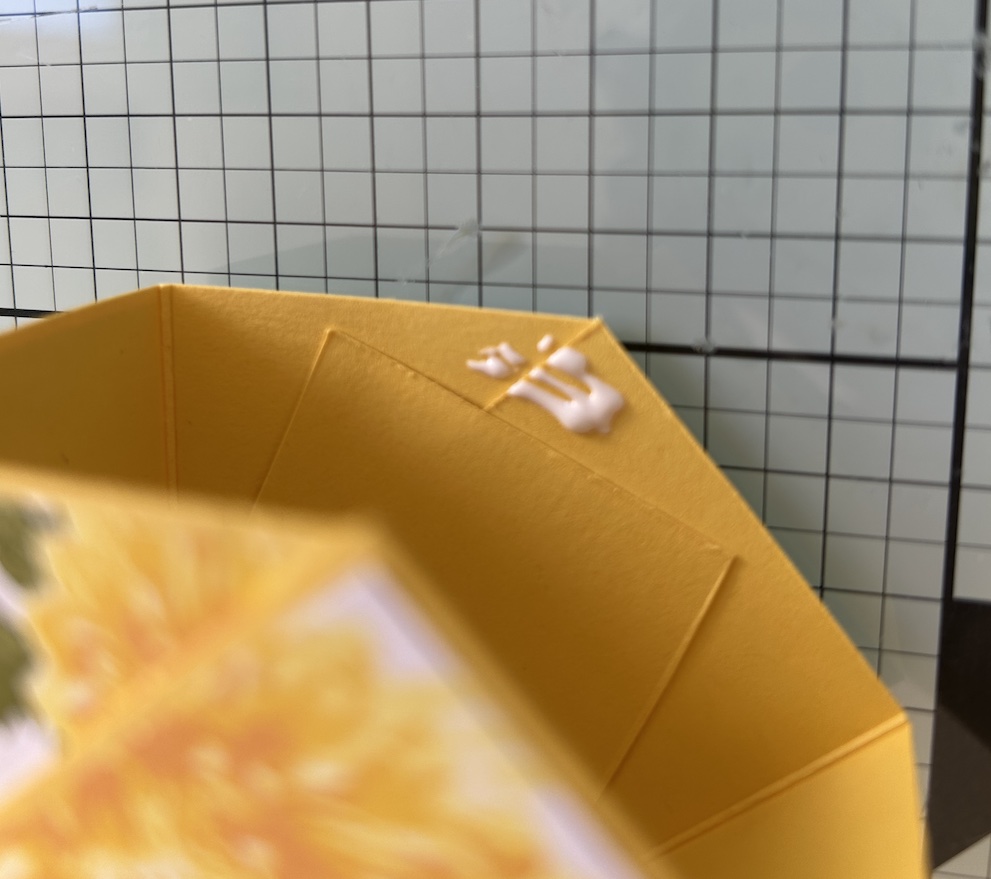
Stick the handle down in the same place on the opposite side.
Your Easter basket is now complete. To decorate, tie a bow in a matching ribbon and add to one side using a glue dot.
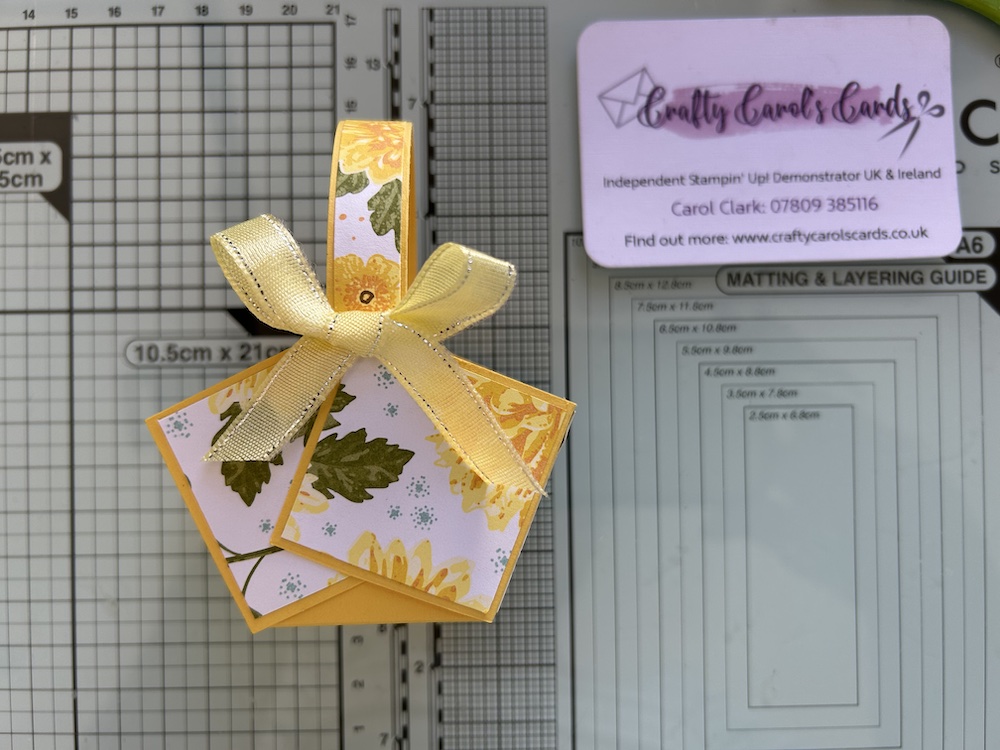
I added some yellow tissue paper as a lining then you can add a Lindt bunny, small Easter egg or any other small treat to this Easter basket. I’ve made one each for my ladies who are coming to my in person class this week!
The sizes for the smaller Easter basket I made are:
- Daffodil Delight cardstock 12cm x 12cm square
- Daffodil Delight cardstock 12cm x 1.2cm for the handle
- DSP squares x 6: 3.7cm x 3.7cm
- DSP strip 12cm x 1cm
- Short length of ribbon for decoration
Score the cardstock at 4cm and 8cm on two sides then make in exactly the same way as for the larger Easter basket.
Why not try to make an Easter basket in another size? Your square of cardstock needs to be scored in three equal strips on two sides. The DSP is cut 2-3mm smaller than each square. The handle is the same length as the square and cut to a width that looks reasonable for the size of basket!
Here is the video of making a large and a small Easter basket:
Thank you for taking the time to read my post.

Don’t forget – you get a FREE tutorial of eight cards when you place an order with me. There’s a different set every month. And, if your order is over £40, you will also get to choose stuff from my online shop to the value of your order!
Product List ![Daffodil Delight A4 Card Stock [ 121680 ]](https://assets1.tamsnetwork.com/images/EC042017NF/121680s.jpg "Daffodil Delight A4 Card Stock [ 121680 ]") | ![Multipurpose Liquid Glue [ 154974 ]](https://assets1.tamsnetwork.com/images/EC042017NF/154974s.jpg "Multipurpose Liquid Glue [ 154974 ]") |
![Floral Delight 12" X 12" (30.5 X 30.5 Cm) Designer Series Paper [ 164700 ]](https://assets1.tamsnetwork.com/images/EC042017NF/164700s.jpg "Floral Delight 12\" X 12\" (30.5 X 30.5 Cm) Designer Series Paper [ 164700 ]")
![Daffodil Delight 1/8" (3.2 Mm) Satin Ribbon [ 164715 ]](https://assets1.tamsnetwork.com/images/EC042017NF/164715s.jpg "Daffodil Delight 1/8\" (3.2 Mm) Satin Ribbon [ 164715 ]")

