The theme for the Tech4Stampers blog hop this month is Fun Fold. I love a fun fold card and make them regularly, as you can see from several of my previous blog posts!
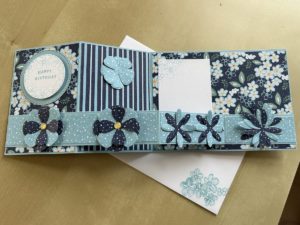
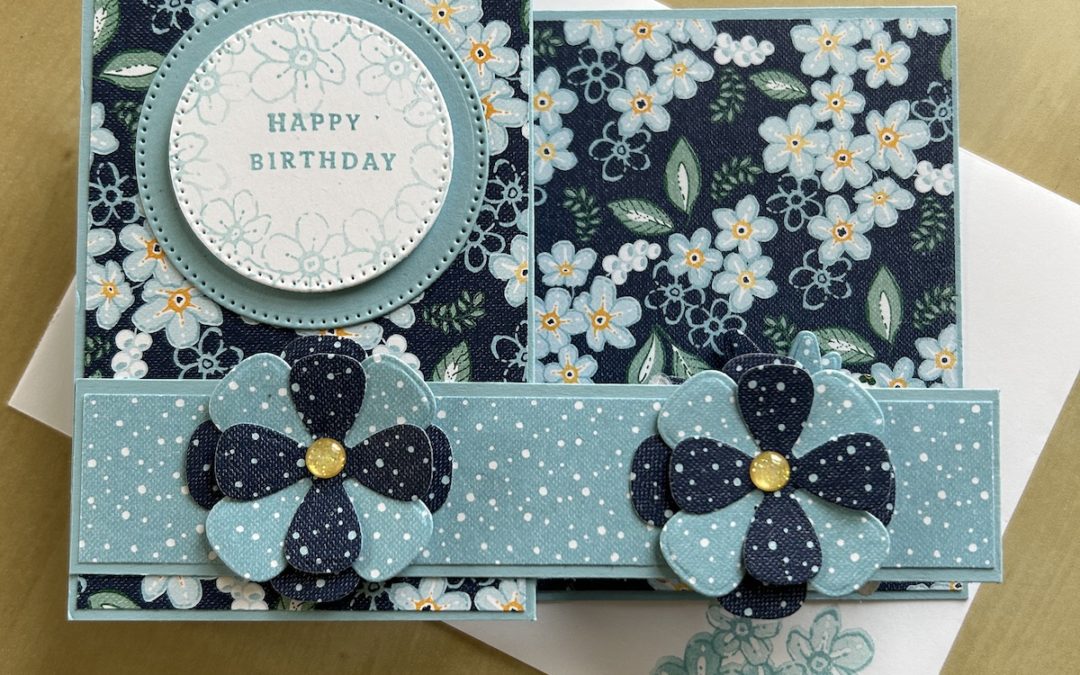
For this blog hop, I’ve made a Double Z fold card. At first glance, this looks like a complicated card to make but it is actually quite easy. The main card is a landscape card with the front panel folded back then a second strip of card is added with the same folds but reversed.
I’ve used Balmy Blue for the base colour, with Regency Park DSP. The stamping and sentiment are from the Sentimental Park stamp set and the flowers decorating the Z strip are made using the gorgeous Paper Florist dies which are easy to miss in the catalogue! You can see the full list of products used below.
To make this card you will need:
- Balmy Blue cardstock base 10cm x 28cm (4″ x 11″)
- Balmy Blue cardstock strip 3cm x 28cm (1 1/8″ x 11″)
- Small DSP panels (x2) 6.5cm x 10cm (2 5/8″ x 3 7/8″)
- Large DSP panel 13.5cm x 10cm (5 3/8″ x 3 7/8″)
- DSP long piece for the strip 2.5cm x 13.5cm (1″ x 2 5/8″)
- DSP short pieces for the strip (x2) 2.5cm x 6.5cm (1″ x 2 5/8″)
- Basic White panel 5.5cm x 8.5cm (2 1/8″ x 3 1/2″)
- Balmy Blue scrap approx 6cm x 6cm for the sentiment background
- Basic White scrap approx 5cm x 5cm for the sentiment
This video shows you how to create this double Z fold card if you prefer to watch that rather than read the instructions, which are given below.
Instructions
Score the card base on the long side at 7cm and 14cm (2 3/4″ and 5 1/2″). I usually score in inches on my Simply Scored board or you can use your Paper Trimmer. Score the long strip in exactly the same way.
Fold each piece in half then fold the scored side outwards to form a “Z” shape. Turn the strip through 180 degrees.
Stick the panels of DSP to the base card, reversing the middle piece if you wish. Stick the strips of DSP to the strip card piece.
Die cut the scraps of Balmy Blue and Basis White using the middle-sized and second-smallest-size Stylish Shapes dies respectively.
Stamp groups of outline small flowers from Sentimental Park in Balmy Blue around the edges of your Basic White Panel (to allow space to write a greeting/sign the card) and the sentiment piece. I used the “stamping off” technique to make them pale – by inking the stamp and stamping once onto scrap paper before stamping your card pieces.
Stamp the “Happy Birthday” sentiment from the Sentimental Park set by using a small block and inking and stamping each word separately so you can stamp them to sit above one another. Some people cut their stamps to allow this but I don’t find that necessary. You could also use a sticky note to cover your stamp while inking the word you wish them removing the sticky note before stamping. (I show you how to do that in a previous video.)
 Stick the white panel to the left-hand side of the back panel of your card as shown in the picture.
Stick the Balmy Blue die cut circle to the upper part of the front panel of your card then add your sentiment circle using dimensionals.
Stick the strip piece to the main card by adding glue only to the back of the outer half of the longer strip piece and stick it to the front panel of the main card below your sentiment circle as shown. Add glue to the other end of the strip piece and stick to the back right-hand half of the card. Watch the video for how to do this correctly so the card closes flat every time.
Die cut flowers from scraps of DSP using the Paper Florist dies, make them up using multi-purpose glue and stick them to the strip panel and card for decoration as shown. Note that you can only add central gems to the flowers stuck to the longer front strip, not the others as they would prevent the card closing properly.
Don’t forget to decorate your envelope!
I hope you enjoyed this project and will have a go at this easy fun fold card.
Now please visit my clever demonstrator friends to see their makes by clicking on the links below.
Product List
|
|
|
|||
|
|
|
|
|
|


Lovely card, Carol – one of my favourite folds. TFS.
Great card Carol, I love the blue