The Days to Remember stamp set was the first item I bought from the current main catalogue! I love making desk calendars for people and this set means I can do this with ease now and into the future.
I CASE’d this from the lovely and clever Lynnie C. I’ve made it in Basic grey, gold and white, but you can use any colour combination you want. It’s also a great way to showcase some of our gorgeous DSP – I used Simply Elegant.
You can watch the “how to” video on my YouTube Channel

Measurements
- Basic White: 7cm x 7cm (x12)
- Basic White: 9cm x 9cm (x6) – can be matching coloured card if you wish
- Layer (gold foil*): 7.3cm x 7.3cm (x12)
- Basic Grey base: 11cm x 29cm
- Basic Grey stand: 6.7cm x 10.1cm
- Basic Grey box: 7cm x 11.5 (x2)
- Simply Elegant Designer Series Paper 10.5cm x 14cm (x1 or 2)
- Small piece of Vellum
- Scraps of gold foil (or coloured card to match)
- Washi tape/low tack tape
Inks used:
- Basic Gray
- Memento
- Delicata gold (or you could use gold embossing)


INSTRUCTIONS
Instructions: Calendar sheets
Cut all pieces of Basic white card and gold foil. Make sure you have available/print a calendar of the year you need.
Stamp one month on each small piece of Basic White using gold ink, or emboss in gold.
Add the day line of your choice in Memento (there are two options – Saturday to Friday or Sunday to Saturday – in the stamp set)
Stamp the dates for each month in Basic Grey using your print calendar to guide you. Use Washi tape or low tack tape to mask off unwanted dates as required then remove before stamping (see the YouTube video for how to do this)
Use liquid glue to stick each month card to a gold foil square.
Decorate, stencil or stamp the larger pieces of Basic White as or if you wish – they can be left bank, especially if you use a coordinating colour cardstock.
Add the layered month cards to each larger square, back to back in order.
Instructions: Calendar base
Cut Basic Grey card as per the instructions above. Score as follows:
Basic Grey base: 11cm x 29cm – score at 14.5cm and fold in half
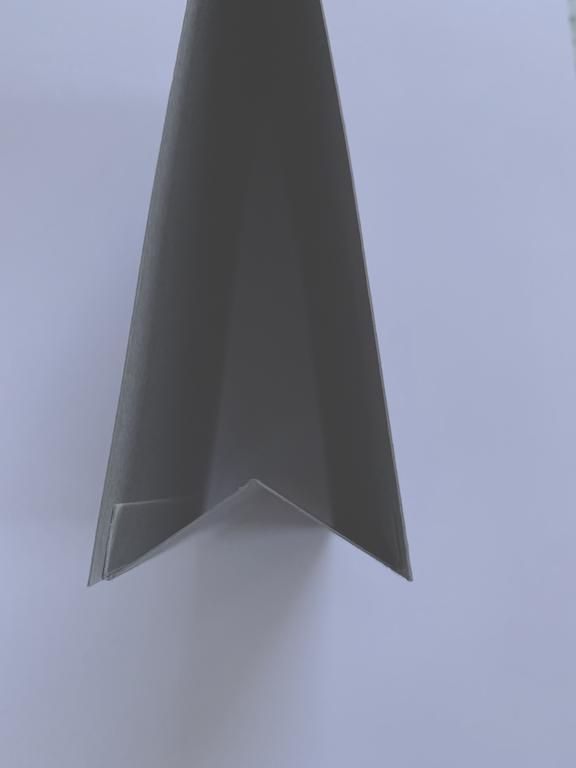
Basic Grey stand: 6.7cm x 10.1cm – score SS at 1cm, 3.4cm and 5cm. Fold this as valley, mountain, valley as shown then stick to base to provide a stand
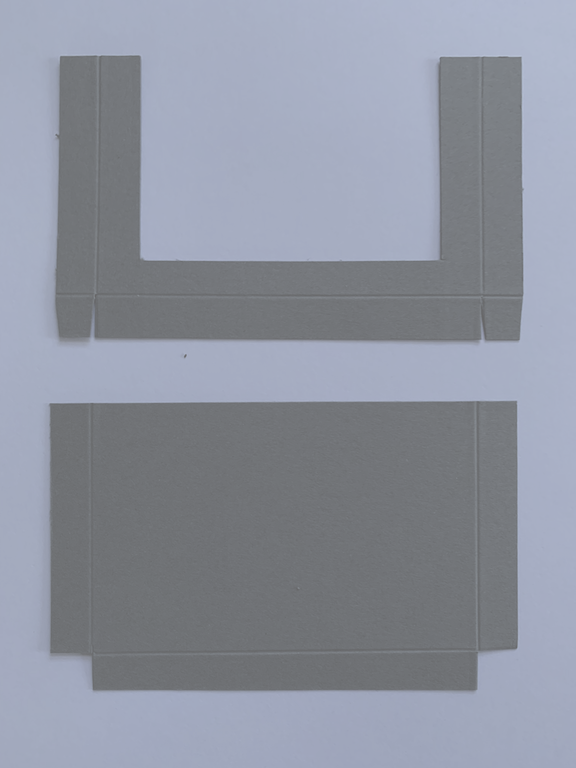
Basic Grey box: 7cm x 11.5 (x2) – score each piece as follows: 1cm each side on LS, 1cm on one side on SS (that is, score of three sides in total) Cut out a section from the centre front panel on one piece 2cm in from SS edges and 2cm up from bottom scored edge. Trim as shown in the picture.
Stick the front and back pieces together (see YouTube video if needed)
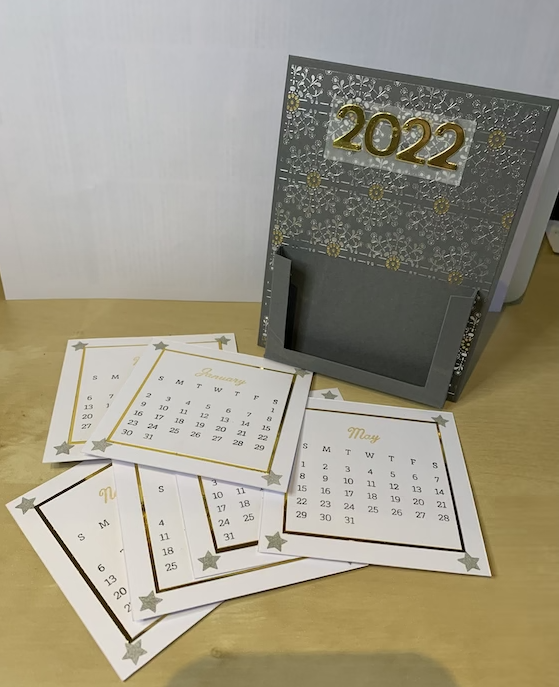
Stick rear panel to calendar base in centre, lined up flush with bottom (see main picture)
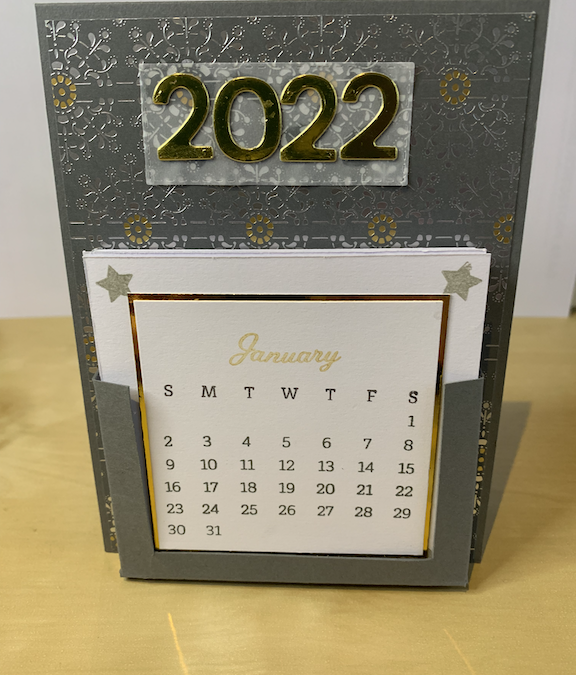
Die cut “2022” from the Alphabet dies and die cut a small stitched rectangle from vellum.
Use liquid glue to stick the numbers to the vellum then stick the vellum to the card base using glue dots.
Add your calendar cards into the box and surprise a friend with your wonderful paper crafting ability!
NB: This Desk Calendar can be made with any coloured card and DSP you want to use.
Products used are below
Product List
|
|
|
|
|
|
|
|
|
|
||
|
|
|


