I love foliage stamps so it was a no-brainer for me to get the Thoughtful Wishes bundle from the new catalogue. In this week’s Craft with Carol Live I used it to showcase some of our fabulous tools, particularly the blender pen and daubers.
To make the card you will need:
- Basic White card base 21cm x 14.8cm scored and folded at 10,5cm (8 ½” x 5 ½” scored at 4 ¼” )
- Old Olive layer 10cm x 14.3cm (4” x 5 ¼”)
- Basic White layer 9.5cm x 13.8cm (3 ¾” x 5”)
- Largish scraps of Old Olive and Pretty in Pink for die cutting
- Thoughtful wishes bundle (or any other foliage/flower set)
- Sponge Dauber
- Blender pen
- Old Olive and Lemon Lolly ink pads
- Old Olive and Pretty in Pink Stampin’ Write markers
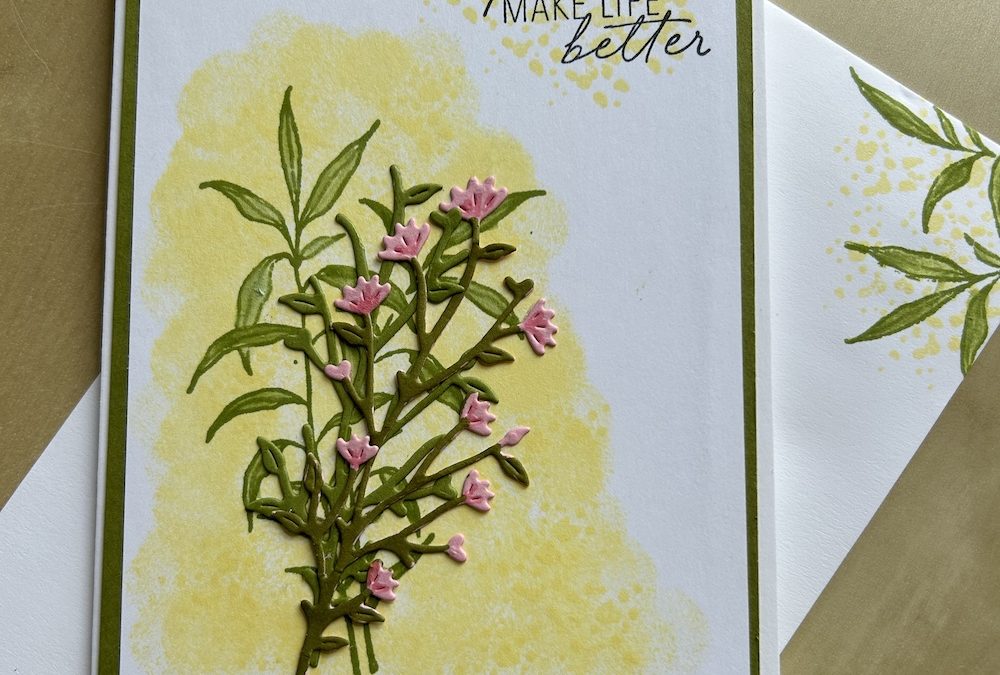
A sponge dauber is a simple way to add an interesting textured background. I loaded up the dauber with Lemon Lolly ink from the ink pad then dabbed it all over the area of the Basic White layer where I wanted to stamp my image.
I then stamped the splatter stamp from the Thoughtful Wishes set in Lemon Lolly over the top of that area to add even more texture. I also used the splatter stamp to add some texture behind where I wanted to stamp my sentiment at the top right of the layer.
I used Old Olive to stamp the large foliage stamp over the top of the daubed area. This stamp has only outline leaves which I wanted to colour in. I closed my Old Olive stamp pad and pressed the centre of it firmly together. This allows ink to be deposited on the lid of the stamp pad. I picked up some ink with my blender pen and used this to colour in the leaves of my stamp. It is so easy to clean the blender pen by simply rubbing it on a scrap piece of paper until the ink is cleared. Watch the video below for the details!
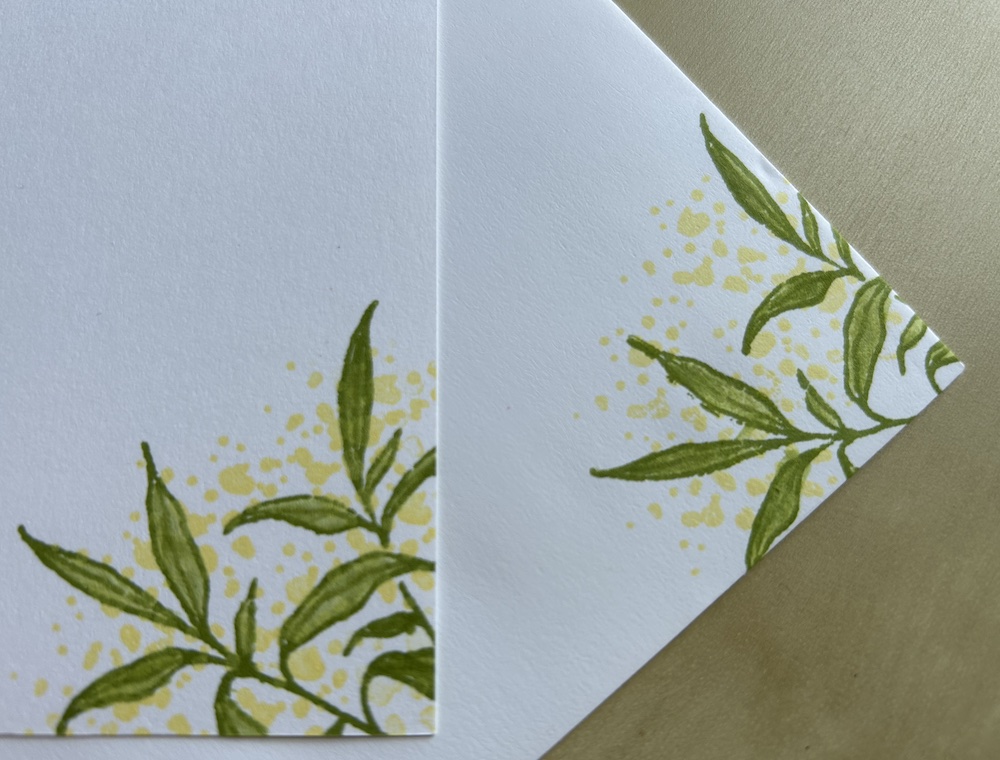
I also decorated the inside of the card and the envelope by stamping the splatters in Lemon Lolly and then stamped part of the leaves in Old Olive on top, colouring them again using the blender pen.
Continuing making the main card, I used the dies to cut out some leaves in Old Olive and a flowering spray in Pretty in Pink. It was easy to colour the stems and leaves of the spray using my Old Olive Stampin’ Write marker, and adding some detail to the flower heads using the Pretty in Pink marker.
I stuck these to the front of the card over the stamped image. To glue fiddly delicate images, I use a small bit of glue on the back of my hand and dab the die cuts into it. It’s easy to rub it off my hand once it dries!
Here’s the live video where you can see the card being made:
What tools do you love? Have you tried using daubers or a blender pen? Let me know. I’d love to see any cards you have made.
I hope you like this card and will have a go at making one – please show me what you come up with.
Thank you for taking the time to read my post.

Don’t forget – you get a FREE pdf when you place any order with me as your demonstrator. And, if your order is over £40, you will also get to choose stuff from my online shop to the value of your order!
Product List  |  |  |  | |
 |  |  | ||
 |  |  |
")


