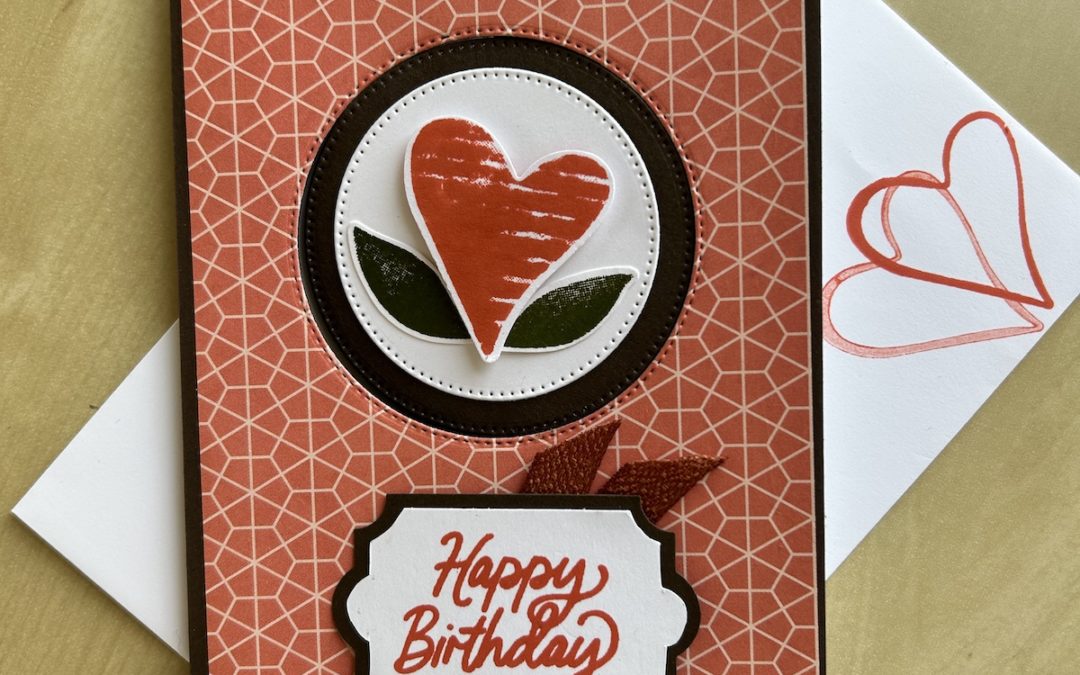
One of the great benefits of being a Stampin’ Up! demonstrator is attending demonstrator events and getting the swaps we exchange. I got the idea for this card from a swap I received in August from Jas Gill. It’s a simple circle fun fold card that certainly has a wow factor – perfect for my husband’s birthday next week!
You can see how to make this card (and see two other cards I’ve made using this circle fun fold) in the video and I’ve also given you instructions below.
To make a circle fun fold card you need:
- Coloured base card 21cm x 14.8cm scored in half at 10.5cm (I used Early Espresso for my husband’s card)
- DSP Front layer 10cm x 14.3cm
- Basic White inner card 20cm x 14.3cm score on the long side at 10cm and 15cm
- DSP panel strip 4.5cm x 13.8cm
- Stylish Shapes dies – I used the 2nd and 3rd largest dies
- Pieces of coloured card and Basic White card to cut your circles and also for stamping your central image
Instructions
- Score and fold your base card.
- Stick the DSP panel to the front of the card. (Or stamp a design if you prefer.)
- Cut out a stitched circle using the 2nd largest Stylish Shapes circle in the upper part of the card, making sure it is central. (You could use a 2 3/8″ circle punch if you prefer.)
- Cut out a second circle the same size in your base card colour
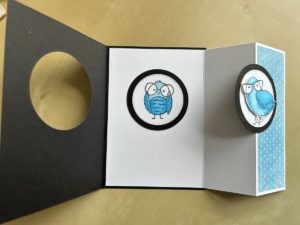
- Fold the Basic White inner card on the score lines as valley then mountain, leaving the short panel to the right hand side. Stick the other piece of DSP to this panel is using.
- Stamp as you wish to decorate the inner panels and add a sentiment – I used two sentiments from the Country Bouquet set stamped in Calypso Coral plus some tiny hearts at the bottom of the panel
- Stick the inner panel into your card base
- Stamp your chosen image onto Basic White card and punch, die cut or fussy cut out. I stamped the heart from the Country Bouquet set in Calypso Coral and the leaves in Mossy Meadow then punched them out using the Country Bouquet punch
- Cut out the 3rd largest Stylish Shapes circle from Basic White card (or use a 2″ circle punch).
- Stick this Basic White circle onto your coloured card circle.
- Close your card and put glue only onto the back folded panel inside the aperture (see the video for details) then stick your circles to that panel through the aperture so you are sure the circles line up properly.
- Add your image using dimensionals
- Stamp the sentiment you want for the front of the card – I used the Happy Birthday from the Beautiful Balloons stamp set. Layer as you wish. (I used a retired punch and trimmed the sentiment to give a border – details in the video.)
- Add to your card front. You can add a strip or two of ribbon if you wish. I used two small strips of Copper Clay ribbon behind my sentiment which goes well with the Calypso Coral DSP.
- Don’t forget to stamp and decorate your envelope!
This type of card can be made for just about any occasion. You can play around with the base card colour, you can put images rather than DSP on the front layer and inside panel and so on. It makes a good masculine card if made using “male” colours, papers or images as I have done, but can be made for any occasion.
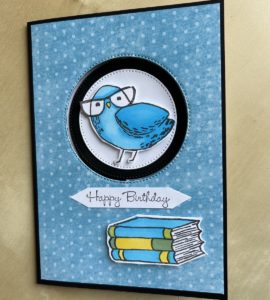
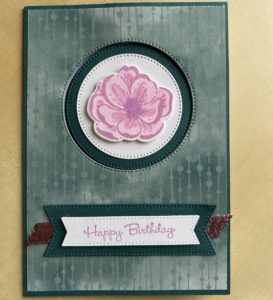
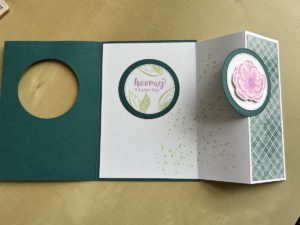
You can add a further circle to the inner panel as I have done here in two more cards I’ve made using this fun fold. When adding a second circle to the inner panel, as in the cards I have shown below, open the inner panels and stick your circles flat through the front aperture to get them aligned correctly.
I still have some stamping to do inside the Bird card which is for a book-loving friend’s birthday.
Have a go at this easy circle fun fold card and let me know how you get on! Hopefully husband will love his card when he receives it next week.
Product List
|
|
|
|
|
|
|
|
|
|||

