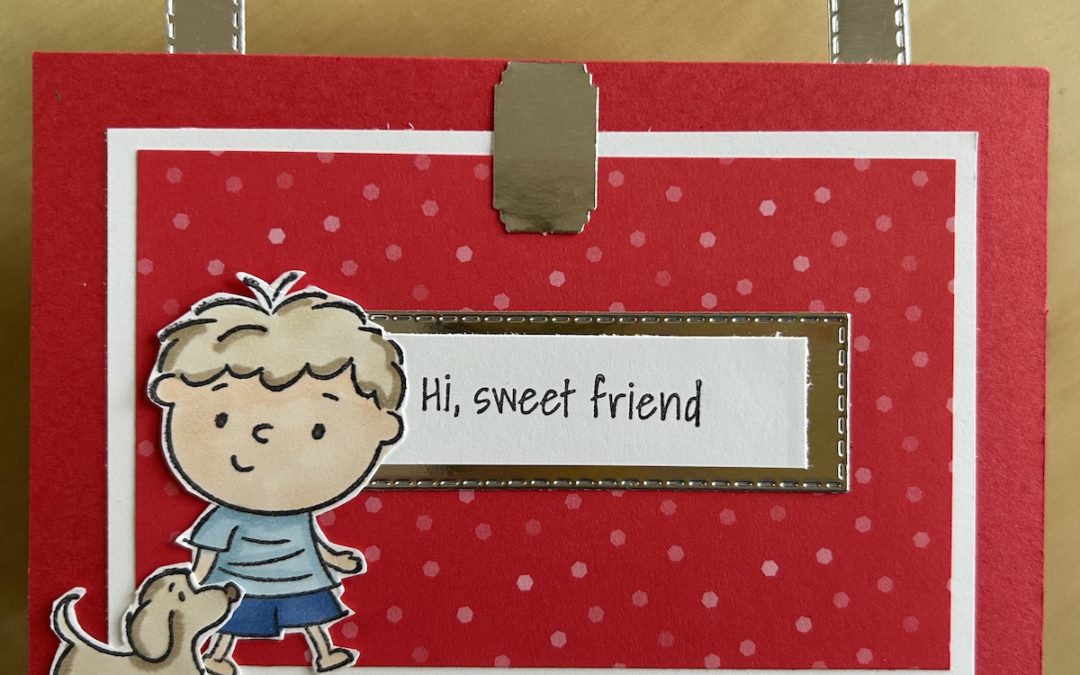
This sweet little briefcase box, which could also be a school bag, lunch box or whatever you want, is easy to make. I’ve used the lovely By Your Side stamp set for decoration.
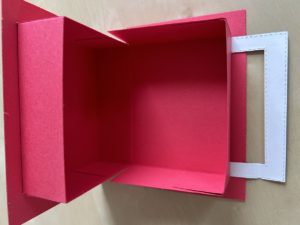
The briefcase box opens as shown in the picture and will fit a couple of small chocolate bars, soap, tea light candles, sweets or biscuits.
Full instructions are given in the video and the measurements and steps to make the box are also given below.
You will need:
- Box Base Sweet Sorbet Cardstock: 6 ¼” x 9 ¾” (16cm x 24.5cm)
- Sweet Sorbet panels (you need 2): 5″ x 3 ½” (12.5cm x 9cm)
- Basic White panel 4 ¼” x 2 3/4″ (11cm x 7cm)
- DSP piece 4″ x 2 ½” (10.5cm x 6.5cm)
- Silver foil piece approx 5″ x 2″ (12cm x 5cm)
- Scraps of Basic White for stamping
- Stampin Blends for colouring
Score the Sweet Sorbet box piece on the long side at 1 ¼”, 4 ¼”, 5 ½” and 8 ½” (3cm, 10.5cm, 14cm and 21.5cm). Score the box on the short side at 1 ¼” and 5″ (3cm and 13cm).
On each long side cut up on each score line to the first transverse score line to form three tabs each side. Mitre the side of each tab as shown in the video.
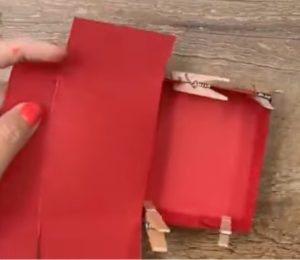
Stick the centre two tabs and two end tabs to the respective sides to form the base box. If you use liquid glue it might be worth using pegs or paperclips to hold the tabs while they stick firmly.

Stick the tabs to the remaining sides to form the lid. Set aside.
Cut out a handle from your silver foil piece using the Stitched Rectangle dies, Fabulous Frames dies, or use your trimmer to shape a handle. Punch out a silver clasp using the Best Label punch.
Stick your DSP panel to the Basic White panel and add to the centre of one of the Sweet Sorbet panels. You can add a sentiment strip as I have done or leave it blank – up to you. I used a foil cut smallest stitched rectangle for mine.
Stick the “handle” to the back of the front panel at the top, making sure it is centred. Add the clasp as shown in the picture.
Stick the two panels to the front and the back of your box making sure the box opening is at the top. There should be the same overlap all round. Here is the completed box opened:

Stamp your chosen By Your Side image, colour with Stampin Blends and fussy cut. Add to the front of your box as you wish.
Fill with your chosen treats and enjoy the gasps of amazement from your recipient!
Product List
|
|
|
|
|
|
|
|
|
|
|


