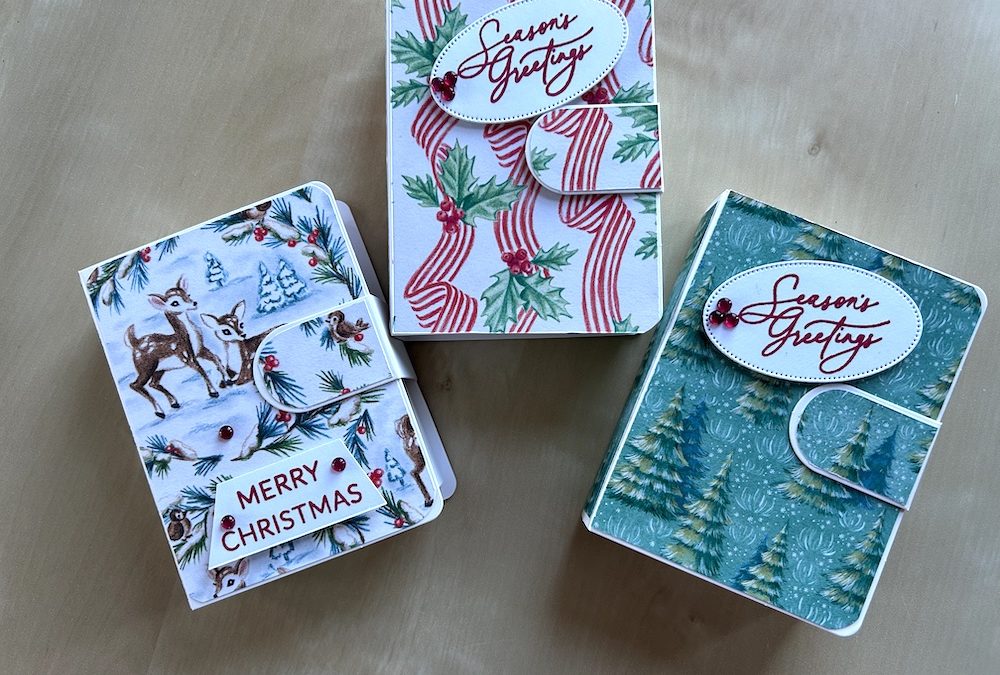
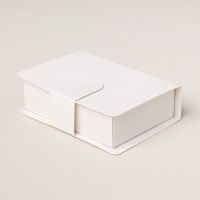
Have you seen the gorgeous book treat boxes from Stampin’ Up!? They are perfect for giving small gifts and they are easy to decorate. I’ve worked out all the measurements for you. They fit 4-5 wrapped chocolates or a small flat Yankee candle or similar gift.
The boxes are very sturdy and come ready cut in two parts. They are shaped with the adhesive already attached for fitting them together. The tab closes at the front. You just need to make sure you have it the right way round when decorating – I got this wrong with my first attempt!
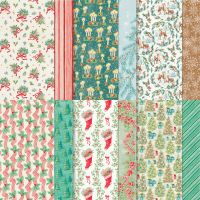
I used the lovely Sentimental Christmas DSP to decorate mine. I decorated the inside of the box too. The instructions are below or you can watch the video at the end of this post.
To decorate the boxes you will need:
- DSP pattern 1 (2x): 7.5cm x 10cm (2 7/8″ x 3 7/8″) – cut as portrait for dierectional patterns
- DSP pattern 1: 2.5cm x 10cm (1″ x 3 7/8″) for the spine
- DSP pattern 1: 2.3cm x 3.5cm (1 1/2″ x 15/16″) for the tab – NB direction is horizontal for this piece
- DSP pattern 2 (for inside): 8.5cm x 6.5cm (3 1/4″ x 2 5/8″) – this is optional
- Scrap of card for a sentiment
I did not decorate the box surround, but if you want to, you need two pieces that are 2.3cm x 6.5cm (1″ x 2 1/2″) and one piece 2.3cm x 8.5cm (1″ x 31/4″), plus a tiny piece 2.3cm x 2.5cm (15/16″ x1″) for the outside of the tab.
The corners of the book treat boxes are very slightly rounded. Take your two larger pieces of DSP pattern 1 and trim the outside corners. I used my corner rounder punch but did not put the DSP fully in, and that worked well. Adhere these two pieces plus the piece for the spine onto the box cover.
Use a corner rounder punch (fully this time) to shape the outside of the tab piece then stick it onto the tab end.
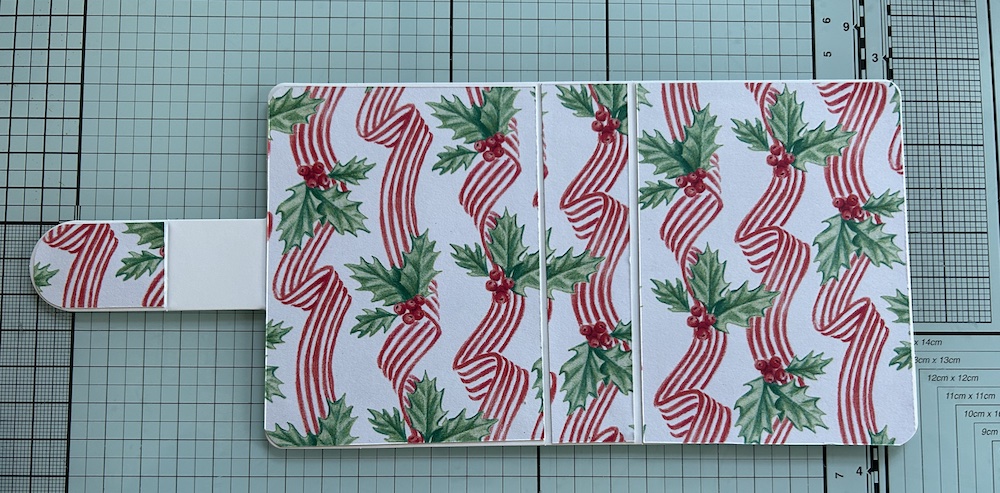
Stick the inside piece of DSP to the inside of the box (if using) and make the box base up. I found holding the two side tabs in while I folded the side over and stuck it down was easy to do.
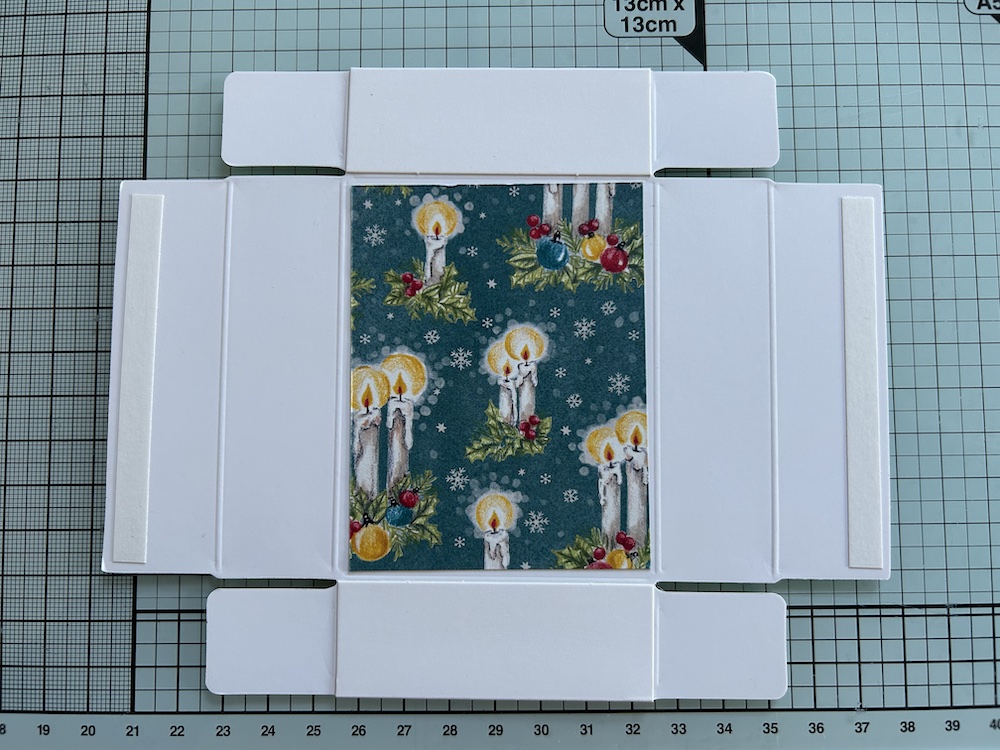
Peel off the adhesive strips and stick the box inside the cover, making sure it is the right way up if there is a directional pattern.
Stamp your chosen sentiment on a coordinating colour onto the scrap of card, die or fussy cut out, and add to the front of the card using dimensionals. Make sure you place it so that it does not interfere with the tab closure.
Add some gems to finish your book box if you wish.
I fitted 5 Heroes chocolates or a small Yankee candle in my completed box.
Here is the video of how I decorated my book boxes:
Thank you for taking the time to read my post.

Don’t forget – you get a FREE tutorial of eight cards when you place an order with me. There’s a different set every month. And, if your order is over £40, you will also get to choose stuff from my online shop to the value of your order!
Product List
