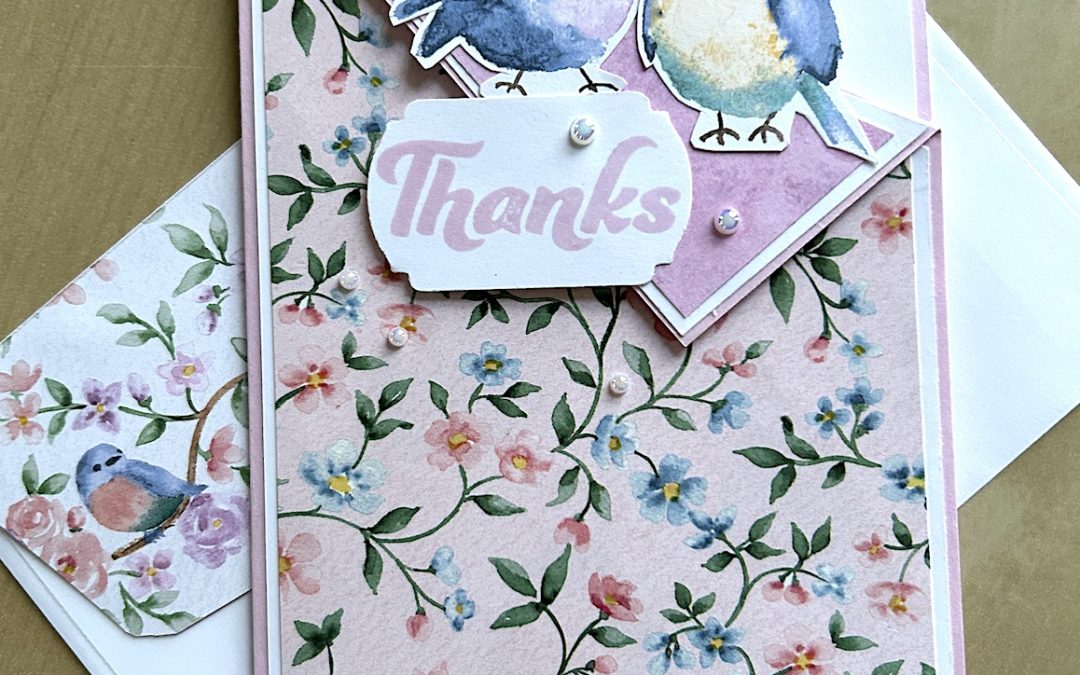
As you probably know by now I love a fun fold cord! A corner fold card is basically a simple fold but it has quite a wow factor. The only fiddly bit is cutting the triangles to fit the corner fold but I show you how to do this easily in the video.
This card uses DSP for decoration. The only stamping is for the sentiment. I’ve used the gorgeous Flight & Airy DSP which is one of the free Sale-a-bration items that you can get with a £45 order during Jan and Feb 2024. It’s a beautiful double-sided paper with loads of bird mages, some on blossom-filled branches. The reverse sides have various bird or single colour leaf, flower and splodge patterns.
You can make this card for any occasion by varying the DSP, images and sentiment.
To make the card you need:
- Card base: 14.8cm x 21cm scored at 10.5cm (5-1/2″ x 8-1/2″, score at 4-1/4″)
- DSP: 9.5cm x 13.8cm (3-7/8″ x 5-1/8″)
- Coordinating DSP: 4cm x 9cm (1-5/8″ x 3-5/8″)
- Basic White x2: 14.3cm x 10cm (4″ x 5-1/4″) one for inside and one for the front
- Basic White: scrap for sentiment
- Gems for decoration
The best way to learn how to make the card is to watch the video below, but I have included instructions below as well.
Prepare your pieces as listed above and fold your base card.
Measure down 5cm (2”) from the top right of the card base front and mark with a pencil. Score from this mark to the middle score line of the card. (This flap will fold over to form the corner fold.)
Take one of the Basic White layers and place on the card front leaving approx 0.2cm (1/16”) edge around the top and outside. Mark with a pencil on the right side just above the score line on the card base. Mark also on the top left just slightly above the score line – this mark will be just to the right of the corner of this piece.
Cut from one mark to the other and turn the piece over to form the triangle for the corner fold. Trim the remaining piece taking just a sliver off. This forms the piece for the main front of the card.
Place your DSP over this front Basic White piece and mark just below the corner and the right side edge. Cut off. This forms the front DSP piece.
Cut the coordinating DSP piece in two diagonally lengthwise from top left to bottom right to form the DSP layer for the corner flap fold.
Glue the second Basic White piece to the inside of the card – stamp a sentiment here if you want. The stick all the other pieces to the front and corner flap. Use a dimensional to fix down the corner flap to the front of the card.
Stamp your required sentiment on the Basic White scrap. Punch or die cut out. Add this to the card front using a dimensional on the non-flap side.
I fussy cut three birds from the DSP and used these to decorate the front and inside of the card. You could use a stamped image instead if you wish. I finished the card by adding some gems.
Don’t forget to decorate your envelope. I used DSP to cover the back flap.
Product List


That is lovely, Carol! Thank you for sharing.
cute