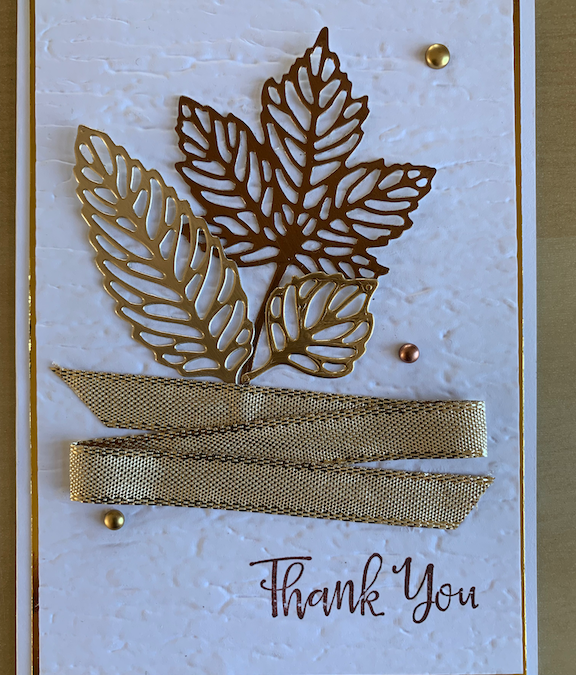
I’ve used the Gorgeous Leaves set to demonstrate how you can develop a simple card into something more complex. It’s also given me a great excuse to use the beautiful new metallic card and gems. In terms of versatility, you can use any leaf or flower stamp set in a similar way, especially if you have associated dies. Experiment and enjoy!
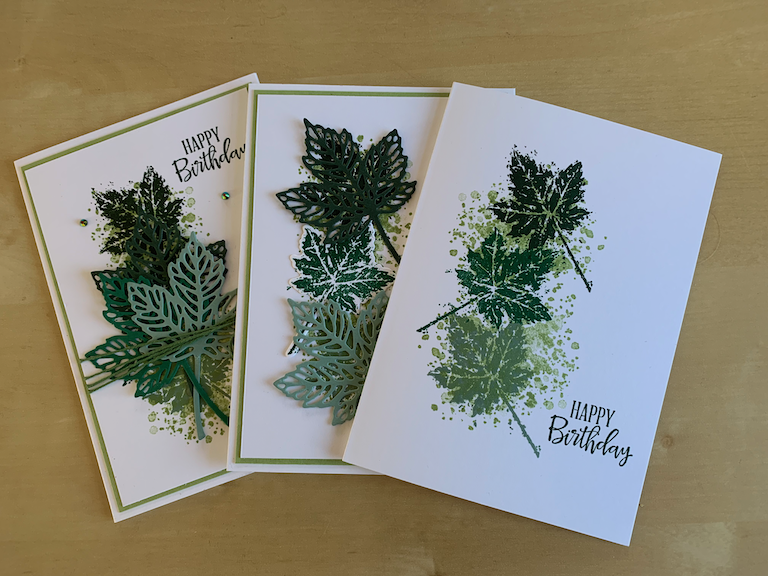
Measurements – Card 1
- Basic White card 21cm x 14.8cm (half A4 sheet widthways), score at 10.5cm
- Gorgeous Leaves or similar type of stamp set
- Any suitable sentiment set
- Four colour shades – I used pear pizazz, soft succulent, shaded spruce and evening evergreen
Fold and burnish the base white card. Stamp background dots in the lightest colour. Add stamped leaves, one of each of the other colours. (I also stamped the inside of the card with two leaves one stamped off (stamped after inking then stamped again without re-inking). Stamp your sentient.
Card 2
- Coloured layer 9.9cm x 14.2cm
- White layer 9.6cm x 13.9cm
Stamp the white card layer in the same was as for card 1. Add die cut leaves. Stick layers together and add to card
Card 3
Prepare as card 2. Add green twine wrapped round white card layer three times and tied in a bow. If you don’t have green twine, use white twine coloured with a Stampin Write marker or blend. Or you could also use a matching ribbon. Stick layers together. Add rhinestones as desired
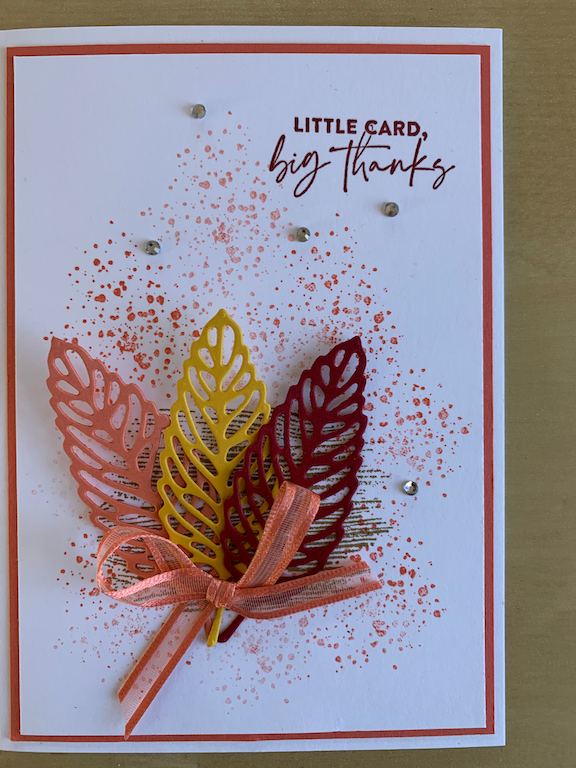
Measurements
- Basic White card 21cm x 14.8cm (half A4 sheet widthways), score at 10.5cm
- Calypso Coral card 9.9cm x 14.2cm
- Basic white layer 9.6cm x 13.9cm
- Gorgeous Leaves or similar type of stamp set
- Any suitable sentiment set
- Calypso coral, soft suede ink
- Scraps of three matching coloured cardstock
Fold and burnish the base white card.
Stamp background dots in Calypso Coral and add the line texture stamp in soft suede. Add stamped sentiment of your choice.
Die cut three leaves from matching coloured card stock. Adhere to card using glue dots.
Add a calypso coral ribbon bow and rhinestones as desired.
Adhere layers together. Don’t forget to stamp the inside of your card, too!
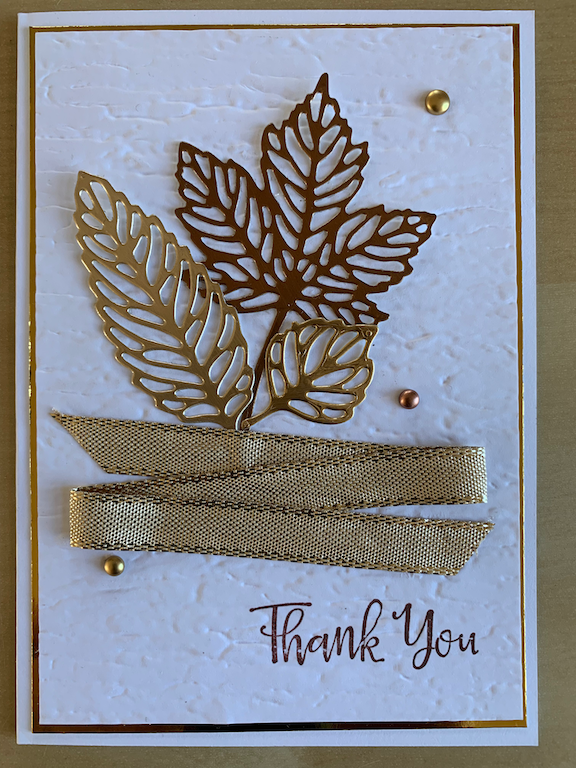
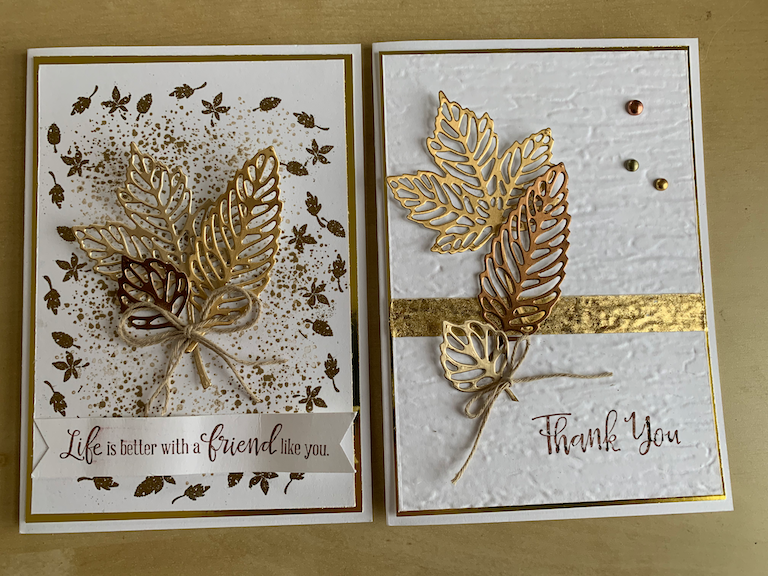
Three way cards – Measurements
- Basic White card 21cm x 14.8cm, scored in half at 10.5cm
- Metallic card layer 9.9cm x 14.2cm
- Basic White mat 9.6cm x 13.9cm
- Embossing folder – I used ‘Bark’
- Metallic gems
- Gold gilding flakes, ribbon or embossing powder
- Card 3: crumb cake ink pad plus white card scrap for sentiment
NOTE: You can die cut your leaves from the centre of your metallic card mat to save card if you want!
Card 1:
Stamp your sentiment on your white mat then run it through your chosen embossing folder. Die cut the three different leaves, one in each metallic card colour. Attach to white layer using small dots of glue. Adhere length of ribbon using tape, winding as shown on card picture. Add metallic gems.
Card 2:
Card 2 is prepared in a similar way to card 1 – stamp the sentiment then run through your embossing folder. Add a line of tape across the card around a third of the way up. Rub the gilding flakes into the tape and brush off any excess. (Beware – they get everywhere!) Add die cut leaves in a pleasing pattern. Adhere layers together. Add a twine bow and metallic gems as required.
Card 3:
Dots were stamped using the stamping off technique (stamping twice between inking) in crumb cake. Wipe down card with anti-static pad. Stamp small leaves trio in versa mark around the outside of the layer. Add gold embossing powder, carefully tip off any excess and heat using heat gun to set.Stamp sentiment on scrap card and trim. Add to bottom of card using dimensionals. Add die cut leaves and a double twine bow.
Don’t forget to stamp the inside of your cards and also the envelopes!

